
Being an Apple sort of person it was natural that I would use Aperture to store all my photographs. I was quite happy with Aperture and the news that Apple would no longer develop the application came as a big disappointment. I had already tried Adobe Lightroom and sort of liked it, but I suppose I was fixated on Aperture.
Since Apple’s shock decision I have come to appreciate and enjoy using Lightroom, exclusively since mid-2014. Before that I was half in Aperture, half in Lightroom: Result, confusion.
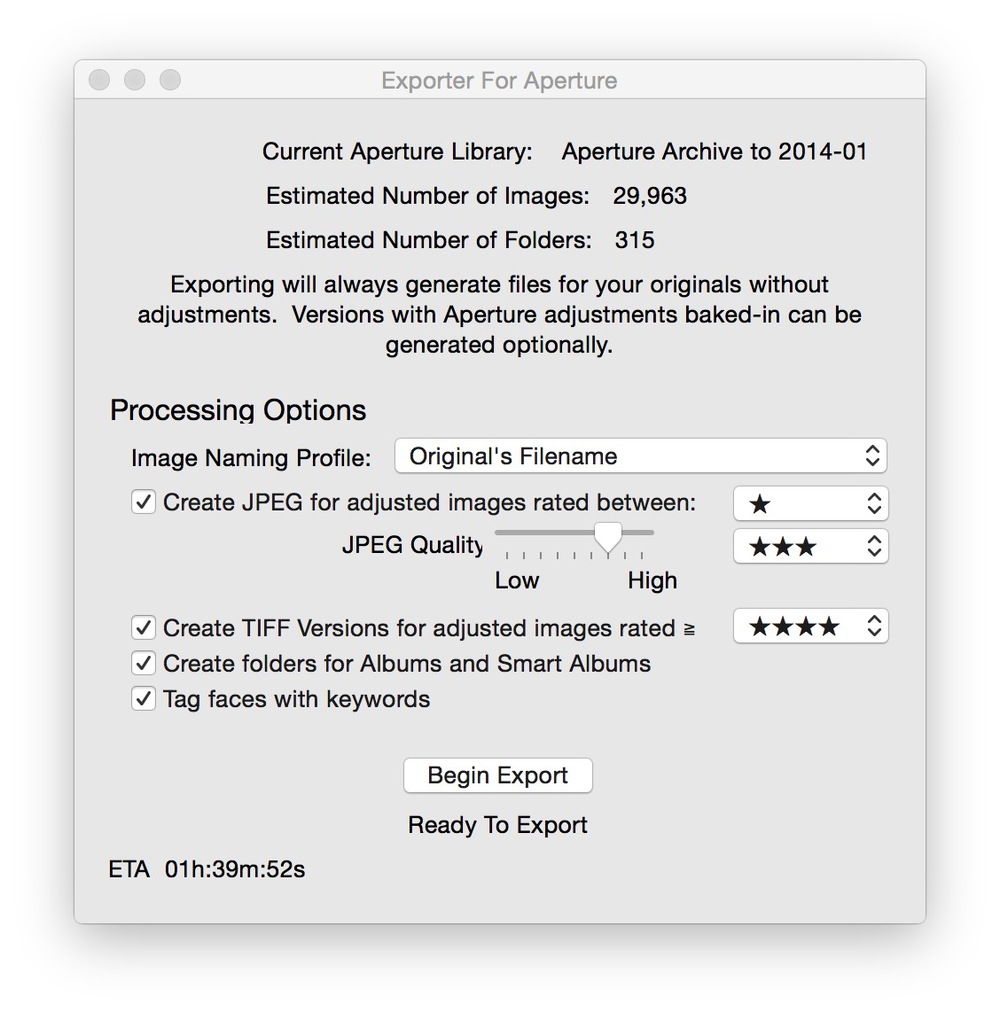
For months, however, I have been dithering about tackling the transfer of my old Aperture data to Lightroom. I’ve read that it can be a fairly daunting prospect if done manually, so I paid around £10 for a little utility called Exporter for Aperture from Blue Pill Software.
While it gets up to a great deal of wizardry behind the scenes, this app has probably the bleakest user interface I have yet encountered. The screenshot reproduced here is it, the lot, all you have to play with. On the face of it, this is poor value for £10. But wait….
Twenty hours later
Despite this meagre interface, this solution works. I simply loaded Aperture, then Exporter for Aperture, ticked the boxes and off it went, churning my 500GB of data. Some 20 hours later all the old photos were in a separate folder from where I could easily import them into Lightroom.
Exporter for Aperture is a one-trick pony and, probably, will be used only once. But for £10 it is good value in that it completes a potentially awkward task automatically and without hitch.
Alongside this reorganisation, I have taken the opportunity to improve my photo storage and to add further security. Rather than a RAID array or the increasingly slow Drobo box I have been using in the past, I have gone back to basics. For starters, all my photos are stored on an external 4TB Thunderbolt drive. I no longer keep current files on the desktop computer, everything goes immediately to the external disk. The speed of Thunderbolt ensures that there is no operational penalty during day-to-day access of the database.
Simple security
In terms of security, I have again kept it simple. My 4TB Thunderbolt drive, containing the main photo database, is cloned daily to another 4TB Seagate drive, but this time the cheaper USB 3 version. There is no need for the speed of Thunderbolt on the backup drive. In addition, the entire database is copied to a third drive which can be kept offsite (I keep it in the car, but you can use your imagination; it needs to be somewhere handy so you are encouraged to keep it up to date). All these disks are encrypted, as are my general computer backups, just in case they go astray and fall into the wrong hands.
On the principle that you can never have enough backups, I also maintain a portable 1TB Thunderbolt drive which automatically stores photographs taken in the past twelve months.
I can take this with me when travelling so I have access to all my recent stuff. I add files as I go, copying them back to the main database when I return. Incidentally, my Lightroom catalogs are stored in the simply wonderful Dropbox so they are available wherever I happen to be. I now keep almost no data on my computers, everything important goes on Dropbox or, in the case of the photo database, to a separate drive.
Keeping track
So how do I keep track of all these separate backup disks? I find it helps to give them names and I decided it would be rather neat to call them after planets, all linked to the computer which we can regard as mother Earth.
In my office you will find Jupiter, Mars, Mercury, Venus and other orbiting bodies. Orion is my offsite backup, a galaxy far away. All of them come together in the invaluable Carbon Copy Cloner from Mike Bombich. It now has a new Mac-style interface that makes it easy to maintain your backups and cloned drives. And, of course, I also run Apple’s Time Machine for all computers. These backups are stored in an 3TB Time Capsule which resides at Earth base.
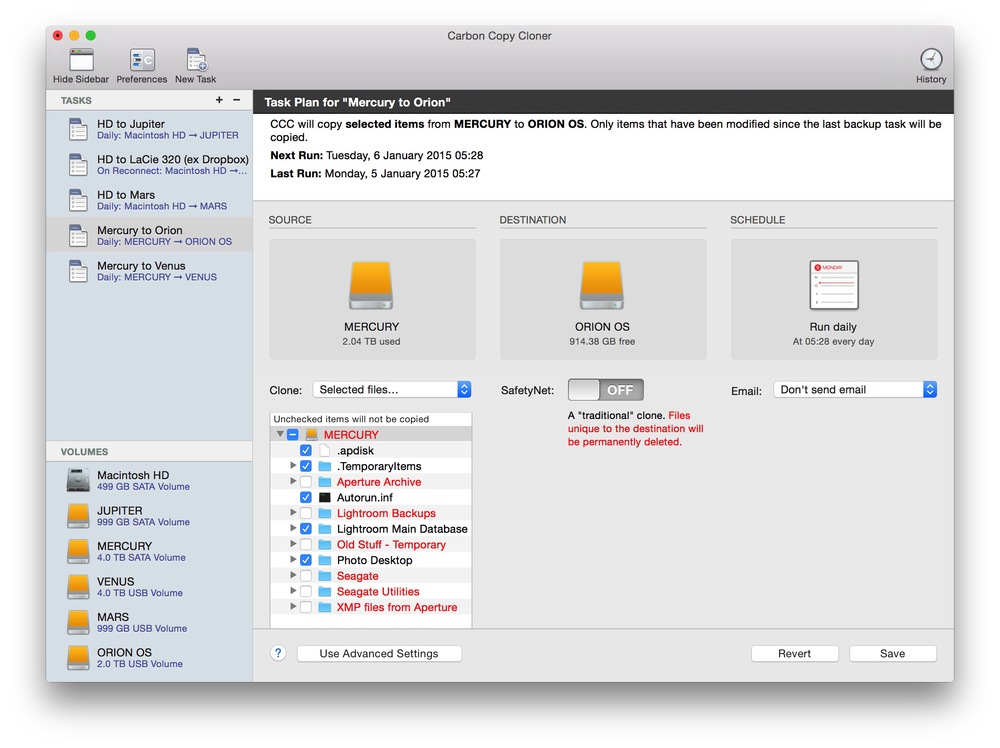
All my backups, except Time Machine, which operates continuously to guard against sudden data loss, run automatically during the night. You can ask CCC to send an email every time a backup is completed or, optionally, just when there is a problem. I don’t bother with this but I do check the CCC dashboard every day or so to make sure there are no glitches.
Mac fans seem to be equally divided between adherance to Carbon Copy Cloner and those who swear by Shirt-Pocket’s SuperDuper! I’ve tried both and either will do you proud. I don’t think you can say one is better than the other; I just prefer CCC.
While all this might sound complicated, it really is very simple. Separate disk drives are easy to understand and any one of them can be recovered easily in emergency. And Carbon Copy Cloner (or SuperSuper!) will look after the backup strategy effectively for you.