
A few months ago a friend asked if I would advise his nephew, a PhD student, on how best to start in photography. Just because I write a blog people assume I know something about photography. Anyway, nephew and I had a chat and discussed equipment first: No camera, no pictures, after all. Clearly his iPhone 6 would have done but isn’t ideal for learning the basics. Something to encourage a bit of creativity, something to learn the basics, starting with aperture priority, would be better. Funds were limited to £150 so what could I suggest?
First thought was a film camera, something like an Olympus OM-10 and a 50mm f/1.8 Prime. What better way to learn the basics? That would leave around £100 over to cope with the cost of film and developing over the course of a year. But our student, Ken, decided he really wanted a digital camera; more instant gratification, I suppose.
After a rummage around my knowledge of the market I concluded that £150 isn’t going to buy very much that is designed to inspire. So I called in to see my friends at Chiswick Camera Centre back in July and stumbled upon a rather clean Panasonic Lumix G2 with a bog-standard kit zoom, in this case the 14-42mm f/3.5-5.6. I checked it over, all looked fine, and we agreed to match Ken’s budget at £149. I added a wrist strap as a bit of creative encouragement. As it turned out, this wasn’t necessary.
A used DSLR would have done just as well, but I thought the m4/3 system would be a good start and it is something Ken could develop and add to as experience grew. He now has his eyes on an Olympus PEN-F or Panasonic GX8 having seen them in my hands.
We discussed processing. Of course, I suggested Lightroom, which Ken had already seen in use. But at £10 a month it was too much of an investment for a student. So I suggested he make do with Apple’s Photos app which is quite powerful and as much as many photographers need.
I gave him a few initial tips and suggested he might start by reading up on street photography and checking the work of some of the main exponents if the genre. It was then back to uni and membership of the student photography group where Ken managed to prove knowledgeable on matters of aperture, ISO and depth of field following his reading session, thanks to our discussions.

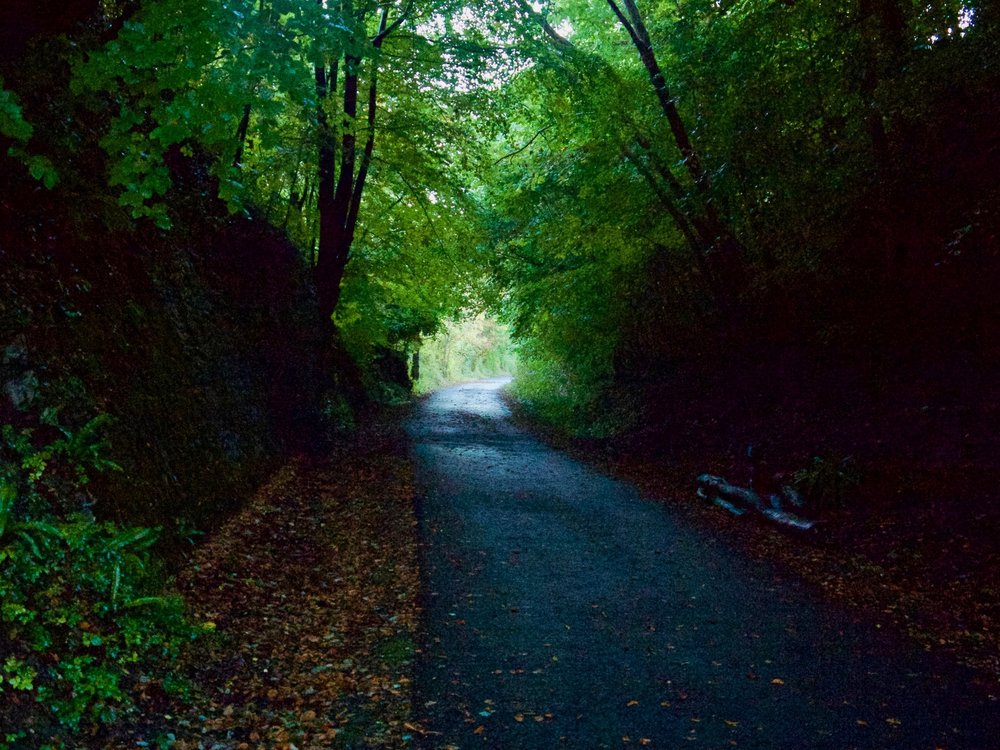
But what to make of a camera with a fair bit of manual control and a blank frame to fill? Where to start? I was more than surprised when I saw the first results appearing in my Dropbox folder. I expected a few bland landscapes and nothing very remarkable. But I was wrong.
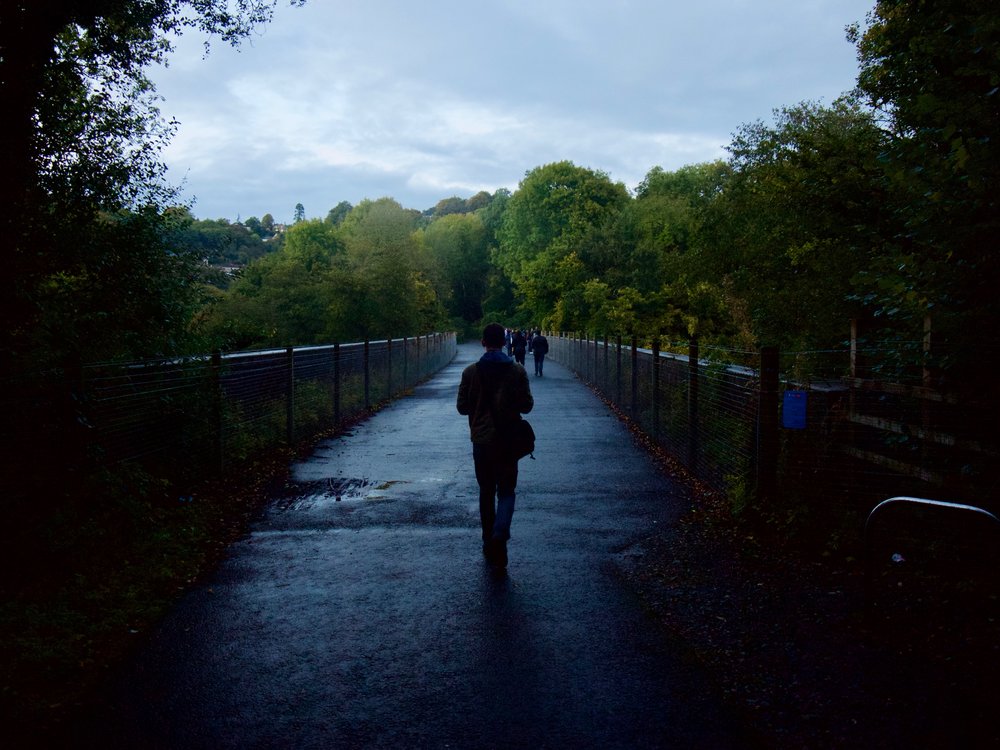
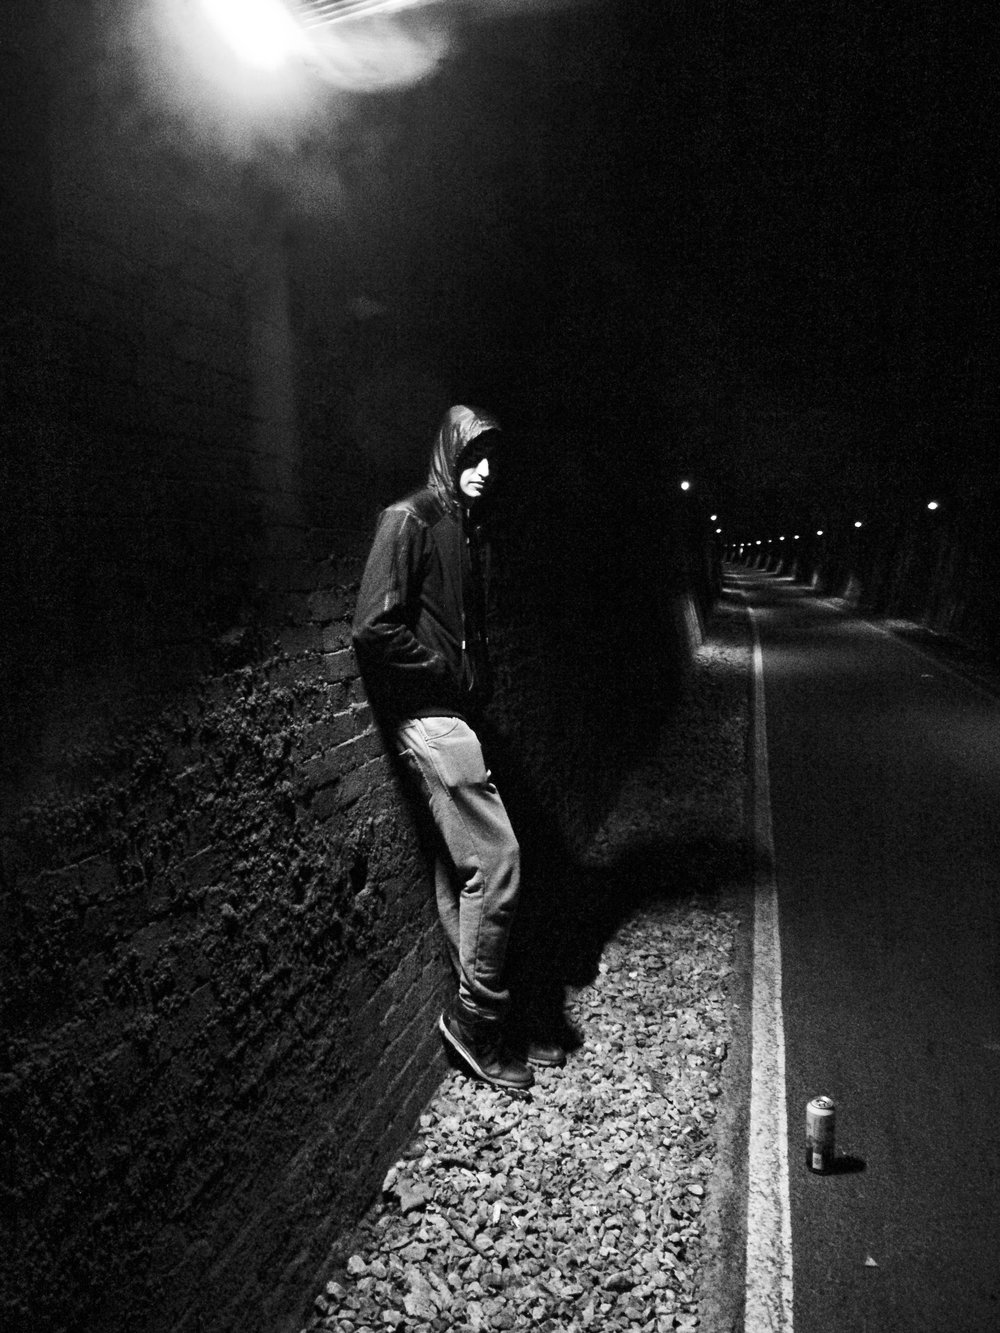
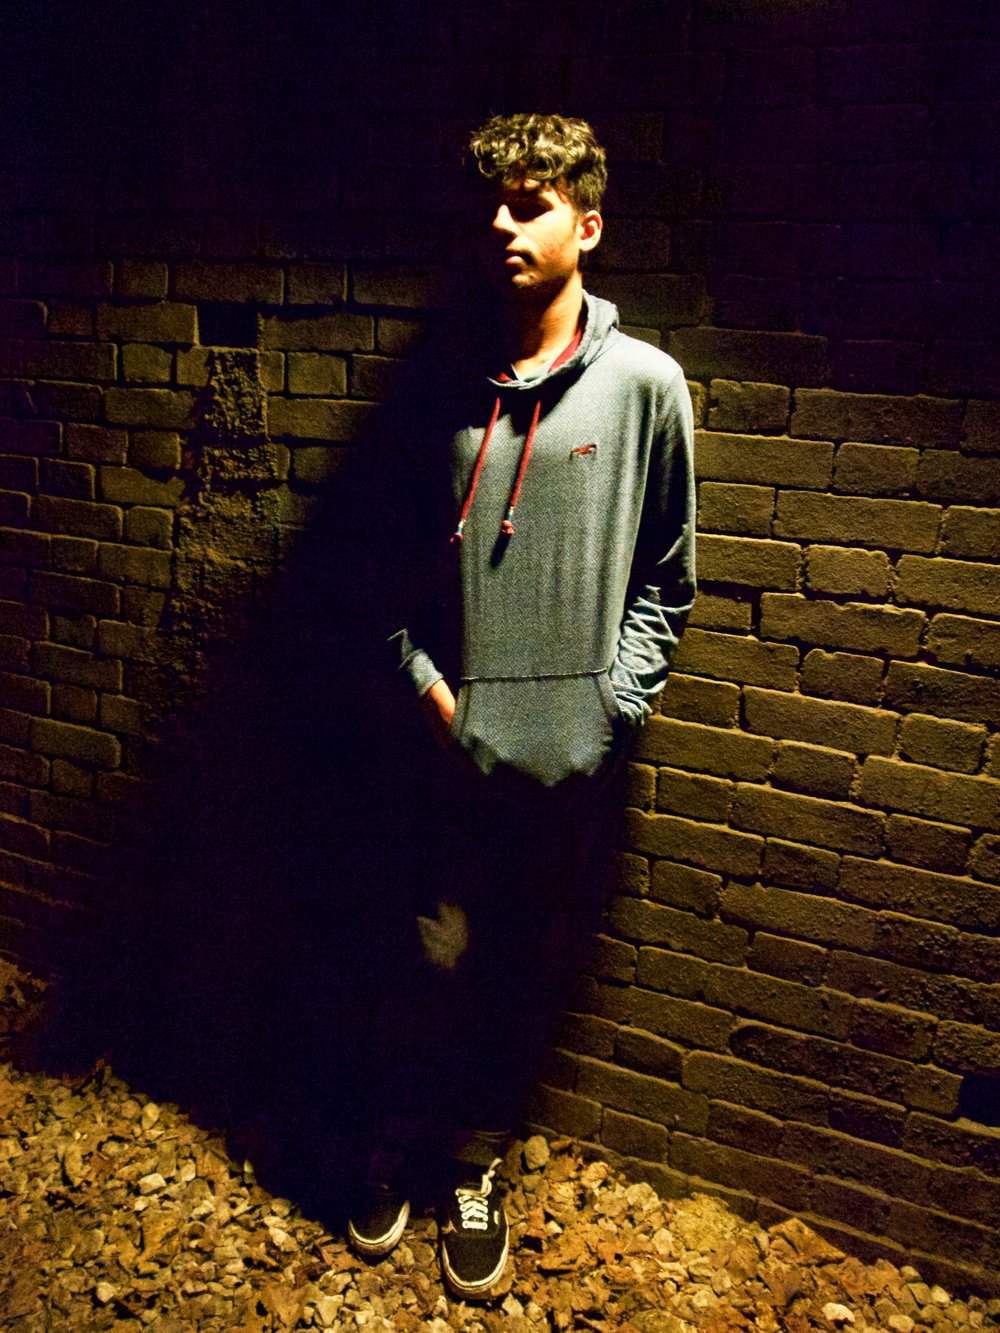
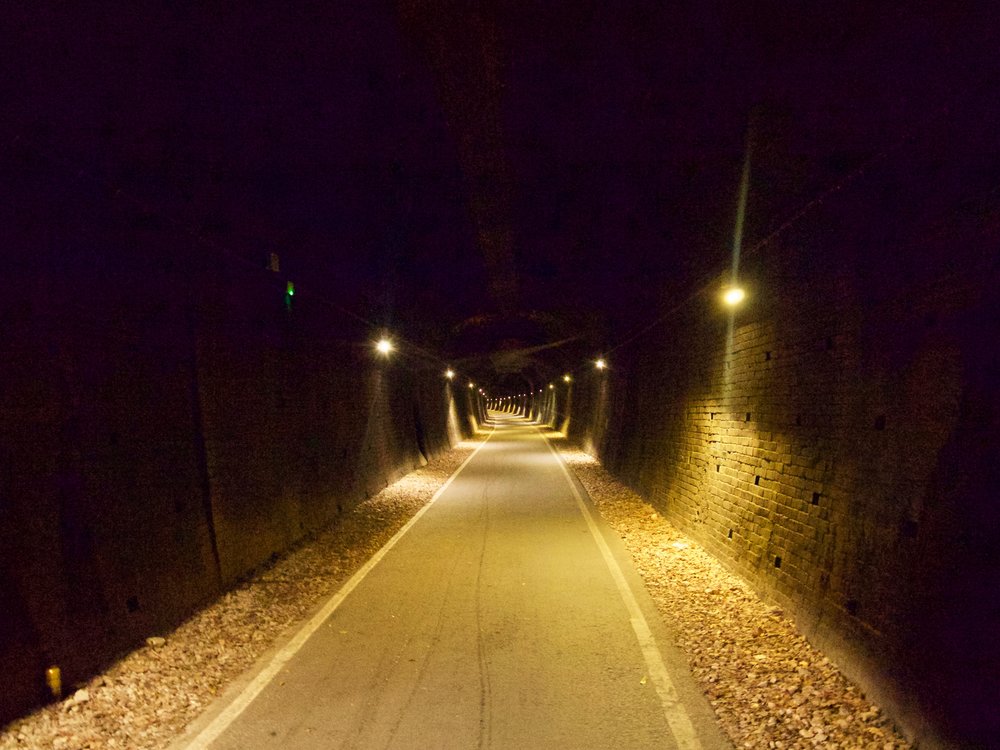
Ken set off into the streets of his student city and made some rapid progress in my opinion. In fact, I am impressed with his initial results. He was courageous in taking the slow zoom (and an early m/43 camera with poor ISO performance and questionable dynamic range) out into the streets at night. It’s more than I would have risked for my first outing.
Something had to give and, with ISO pressed up to the heady heights (for this sensor) of 1600 and speeds dragging their knuckles at 1/10s or slower (young student hands are steadier than older versions, I have to admit) the results are more than interesting. With a more modern camera, a higher dynamic range and a faster prime I can imagine young Ken could do great things. Given the limitations of the equipment, there’s a lot of natural talent on view, especially in the night shots.

We all have to start somewhere and I’m impressed so far with what can be achieved on a modest budget, especially when it is combined with a budding talent. Ken now has his sights on a prime, perhaps a 35mm equivalent with a wider aperture, and is even considering investing another £50 in an OM10 or OM1 film camera. I expect great things, given the results of this first “roll” and I am pleased to see that my mentoring has produced such such commendable results in a very short time. I intent to loan Ken a modern camera with an ultra-fast prime and see what he can make of it. Watch this space.
_____________
- Subscribe to Macfilos for free updates on articles as they are published. Read more here
- Want to make a comment on this article but having problems? Please read this
Lots of excellent advice there Mike and I think I might recognise the locations too!
Yes it’s not about equipment so much as knowledge, time spent doing it and ability. The quality of the equipment clicks in later to add extra dimensions.
Cheers,
David
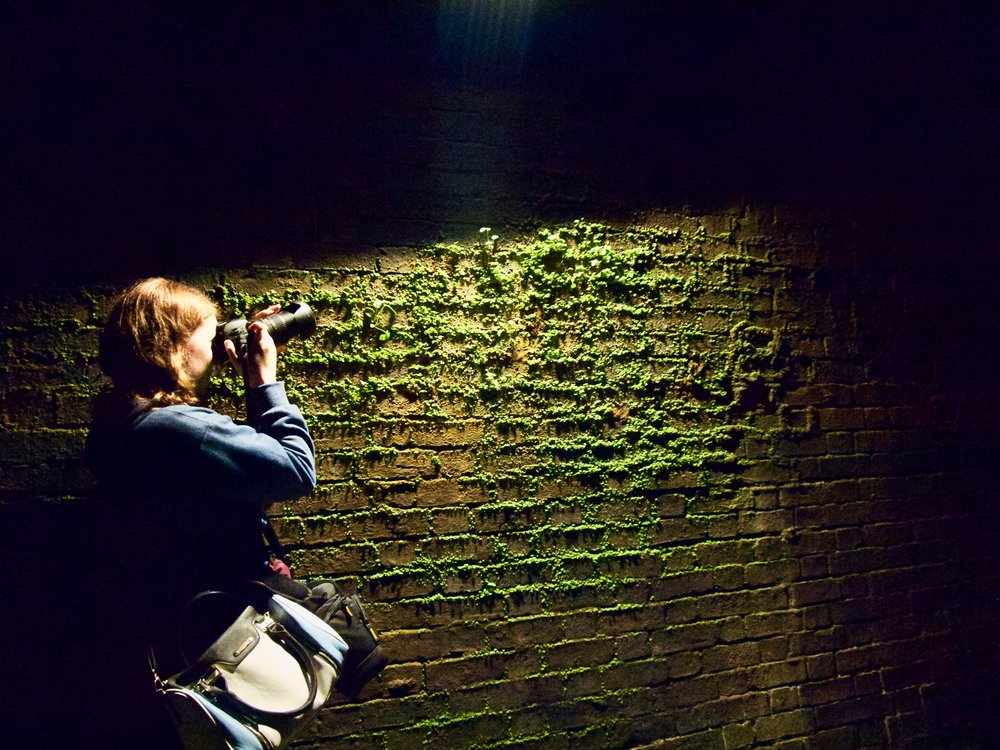
All excellent work. It is the photographer that takes the picture and not the camera which is only a tool. Nobody really knows what brushes Da Vinci used and it does not matter. It is good to see young people going beyond smartphones and learning how to use light in difficult situations. One of the great advantages of digital photography is that it only takes a few seconds to check out the exposure effects of different manual settings and to learn how to use them, particularly for night shots. Holding a camera steady at slow shutter speeds is a real art which Ken seems to have mastered very well.
William
Some excellent pictures Mike along with proof that photography is all about the output rather than the equipment.
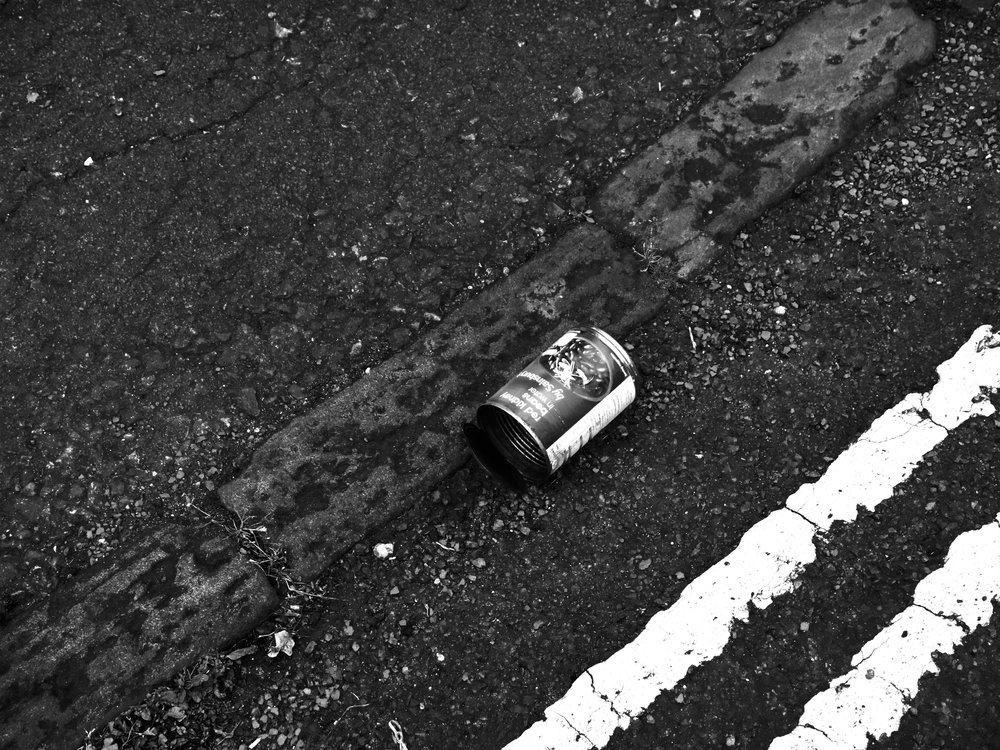
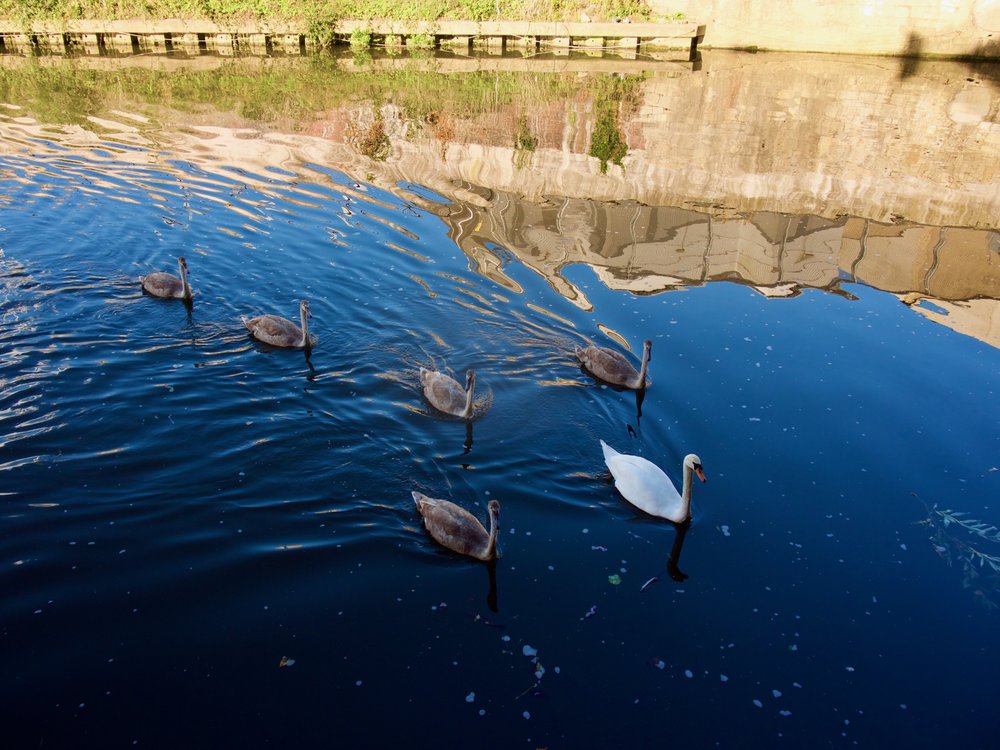
Apart from the kerbside can they are all very good compositions and he has used the light very well too.
So MD and the Nocti then Mike?