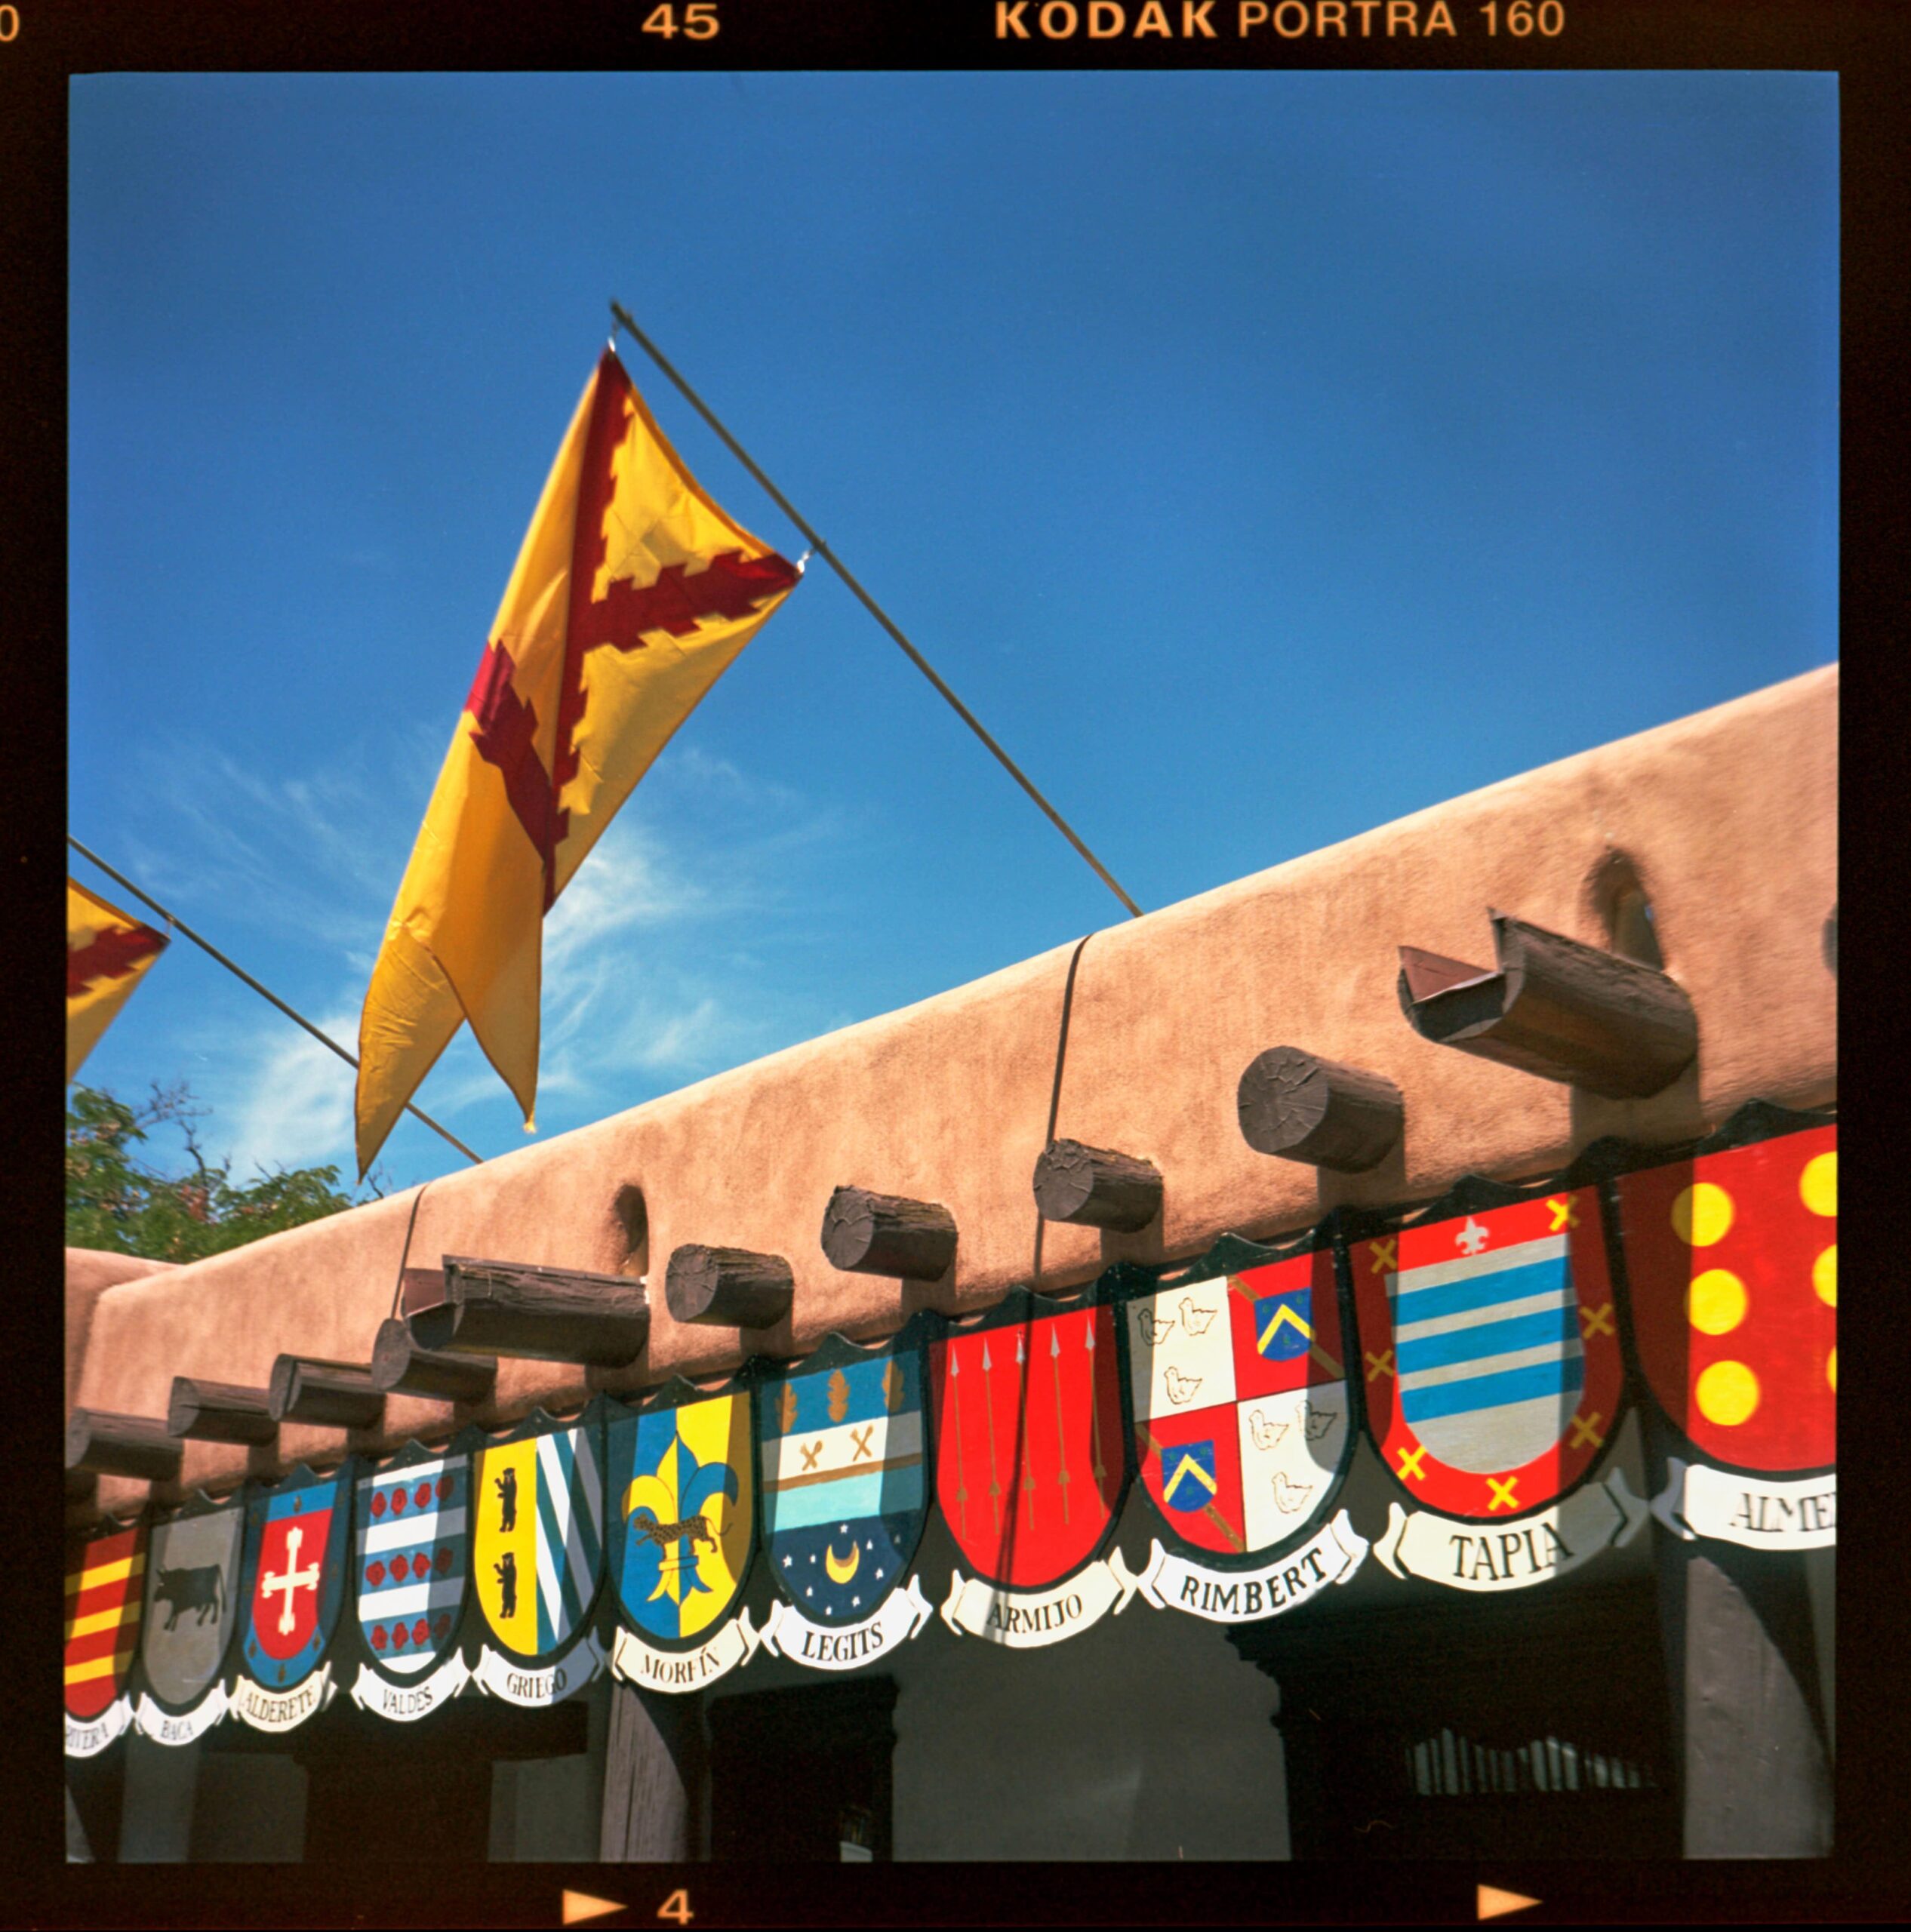
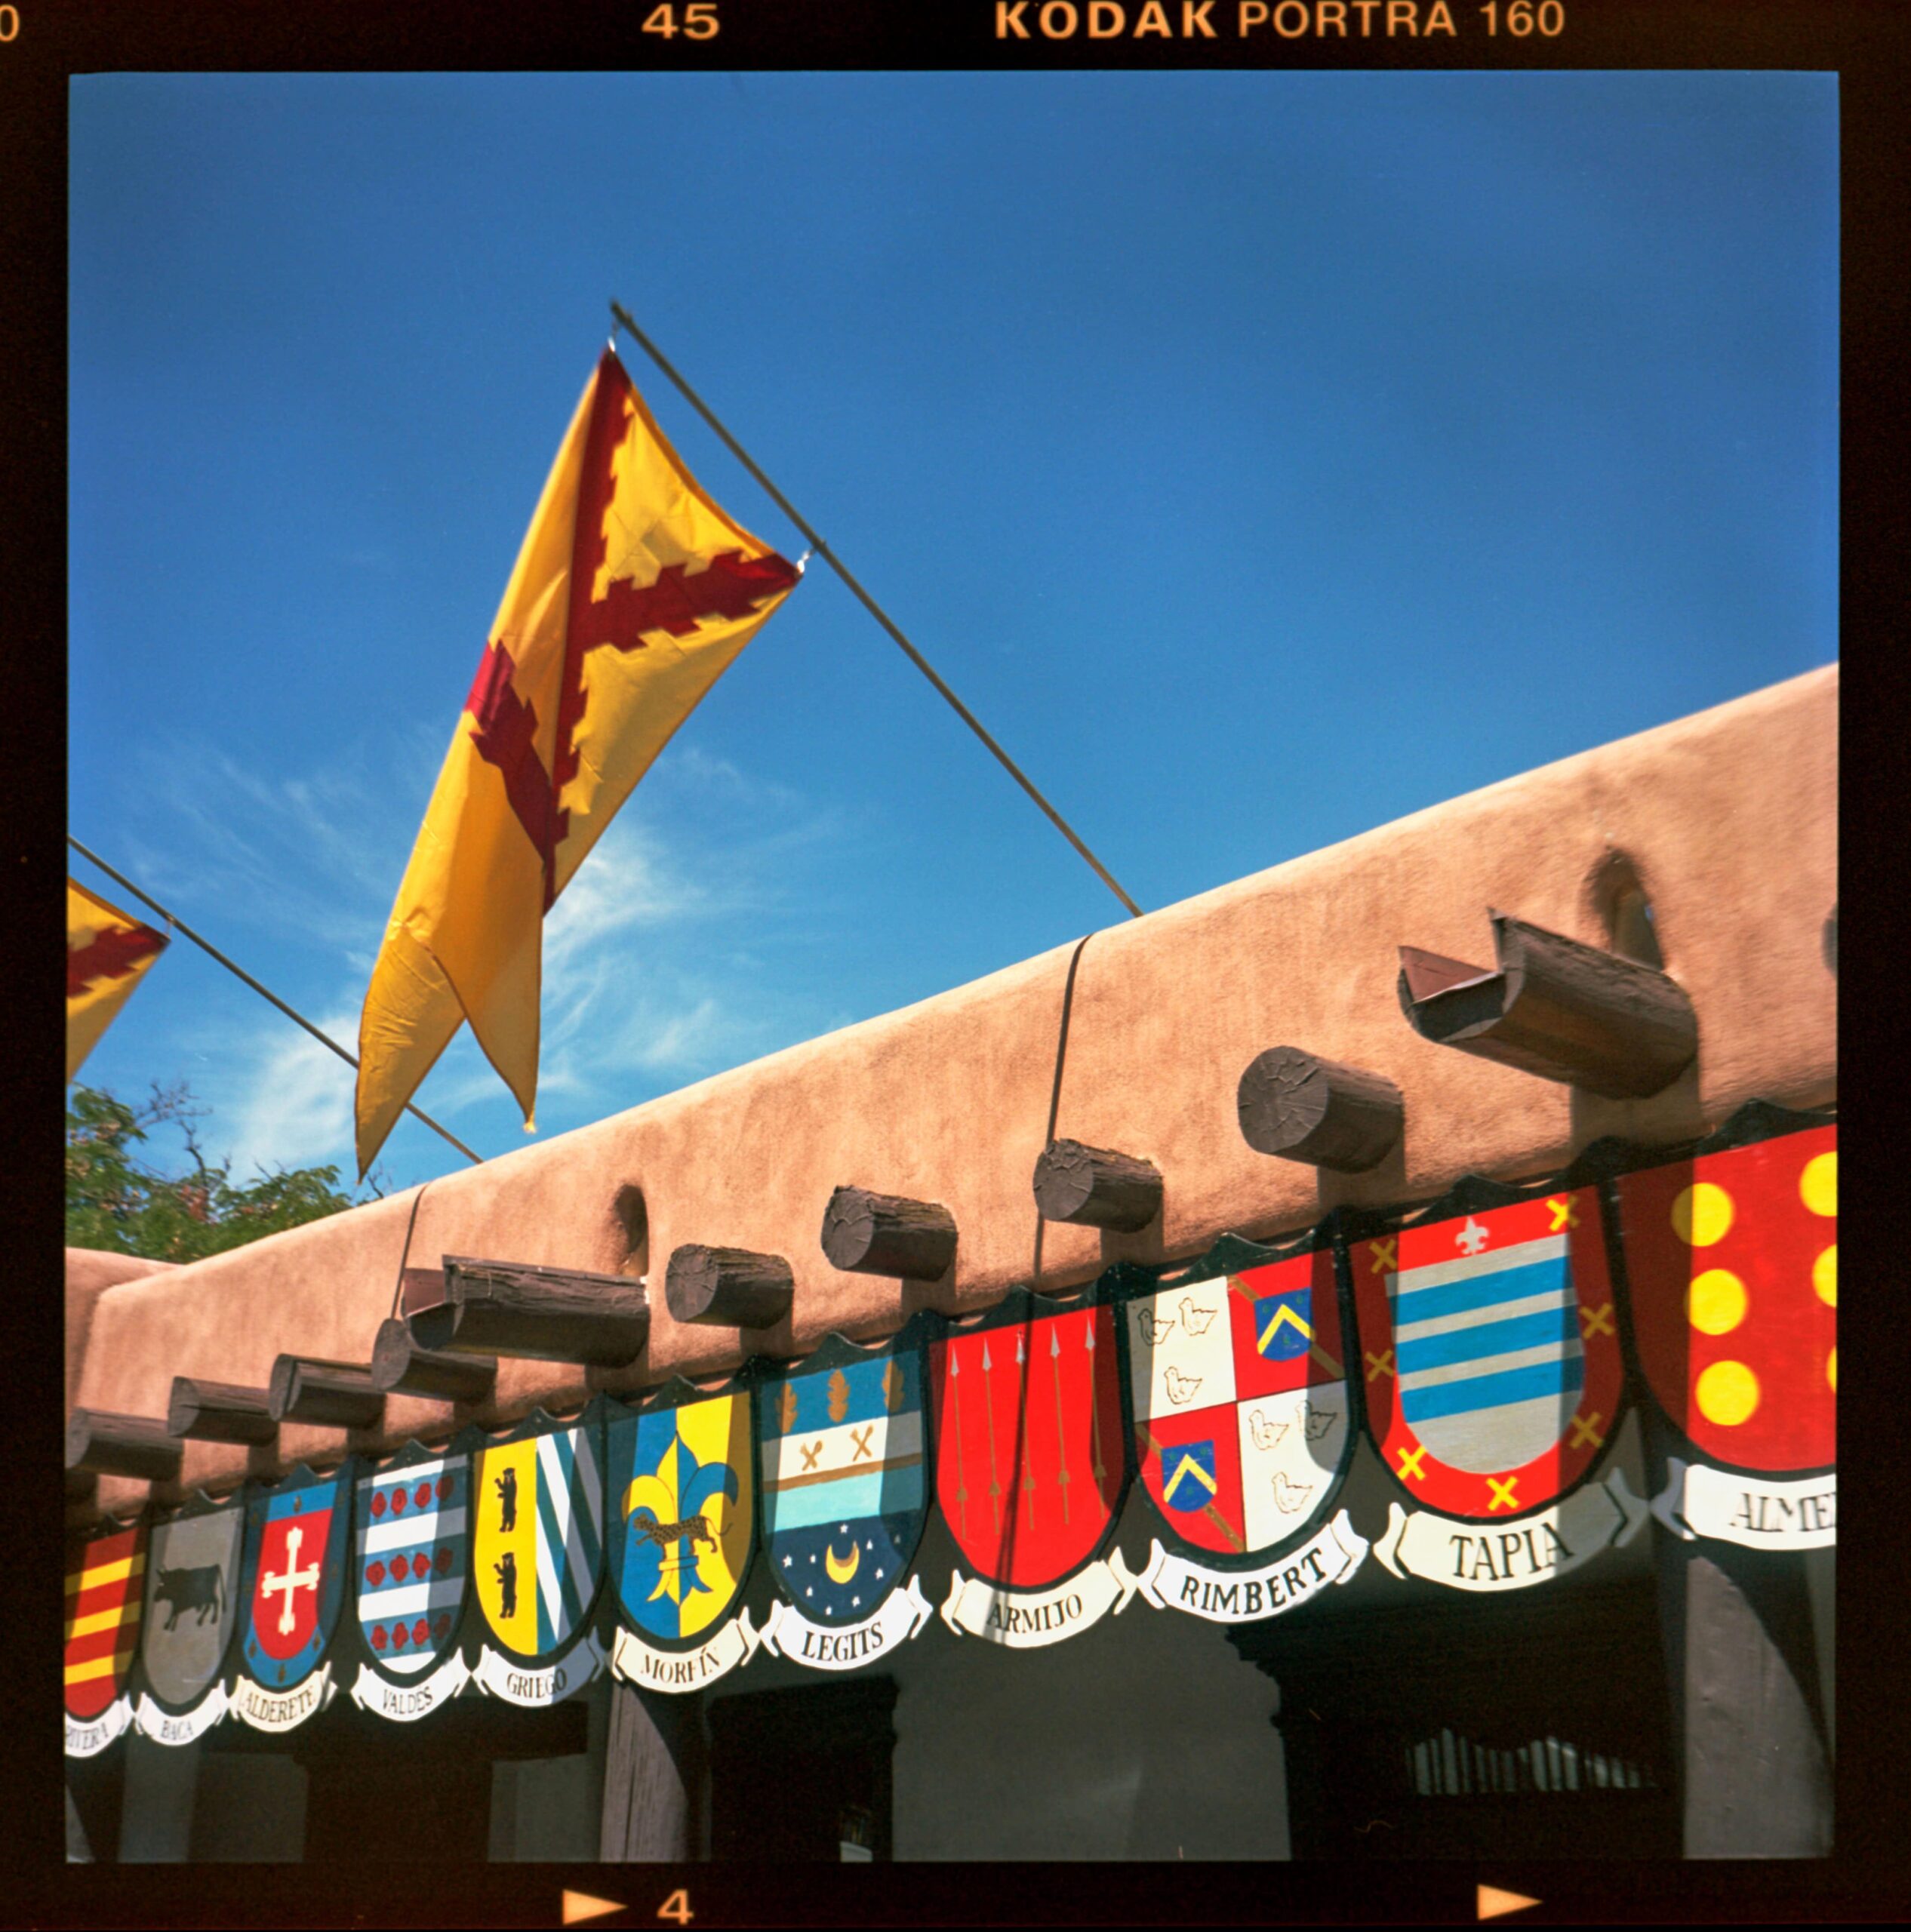
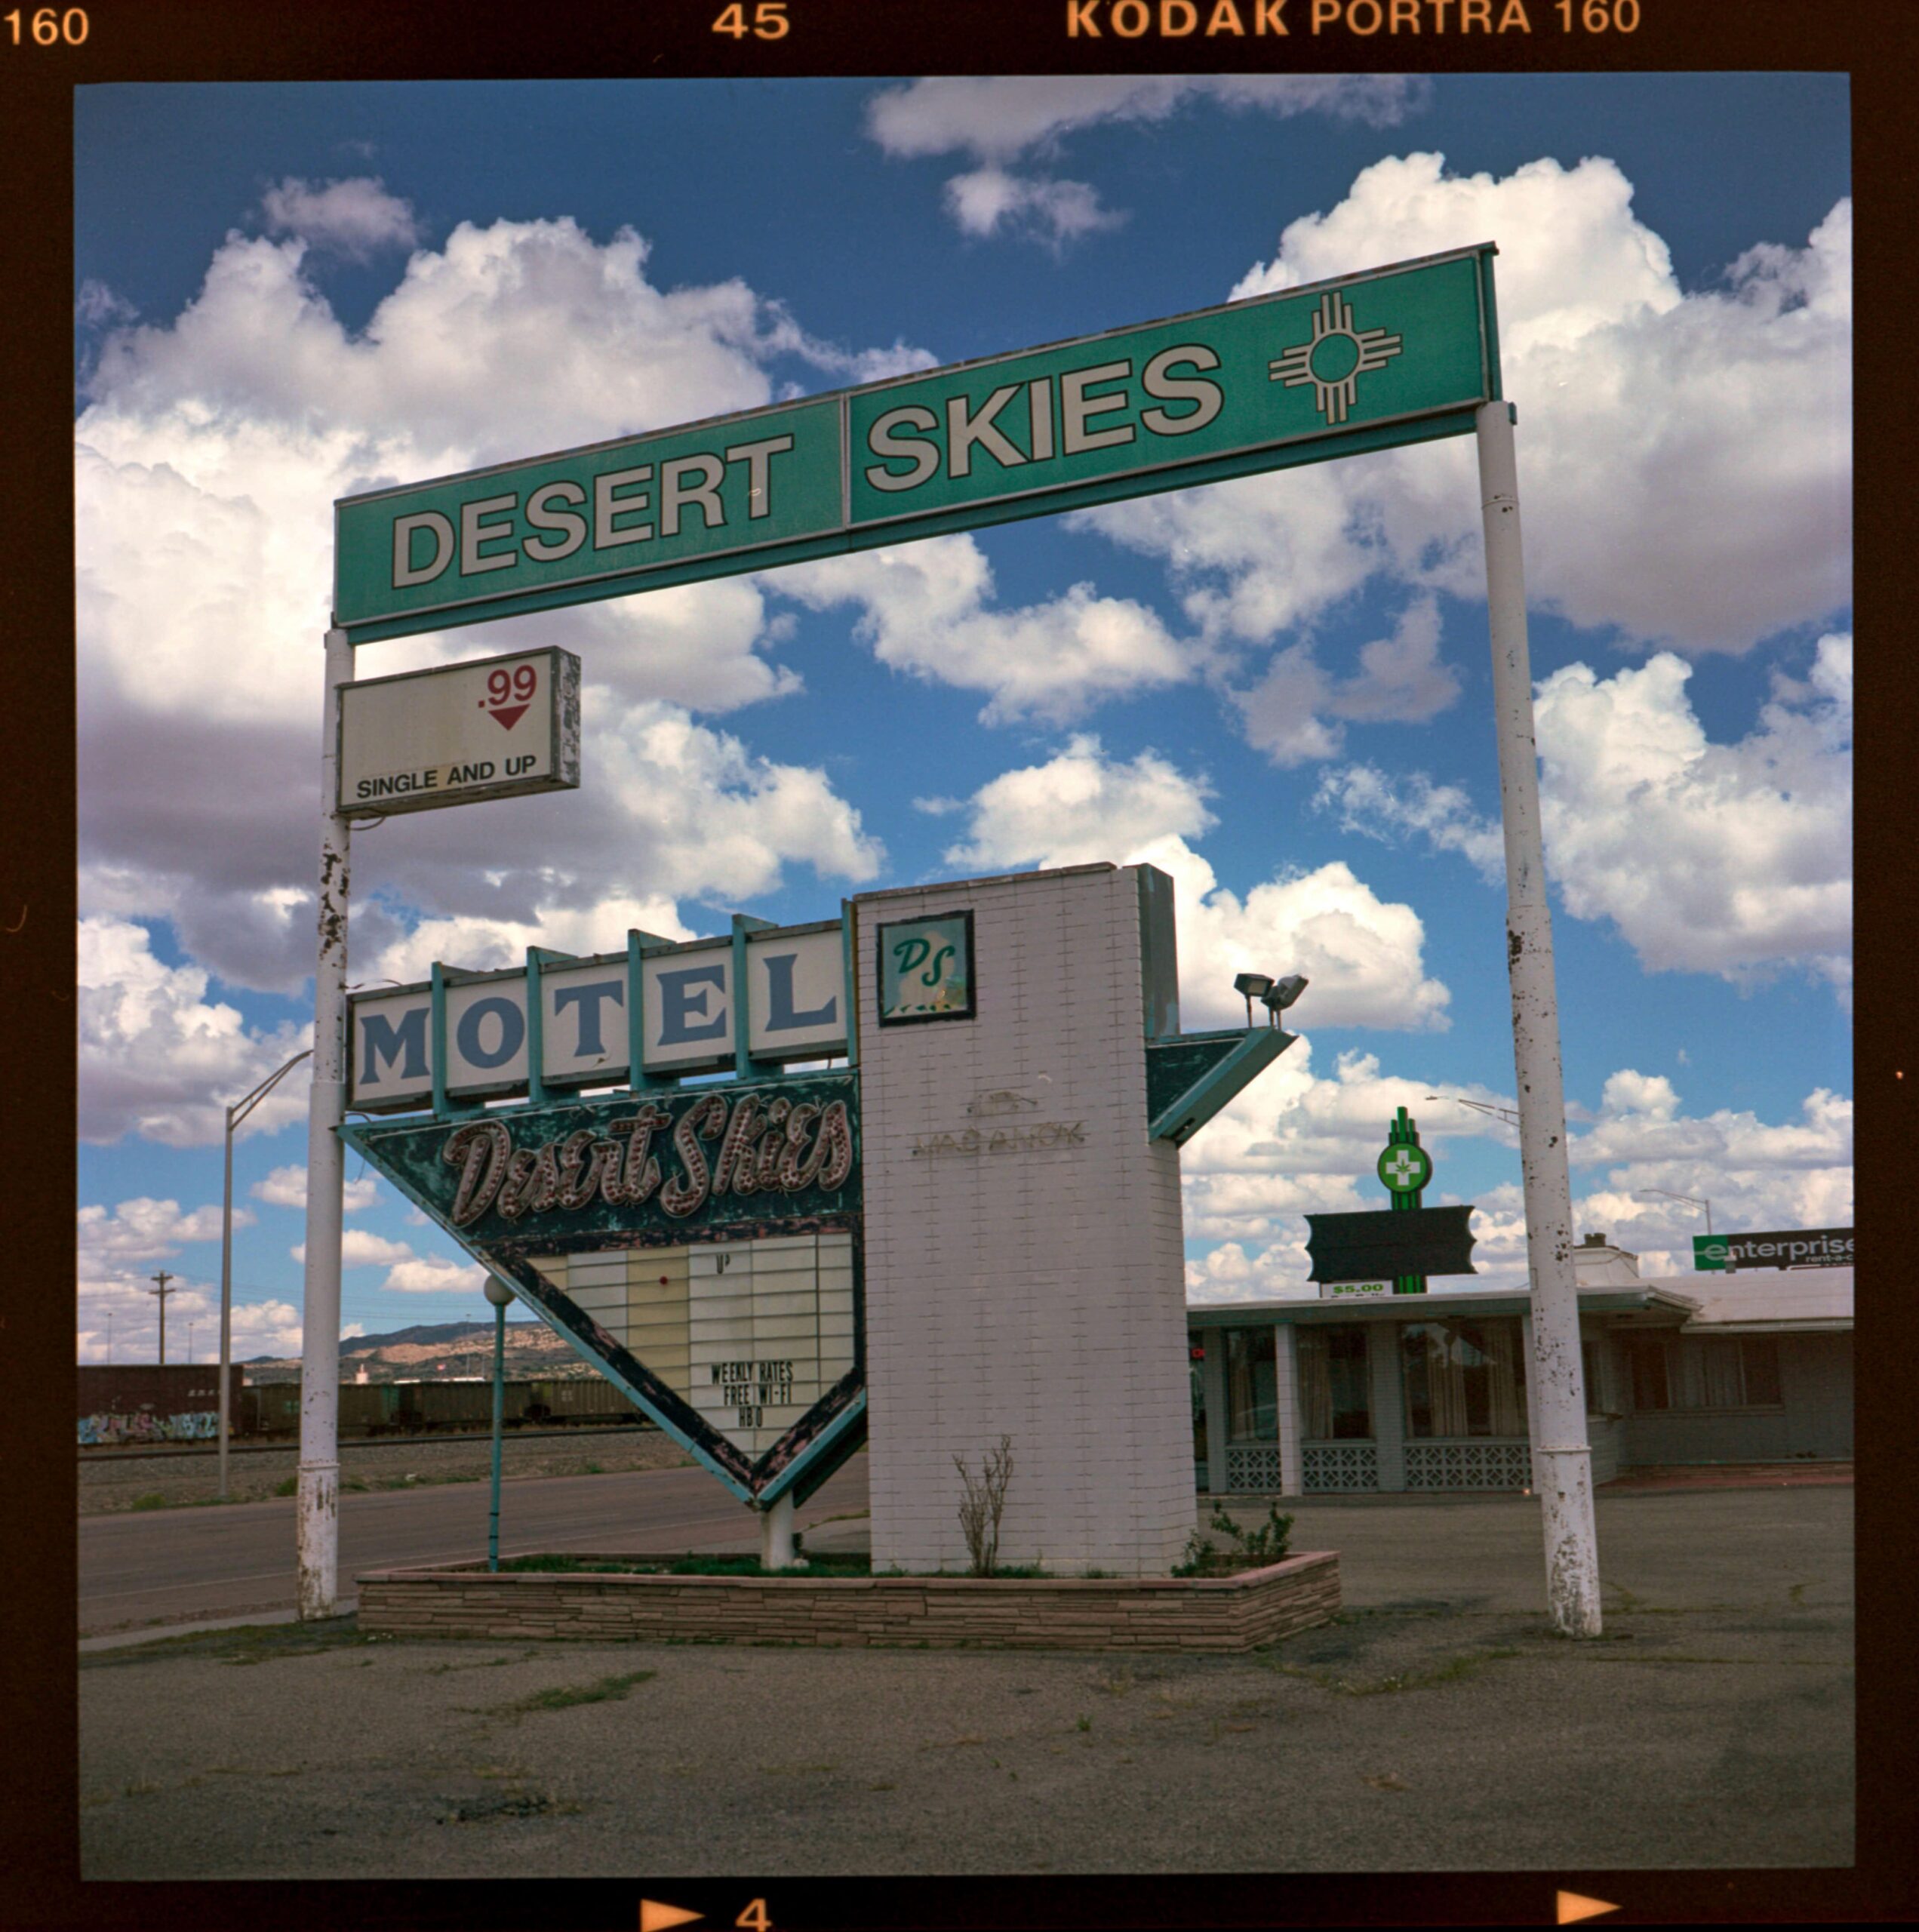
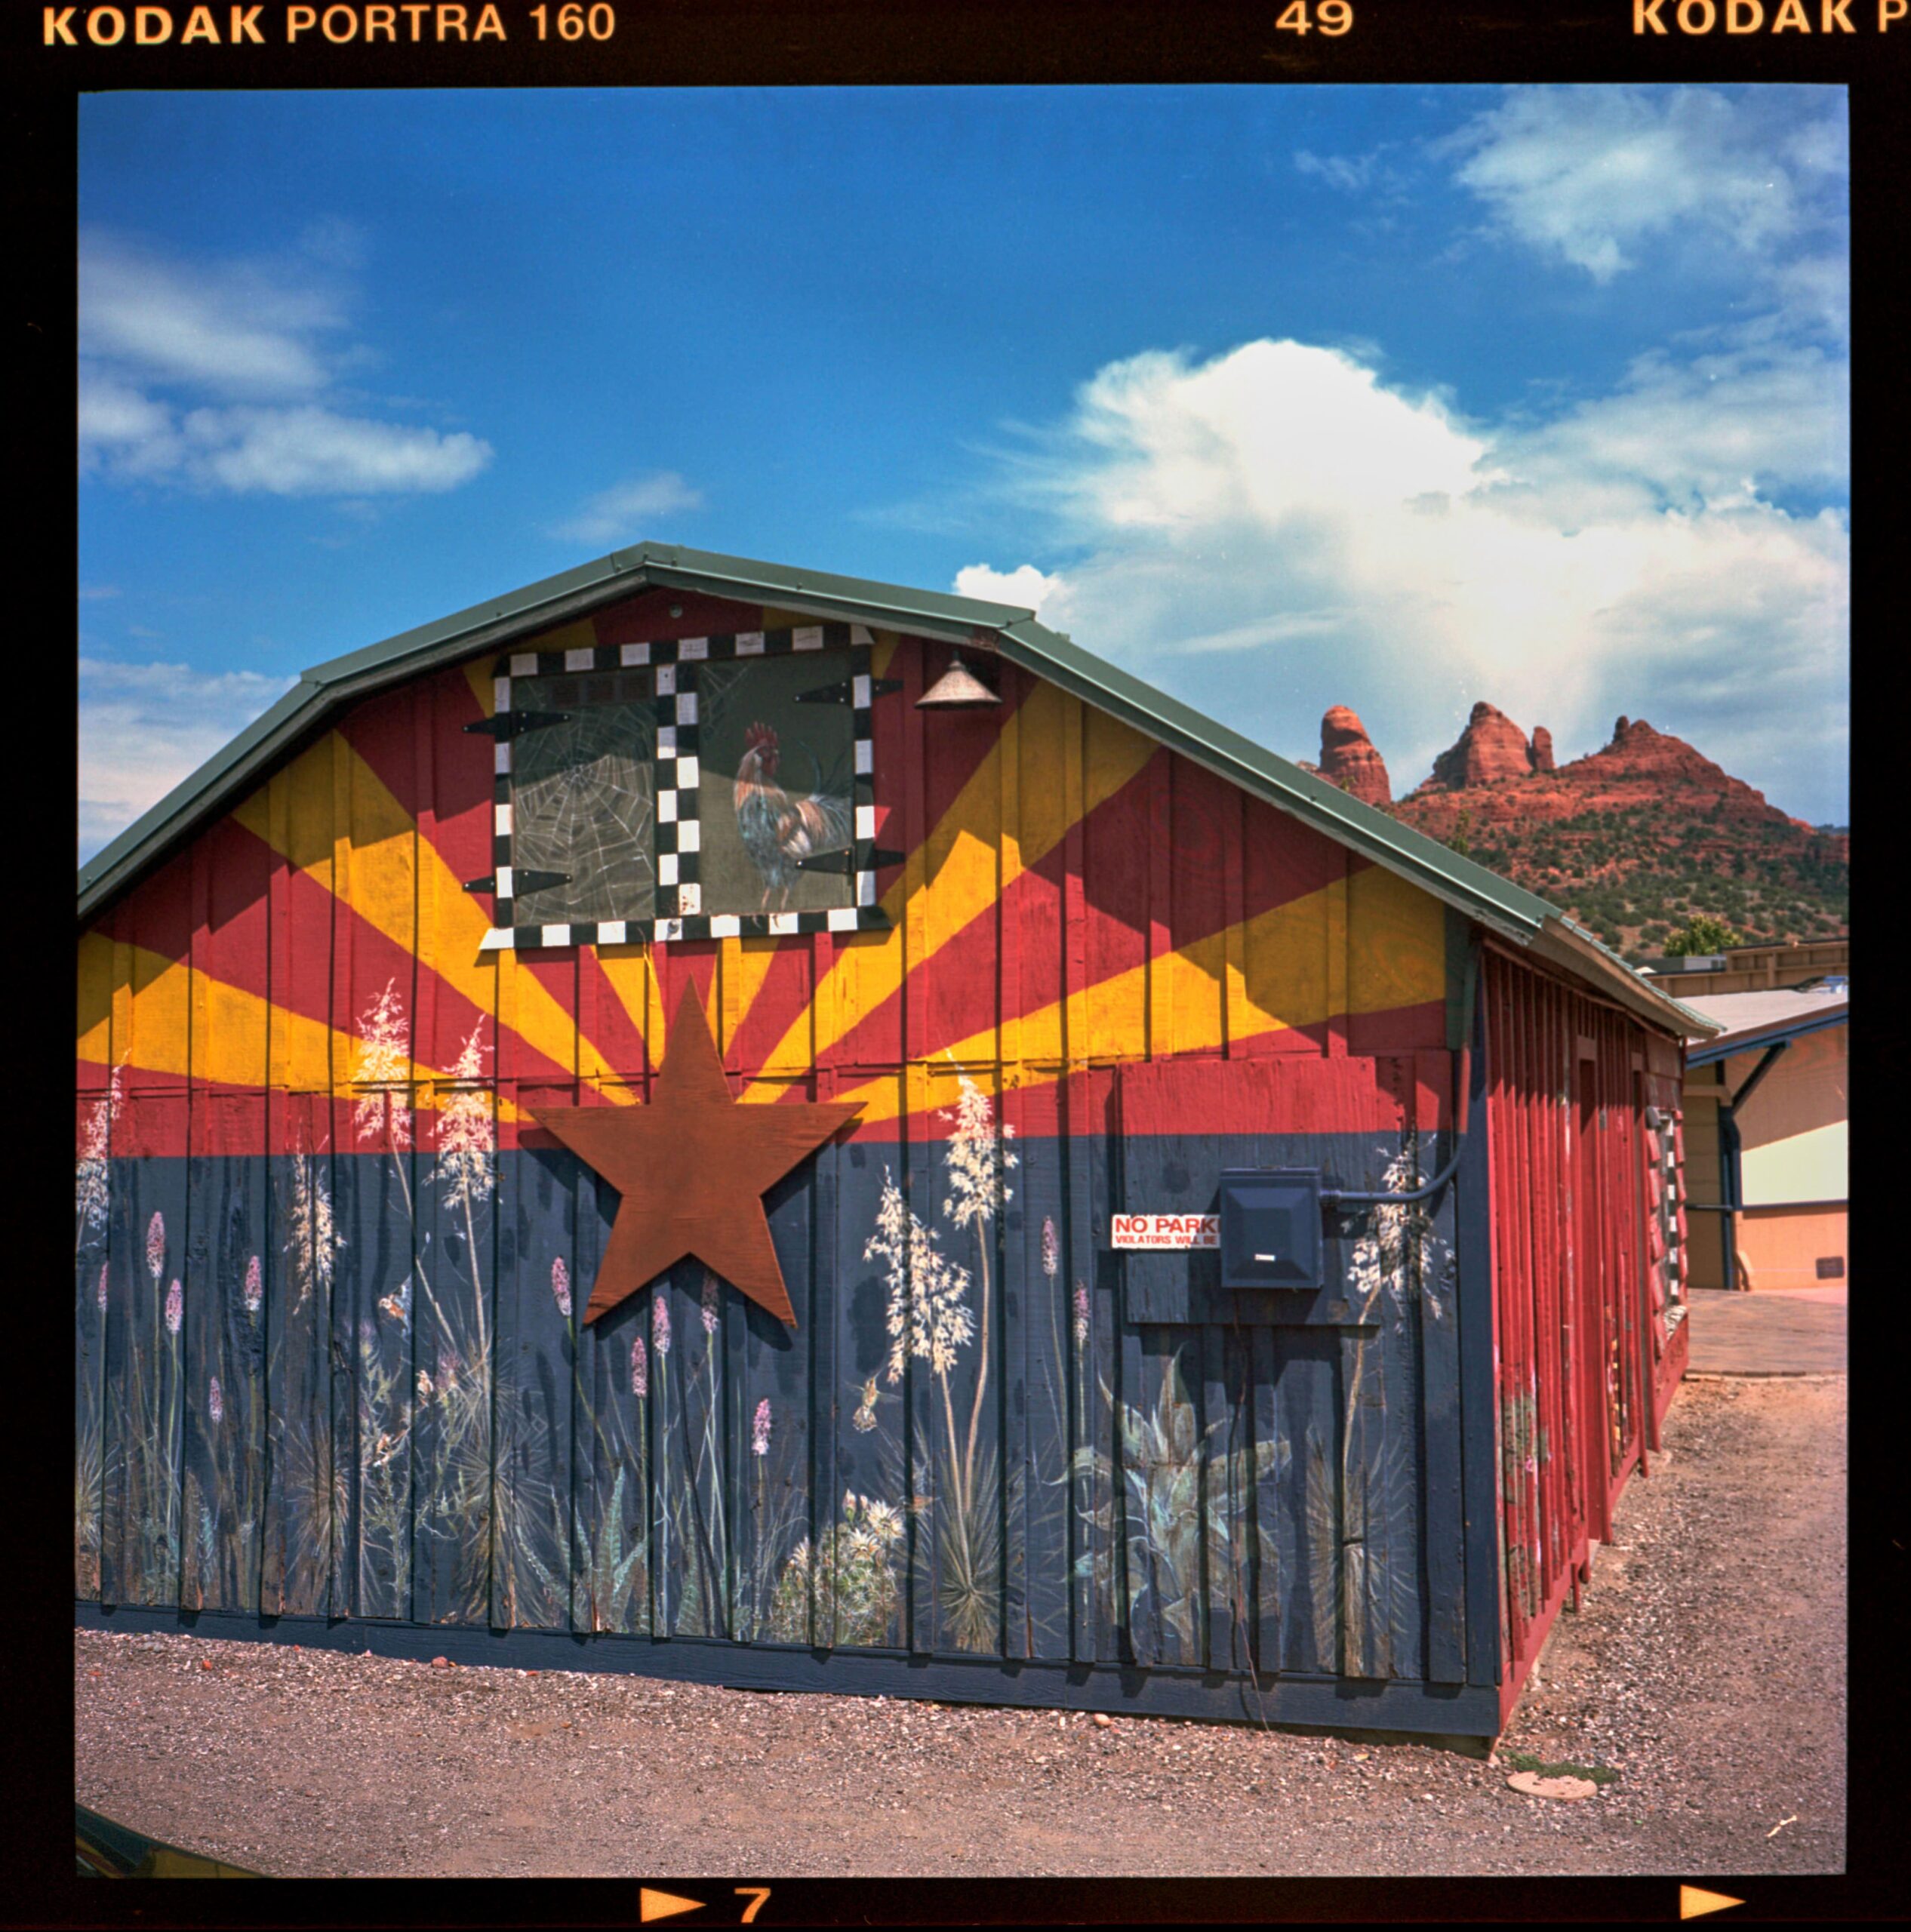
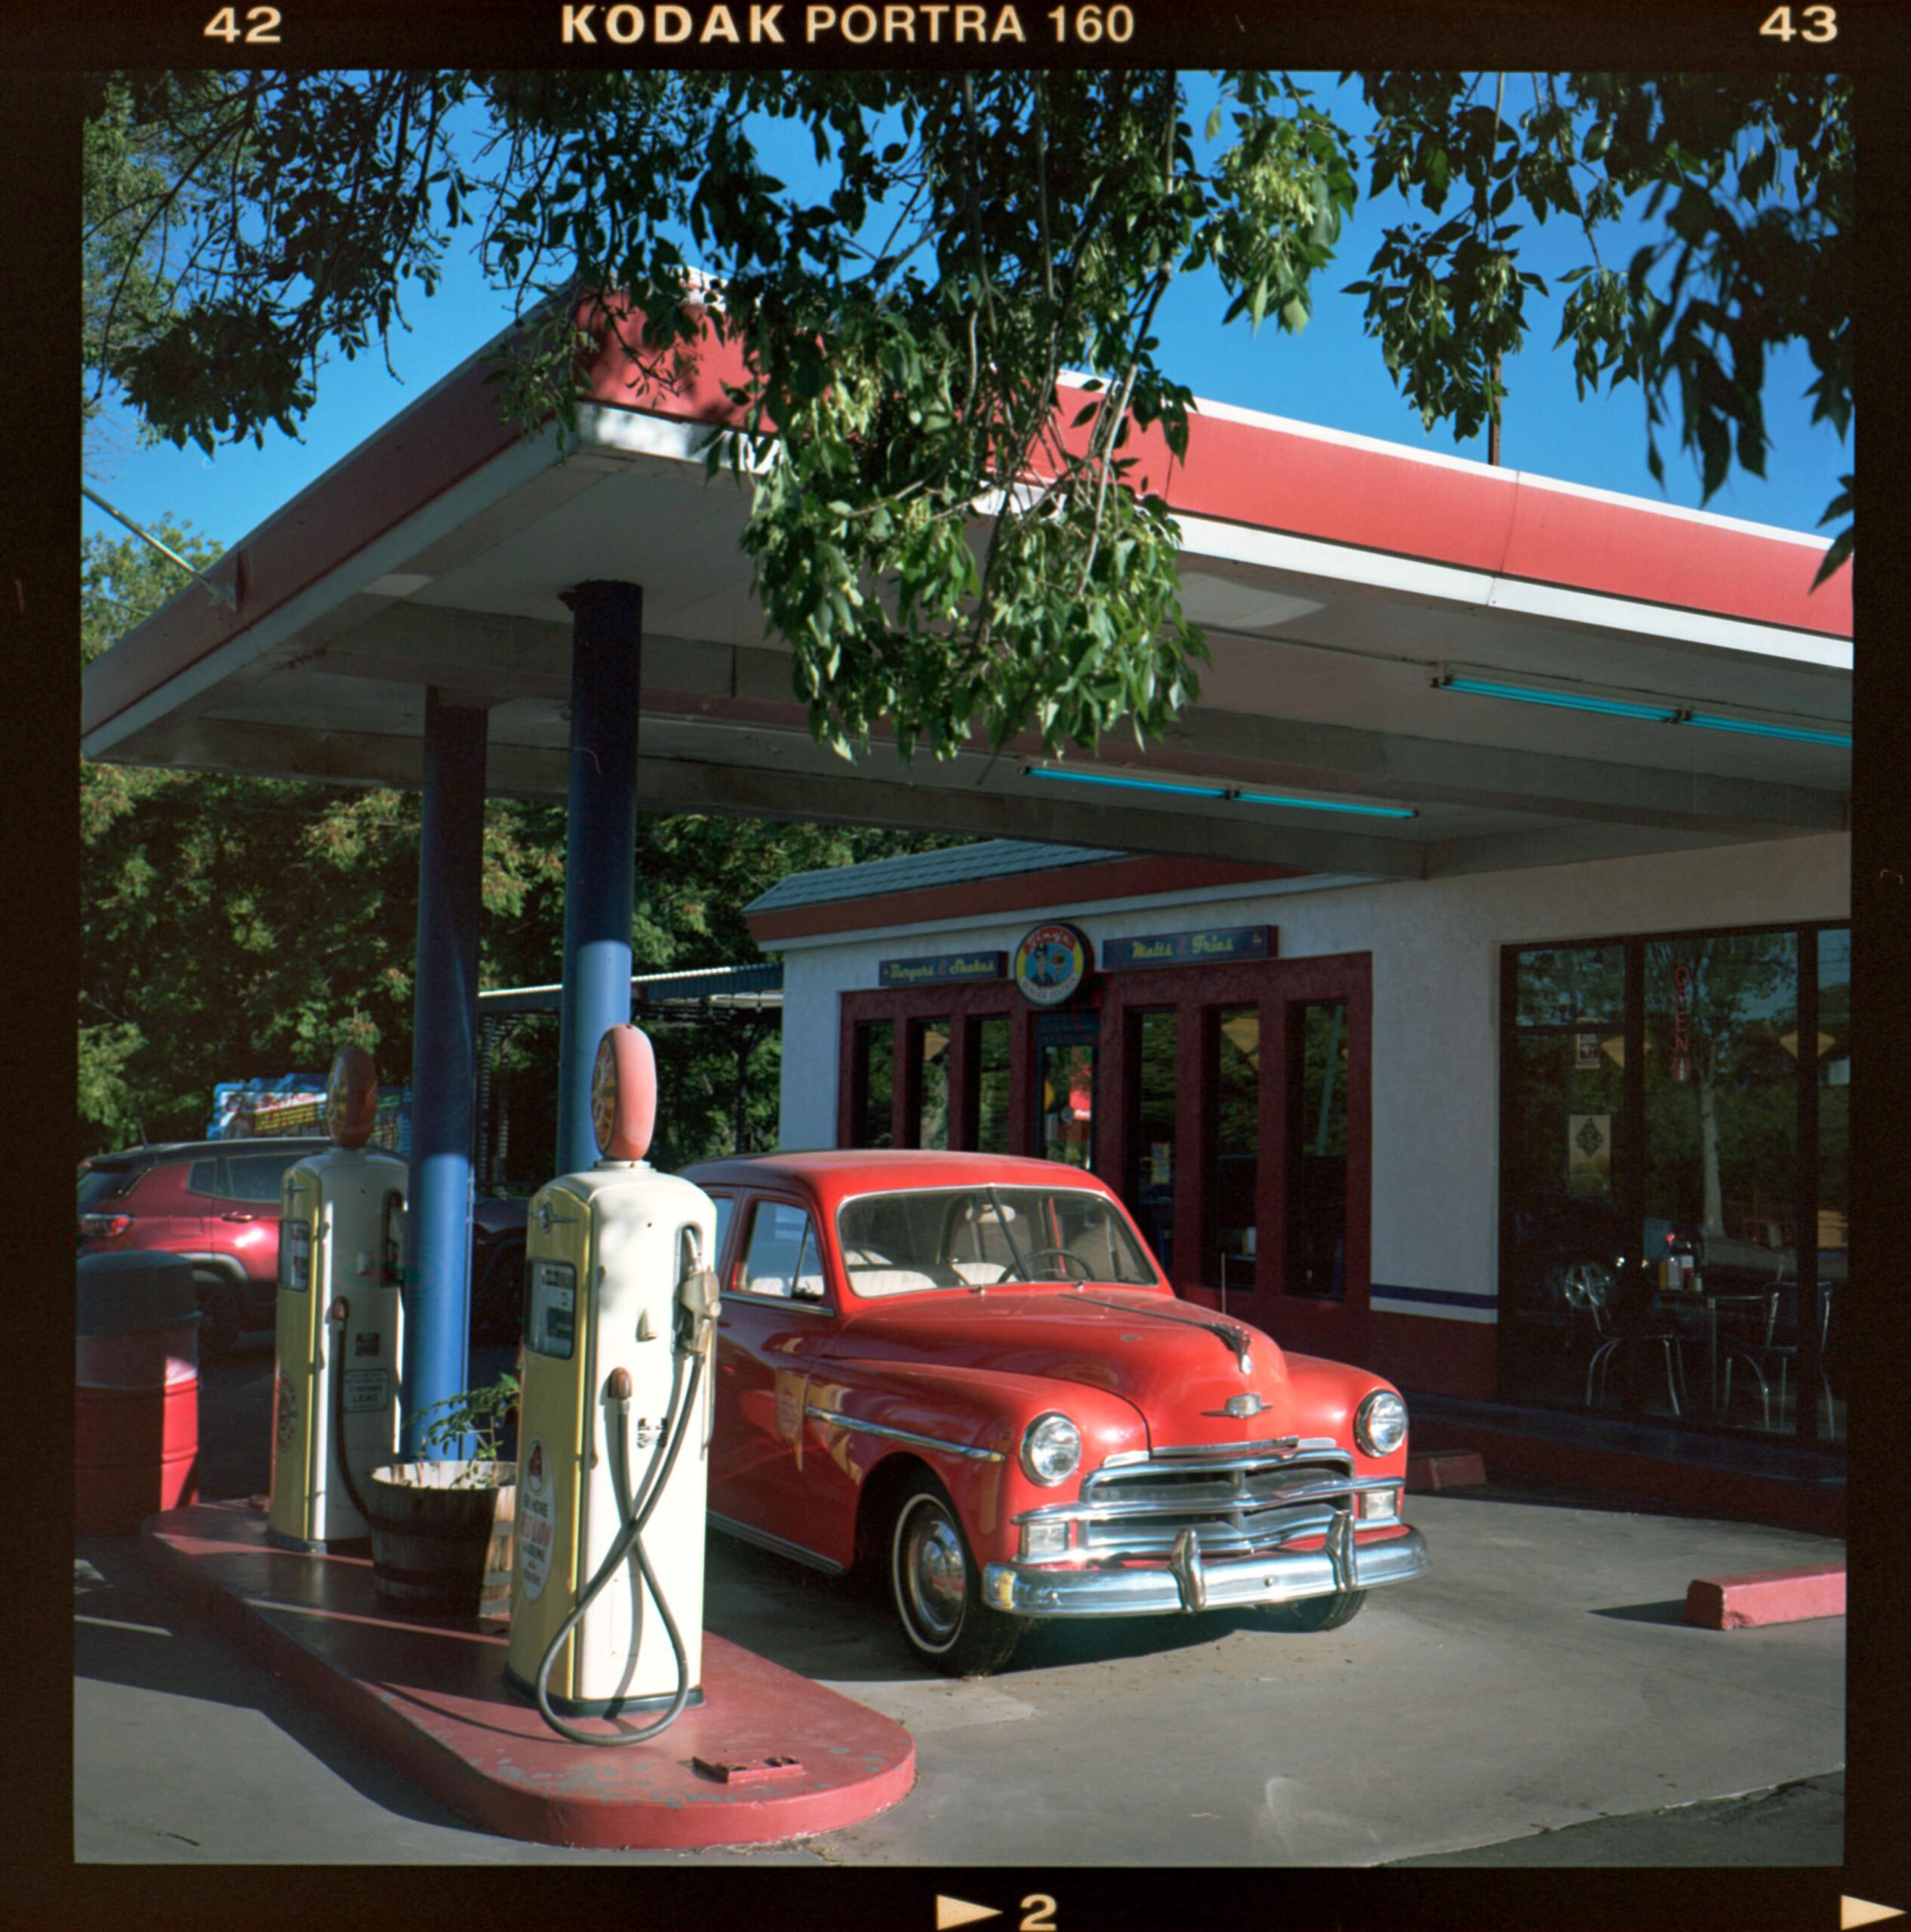
When I think about the colours that dominate the American Southwest, I see mostly a mix of hard and pastel variations of orange, yellow, green, and blue. Granted, you could say this about many other places in the world. But there is something about the hues in states such as New Mexico, Arizona, Utah, and Colorado that makes them feel…. Well, just different. Add to that the fact that these colours show up in some of the most amazing landscapes I have ever seen, and you can appreciate why I was excited to capture all this goodness on film.
Those who follow Macfilos know that I have embarked on a journey: Shooting film is a novel experience for me. I described it as humbling and, taking my Mamiya on a trip this summer across the aforementioned states, firmly entrenched that state of mind. I thought that the colours of the American Southwest would show up beautifully on film, with its soft transitions between tones. Indeed, I managed to find some of that. But there were more lessons for me to learn to really master shooting film, and a bonus lesson on scanning negatives I am still battling with.
The first lesson
The first lesson arose from a true user error. I managed to underexpose just about all the five rolls of film I shot on the trip. For some reason, I thought I was overexposing the Portra 160 film by setting the ISO on the camera to 100, which of course did exactly the opposite. I still don’t know why I made that error in judgment, but that is why all the images in this post are as dark as they are.
I managed to recover a bit in post, but I did not want to change too much. That was of course one of the reasons I wanted to experiment with film, not to meddle too much with the output and accept what I got.
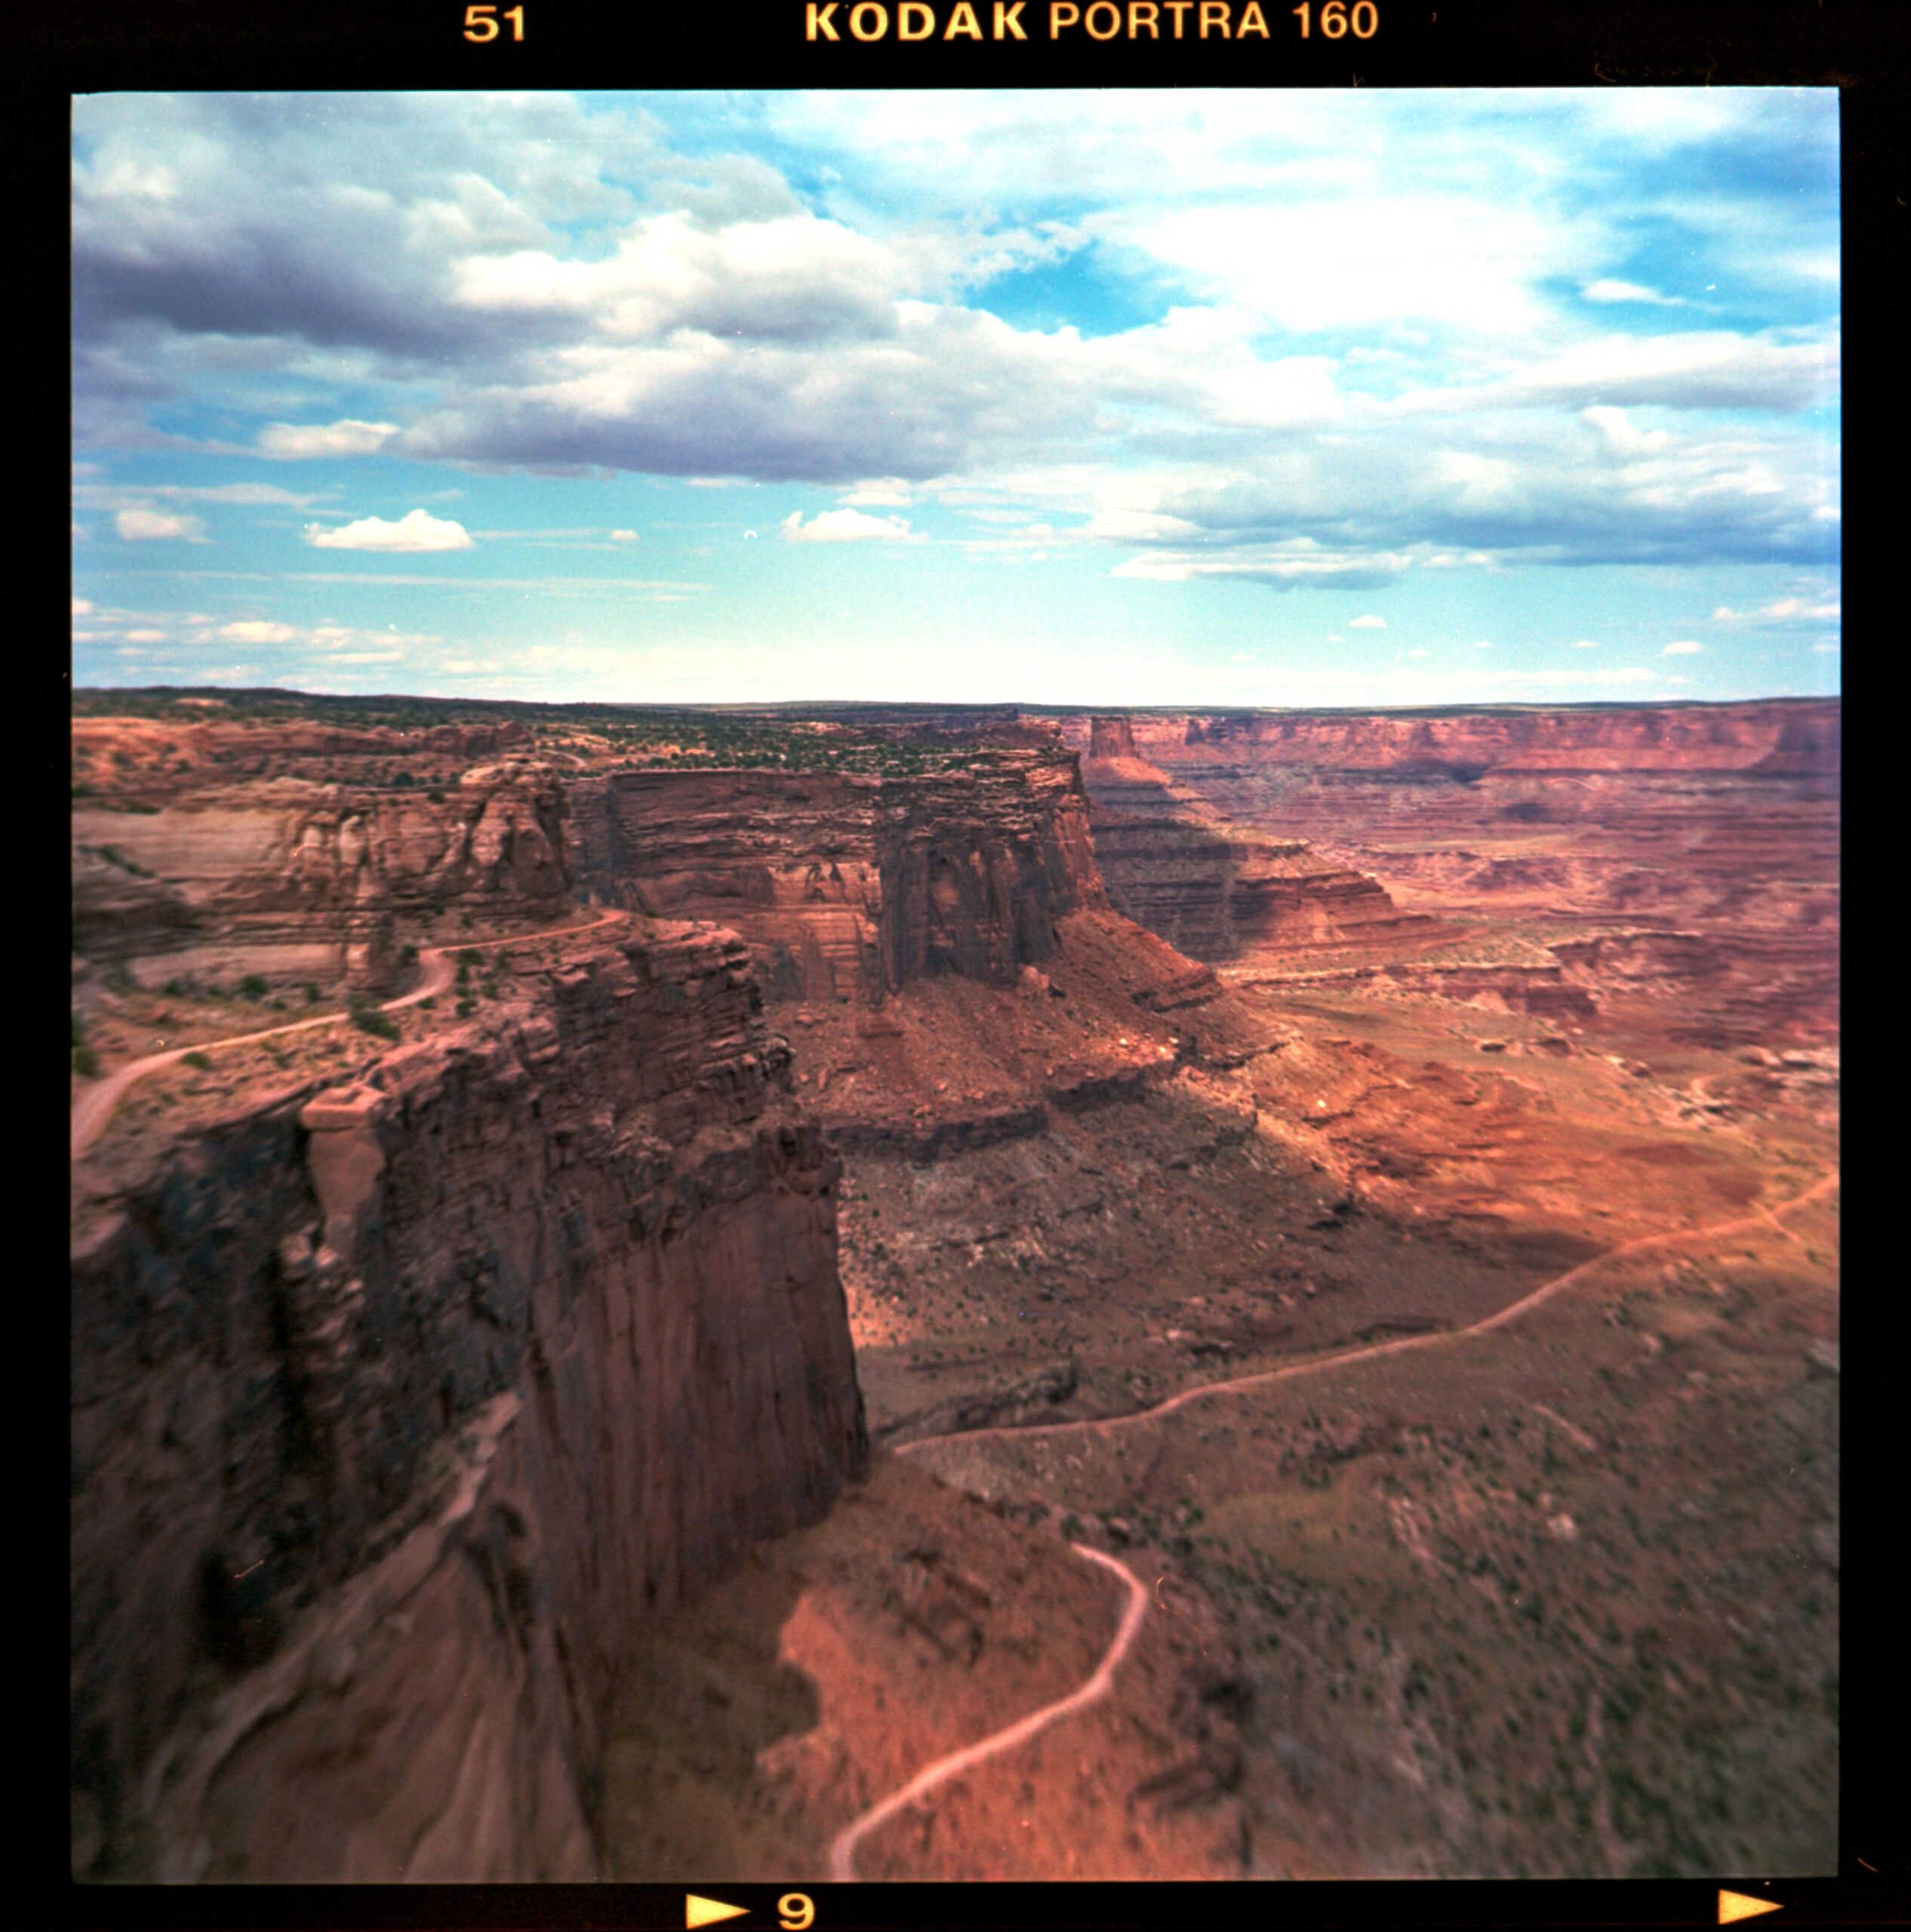
The second lesson is something I still haven’t resolved. Even when shooting at f/8 or f/11, I somehow managed to get smeared corners when attempting wider landscapes. I don’t know if this is also user error, but I have read some issues with the Mamiya 6 bellows not being extended fully. I need to look into this because it is a shame to see this magnificent American Southwest landscape looking all smudgy.
Update: I took my camera to the fine people of Amsterdam Camera Repairs. They told me the lens is indeed very hazy with all elements contaminated. It was in real need of a service, which it is getting currently…..
The final user error fortunately happened only once. A classic rangefinder mistake; I left the lens cap on!
A street corner
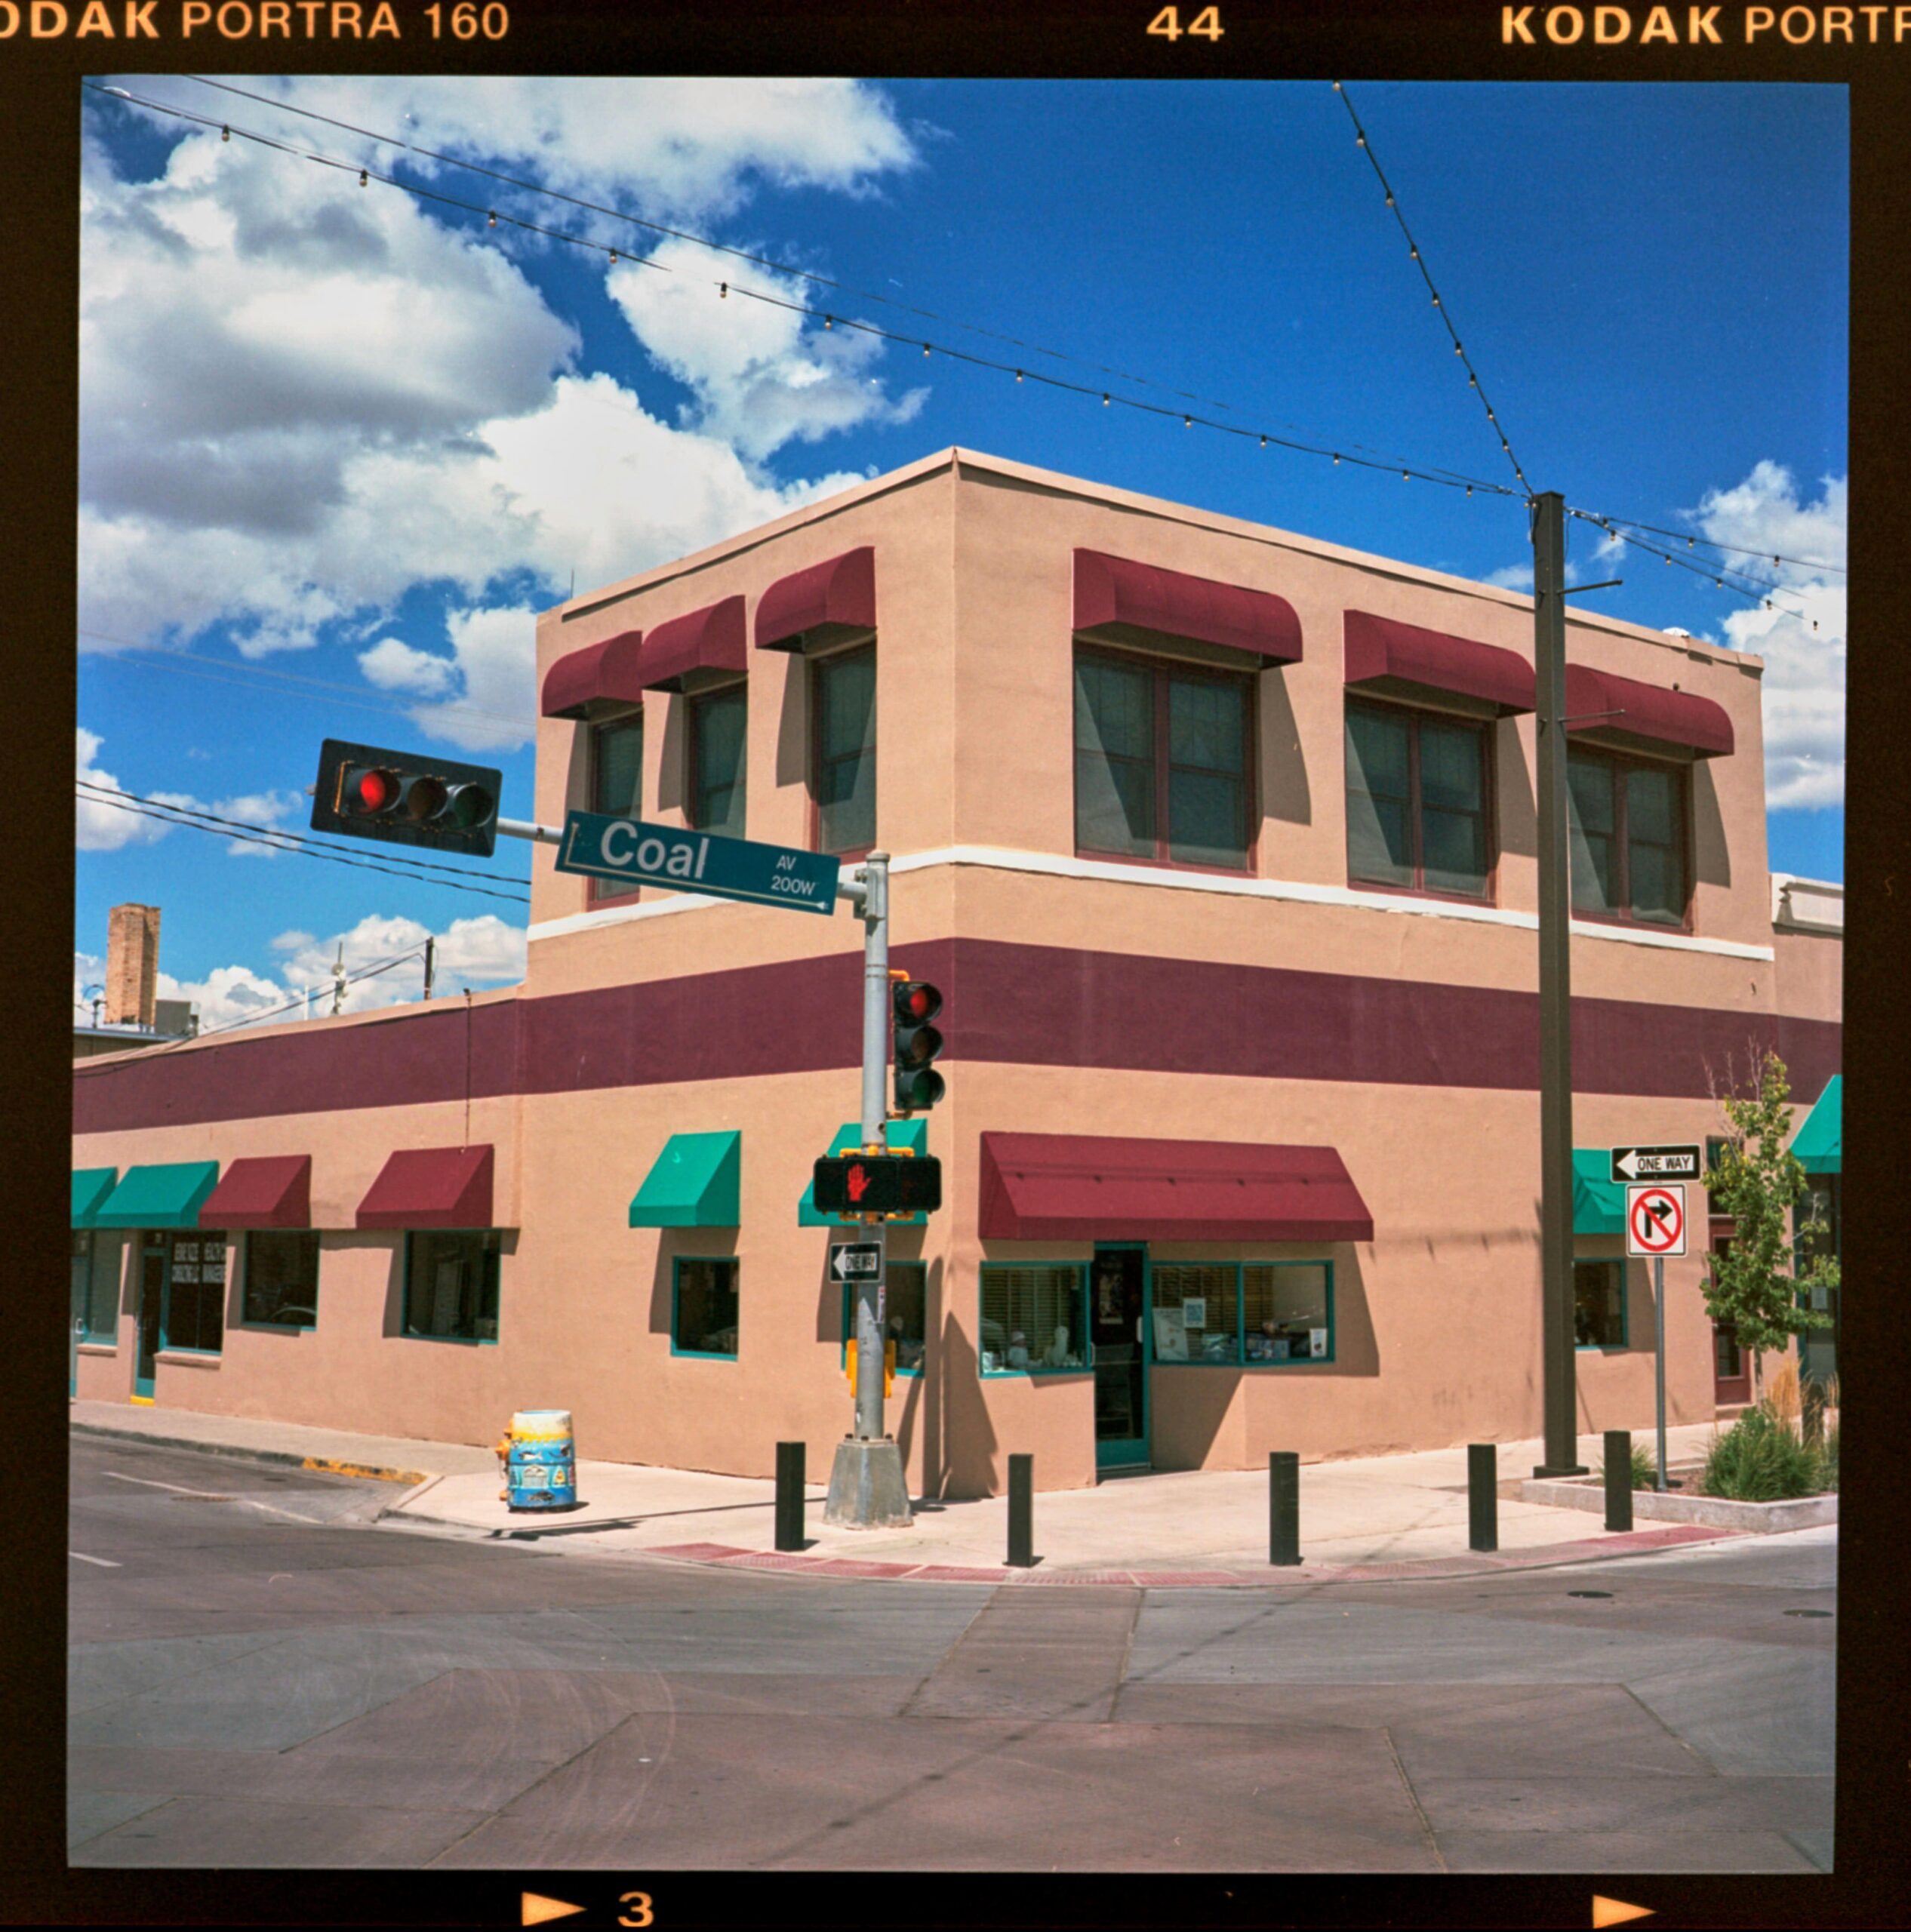
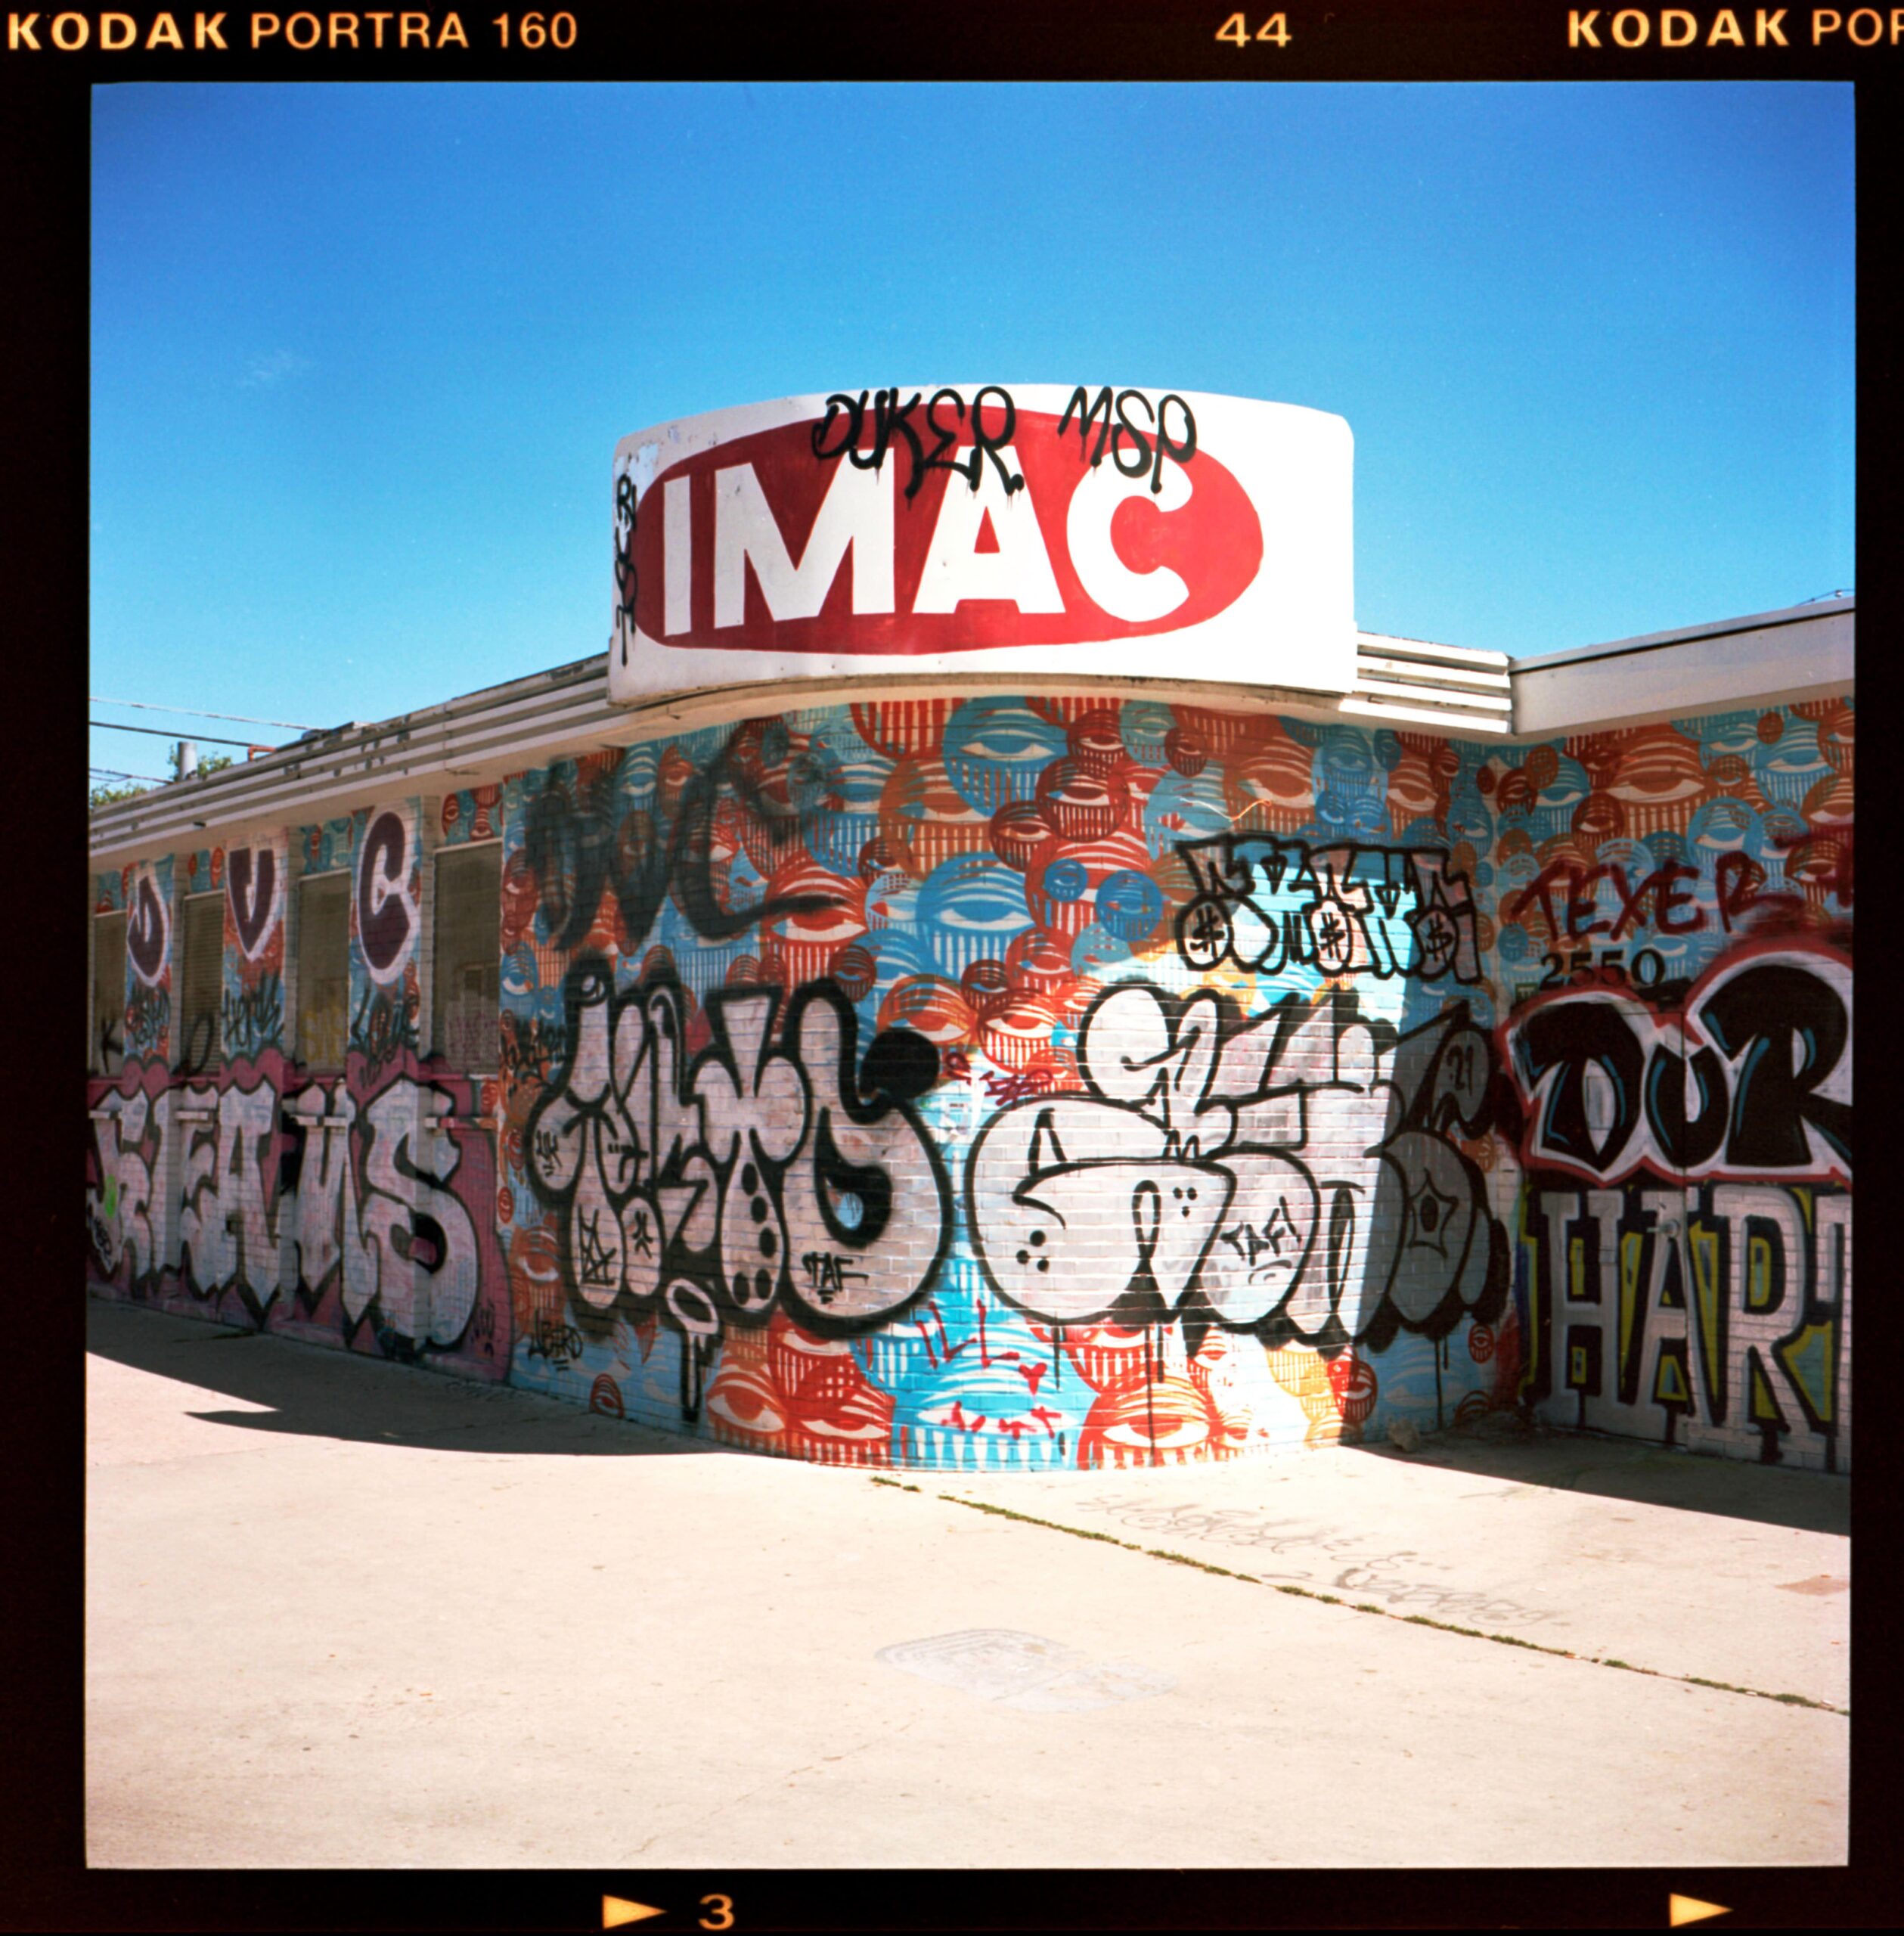
Back to the colours. The next photo is relatively mundane but captures the colours well, even with my exposure fumbling. The scene is a street corner in the town of Gallup, New Mexico. The light was harsh, being midday, but somehow managed to look softer than at home. If the colours seem very saturated, it is because they really did pop by themselves. I didn’t really do any editing on the photos, besides trying to bump up the exposure a bit. I think this street scene worked well on film.
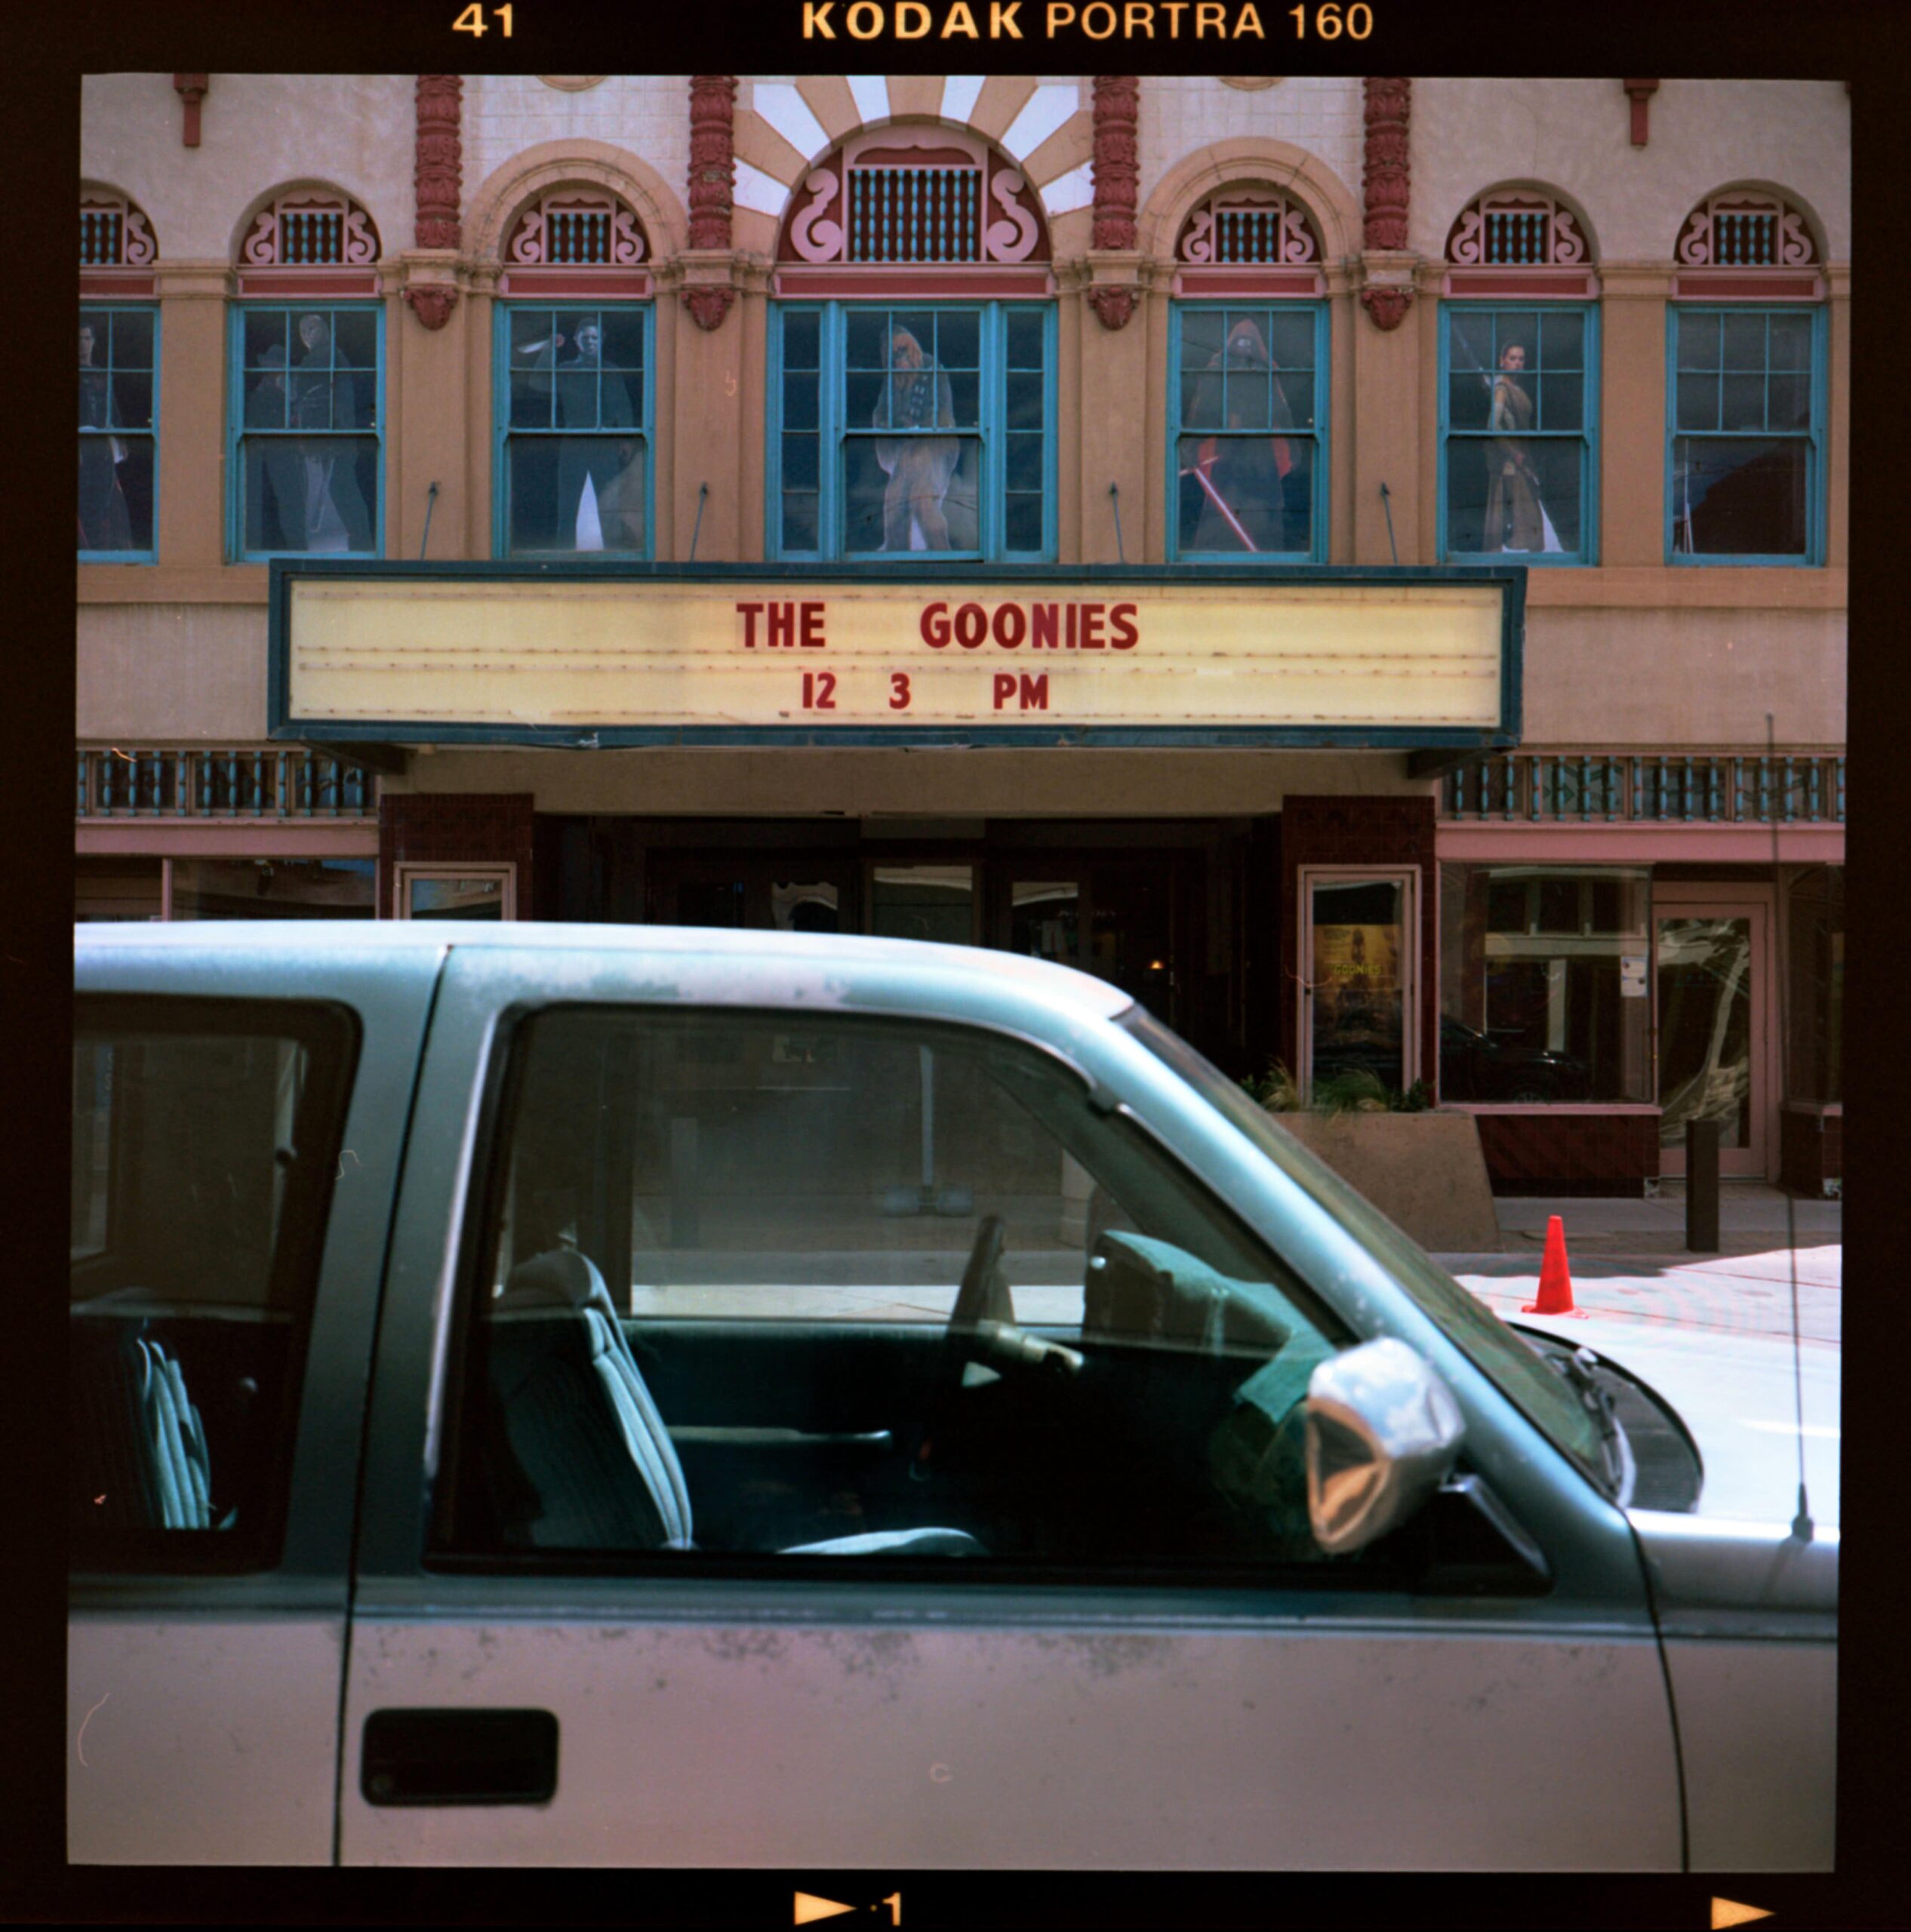
In that same town, about 50 meters to the left, is an old cinema. I noticed a classic pick-up truck parked in front and decided to bring them together in the frame. The ‘El Morro’ theatre dates back to 1928, and its pastel colours and mix of old and newer cinema characters in the windows makes for an interesting composition. With the older truck in front, this picture might have been taken in 1985, the year the Goonies was released, instead of 2023.
Square format
I am starting to get to grips with composing in the square format. Yet, I am not sure if I find this the best way to capture a scene. Having the ability to pick landscape or portrait allows you to play with leading lines much more than in a square, where there is little viewing dominance of one line over another.
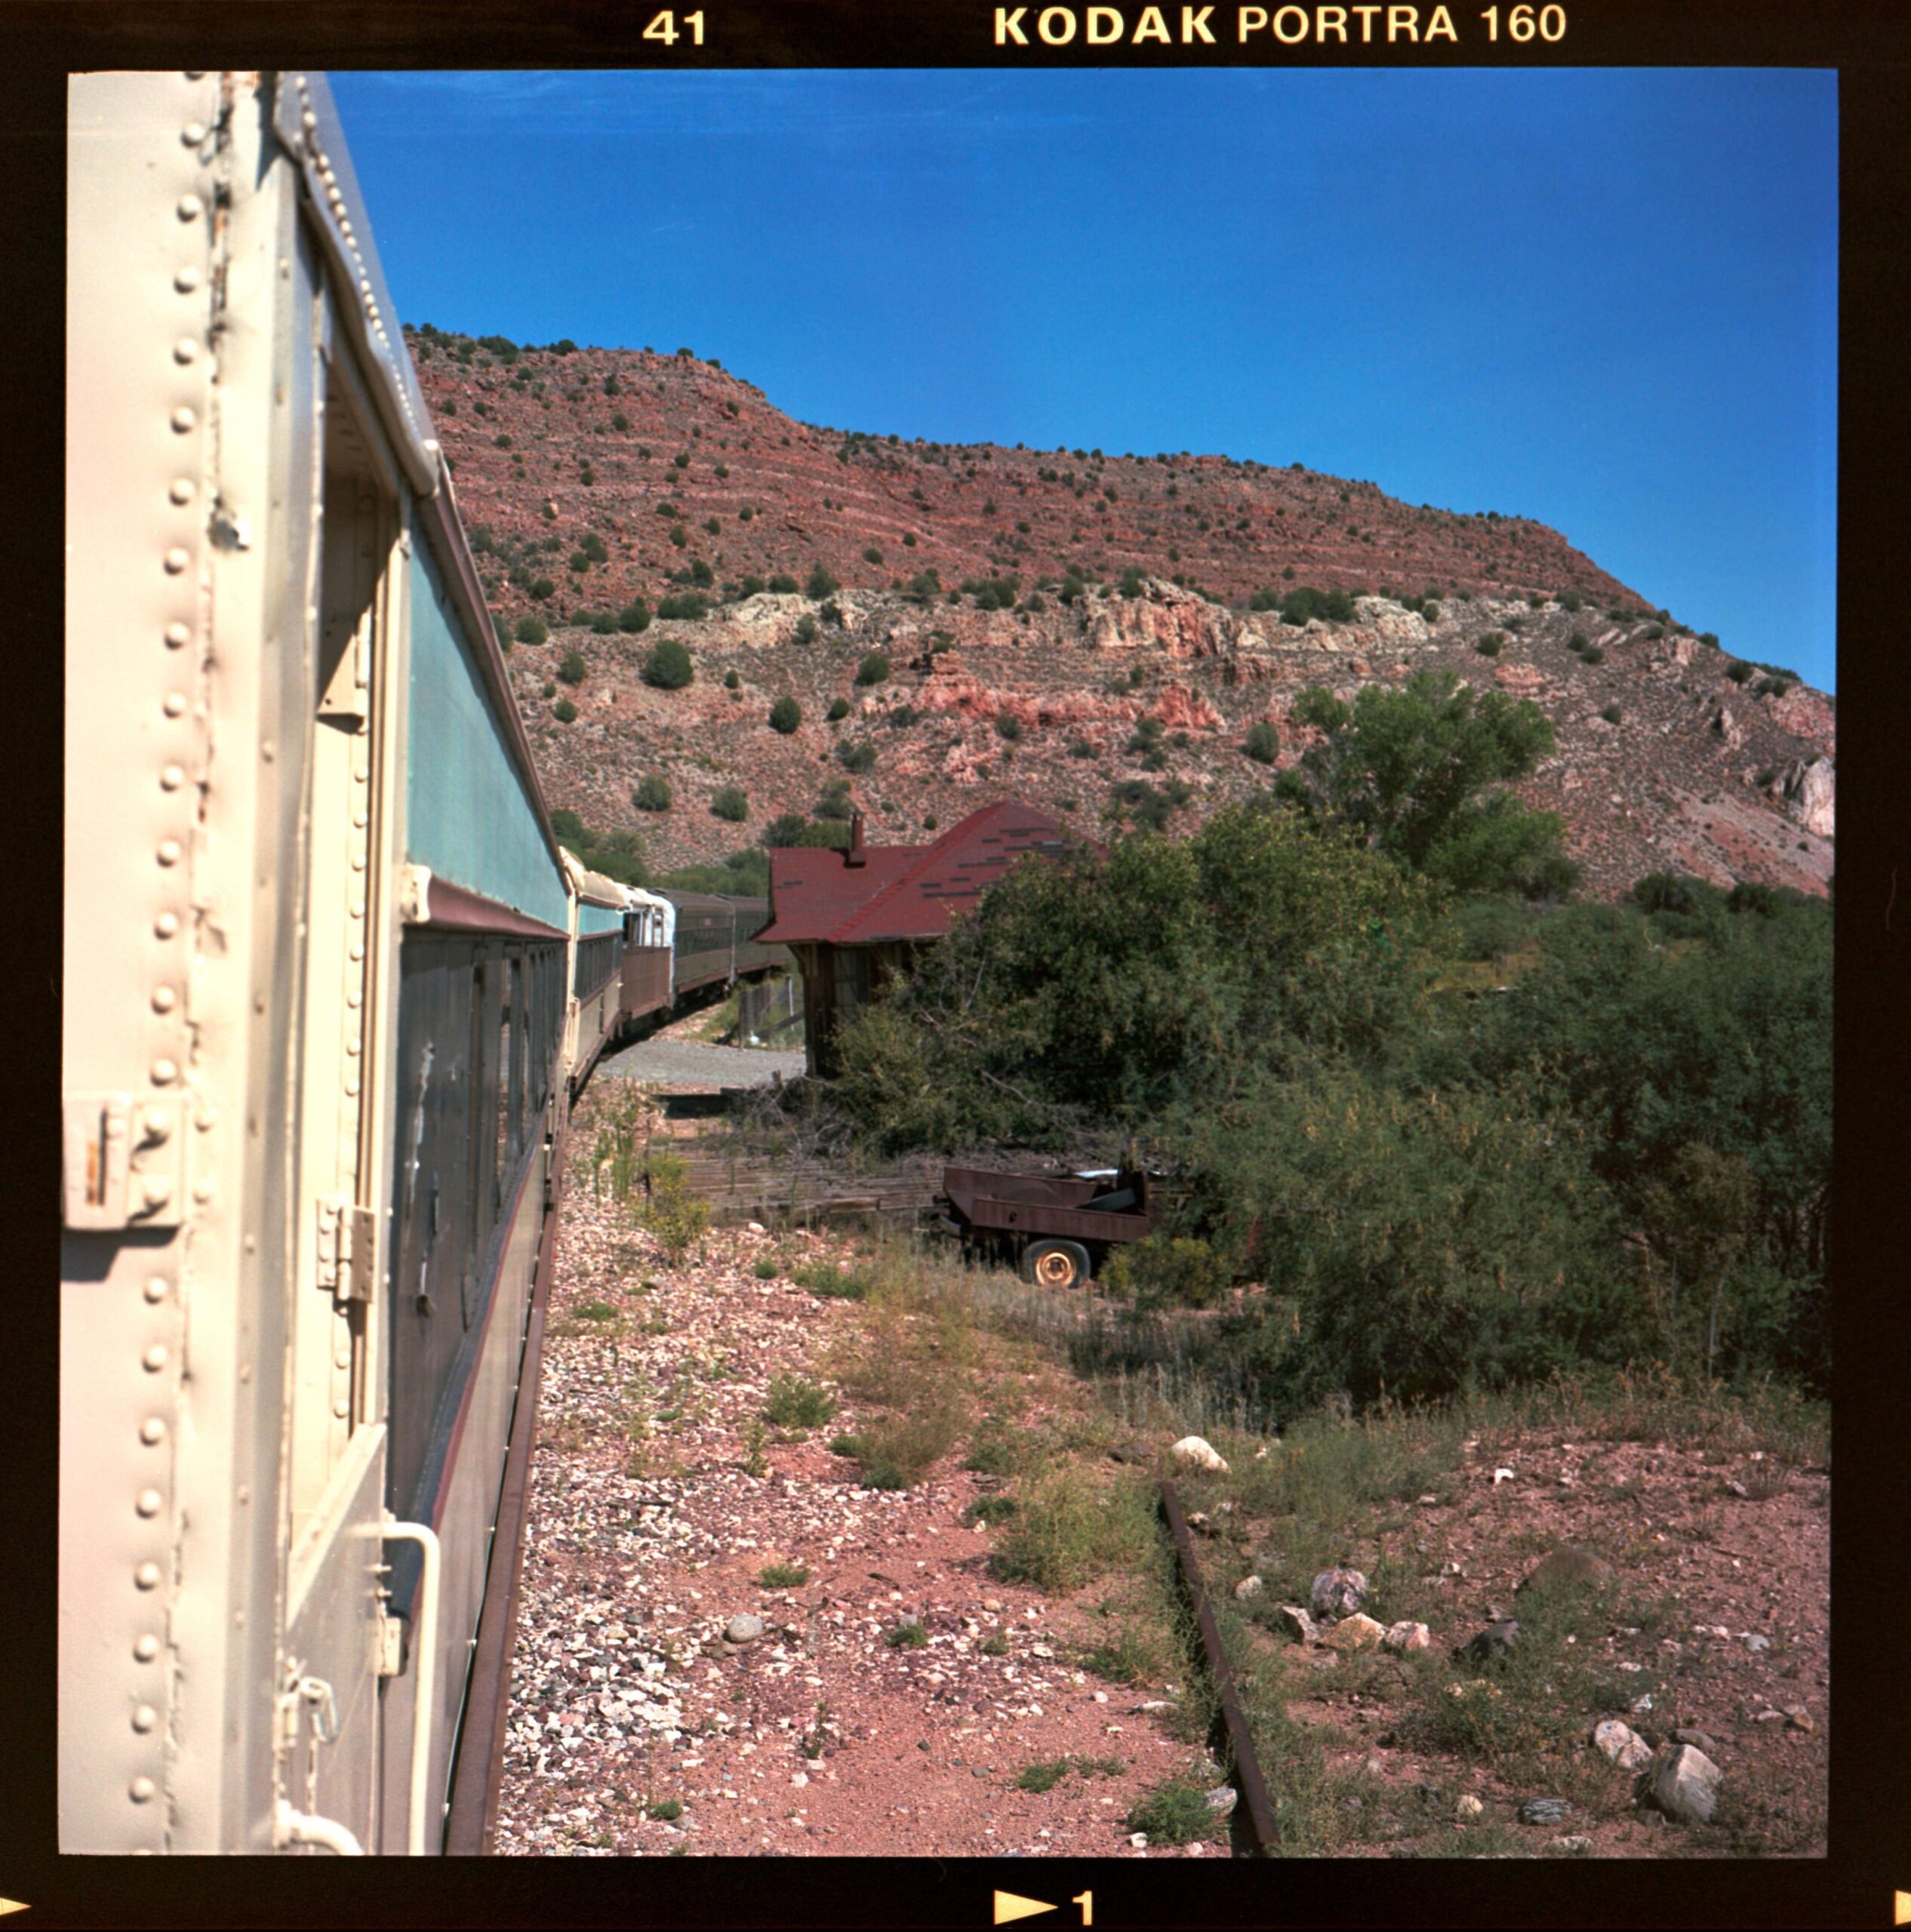
Below is an example of an image I would have loved to shoot in landscape. The view from our train car, as the train bends to the right and reveals itself to us, came out stronger. I would have been able to show the line of the tracks that was just off frame in the square format of the Mamiya 6. The photo was taken on a train going through the Verde Canyon. Once used to transport ore from the old Jerome mine, it is now a tourist attraction and a highly recommended diversion when in the area.
Old and new in the American Southwest
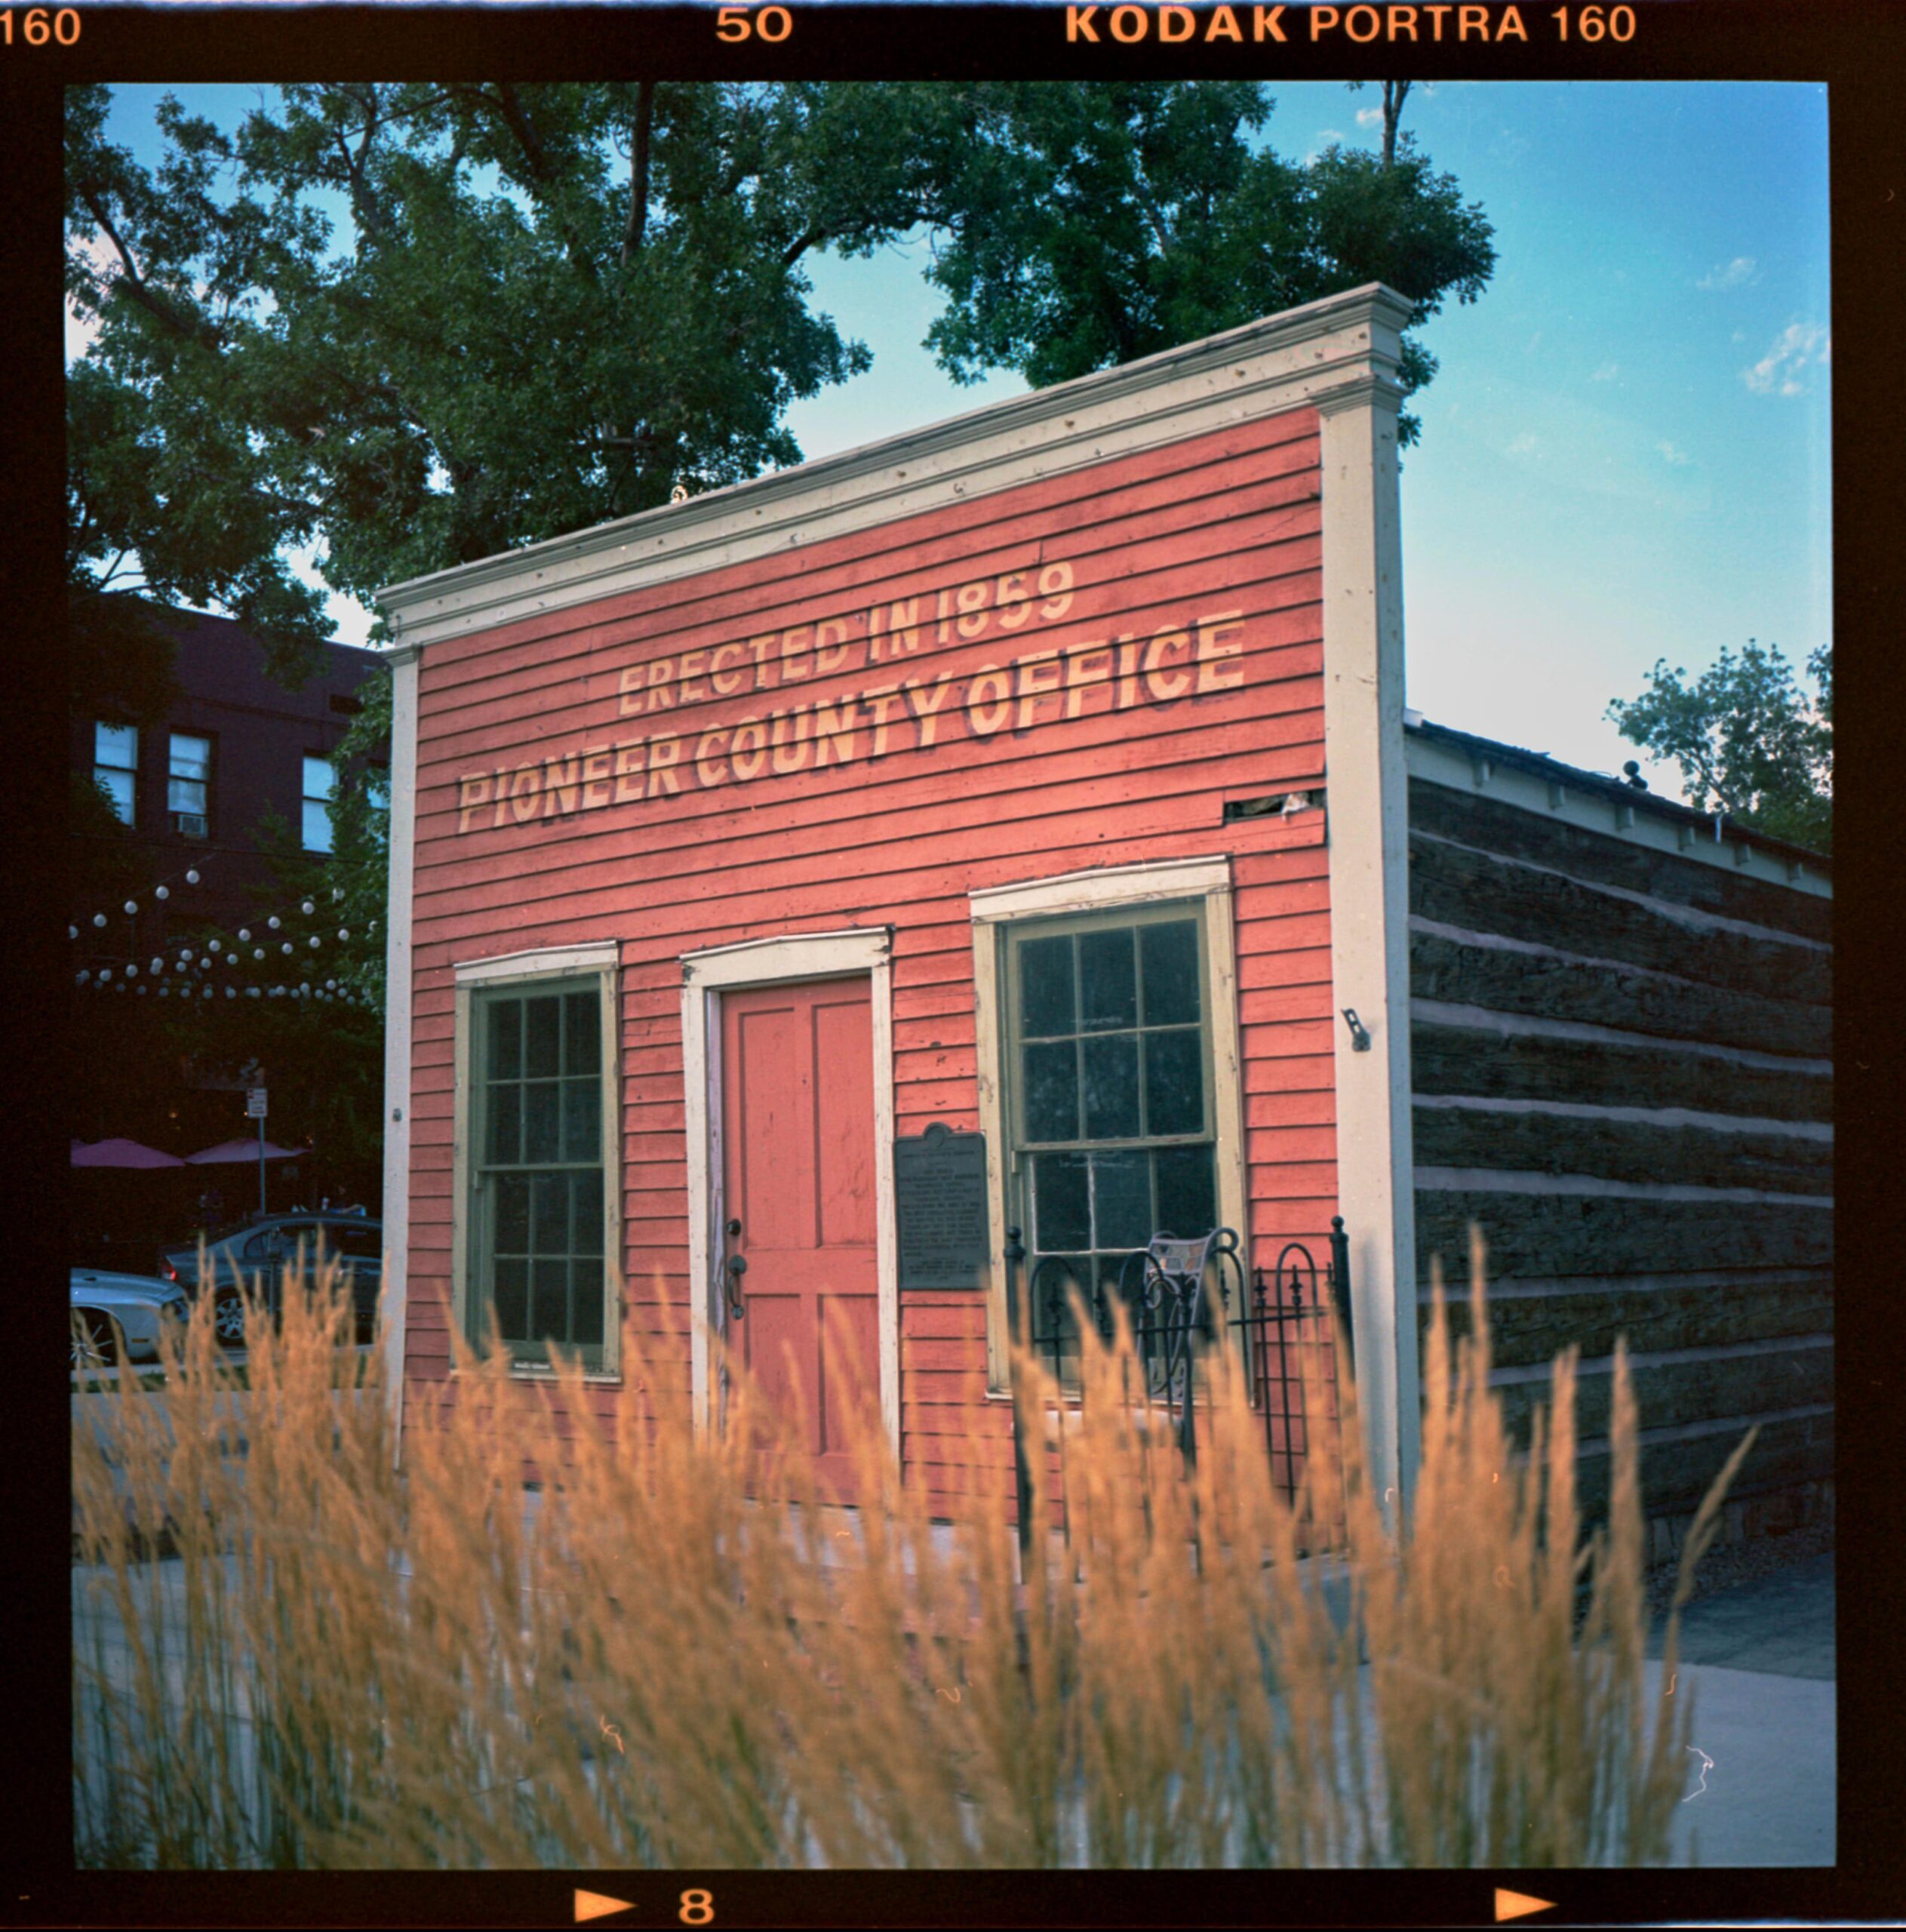
The next two photos represent different times. The first depicts the oldest standing building in Old Colorado City, still standing as a monument to the times of yesteryear. The second picture was taken in Denver, Colorado. Art and graffiti cover the walls of a commercial building that appeared to have been out of service for quite a time, but it is a modern building nevertheless. Both buildings had great contrast with the deep blue Colorado sky.
On the bottom right of the Pioneer County Office photo, you’ll see I missed removing a string of dust. This brings me to another chapter of lessons learned when shooting film; digitising negatives. When I started shooting film, it was already clear to me that I was not going to develop myself.
This part of the process I gladly outsourced to a lab which does a fine job. I did want to try to keep as much of the workflow in my hands, so that meant I had a choice to make in terms of how to digitise the negatives. I started with what, I thought, would be the easier method — using a DSLR to do the scanning.
Scanning trials
The long story short of this method is that I did not like it at all. I bought a copy stand, a light box, and the essential film holder. I found the process of installing my DSLR on the copy stand, setting up the light box and the holder, and then going through every frame one by one to be far too time-consuming. Furthermore, I am sure you can do it faster than I did, but I also didn’t enjoy the extra steps this method introduces.
You end up with a digital photo of a negative, which means you then need to convert it with software. Admittedly, this is much easier with a plug-in in Lightroom, but as I use Capture One Pro, it was not working for me. I ended up going with the second option to self-digitise your negatives into proper digital versions of your photo by buying an Epson scanner.
These scanners get a lot of flak online, but I found working with a scanner much easier than the DSLR-scan method. Sure, the actual scanning of a negative takes a little while. But that minute per negative on a 12-roll film isn’t going to kill me. The bonus is that the Silverfast software that comes with the Epson converts the negative as well. It does a good job and even has presets for most film stocks. The program might look as if it were coded in the nineties (it probably was) but it does what it needs to do.
Newton’s Rings
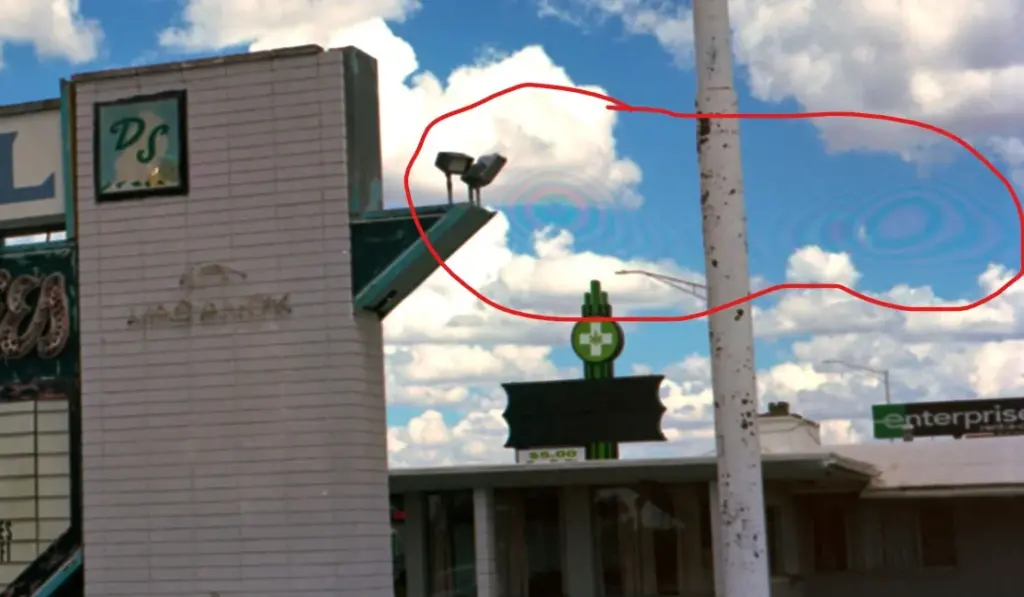
The only challenge I have is sometimes being stuck with what is known as Newton’s rings. There are loads of posts online about people struggling with this, but I found that just flipping the negative or just moving it to a different part of the scanner surface solves it most of the time. I also found that placing the negatives directly onto the scanner, without any holder, gives me the best results.
Swiffer to the rescue
Dealing with dust is also not too bad. I use a simple Swiffer to keep the surface of the scanner and the negative itself as dust free as I can. The rest is easy to solve in Capture One Pro (or Lightroom). The scanning software has a mode to take care of dust and particles, but I found it very coarse and not very effective.
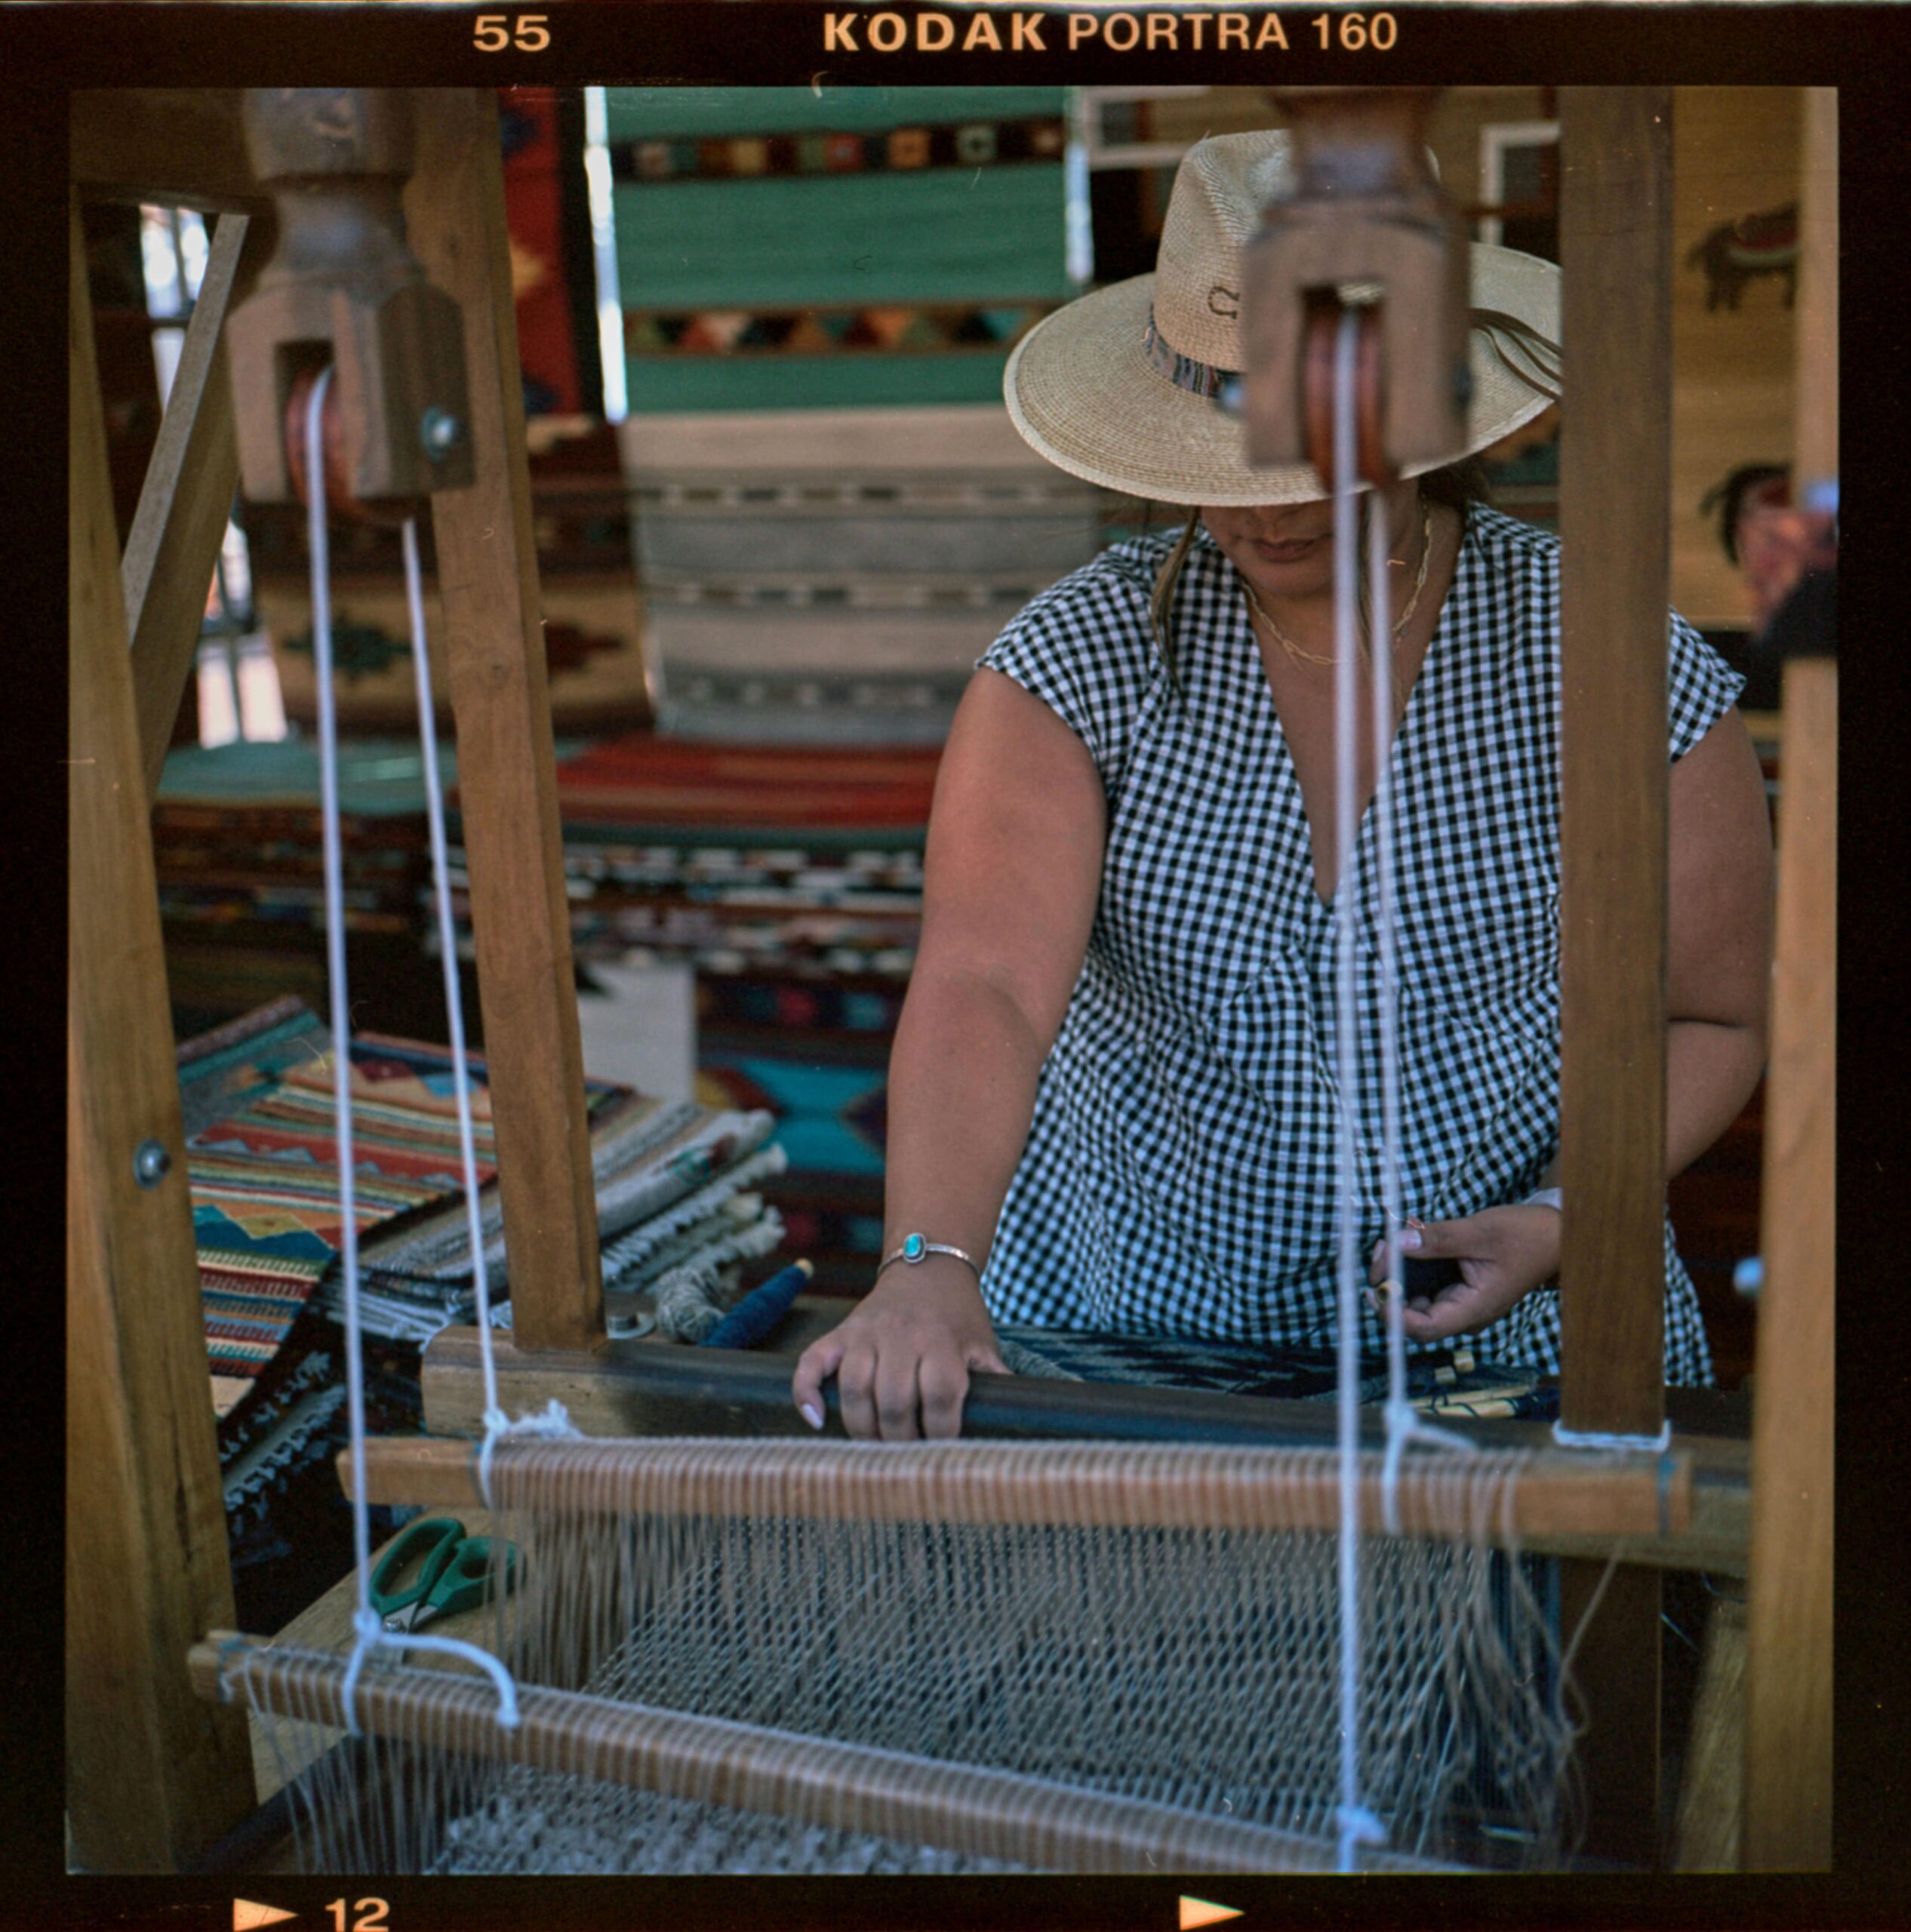
Even though most of my landscape shots didn’t turn out well, I am happy I took the Mamiya with me. I like having to be very deliberate with my shots, such as the one of a weaver (below). I could easily shoot maybe ten frames with my digital camera and then pick the one I like the best and discard the rest. On film, I needed to walk around the weaving device and decide my perspective and then take my one photo and hope it turned out well. It’s a different process and I enjoy mixing it up with my digital cameras.
The raw beauty of the American Southwest
It’s been quite a journey, both the metaphorical one and the actual one in the American Southwest. Not only that, but it is a place of raw beauty, of deep history, in geological and human sense, and its colours are a feast for the eyes. I look forward to returning after having mastered my film skills.
Turning to film: Stepping back into the world of film photography
Getting to know the Mamiya 6 and my film preference
Read more from Erwin Hartenberg
Visit the author’s blog
Join the Macfilos subscriber mailing list
Our thrice-a-week email service has been polished up and improved. Why not subscribe, using the button below to add yourself to the mailing list? You will never miss a Macfilos post again. Emails are sent on Mondays, Wednesdays, and Fridays at 8 pm GMT. Macfilos is a non-commercial site and your address will be used only for communications from the editorial team. We will never sell or allow third parties to use the list. Furthermore, you can unsubscribe at any time simply by clicking a button on any email.



Wonderful story, Erwin, and great images. I am thankful for your sharing of your learning curve. You do not find all too many articles in which the authors admit that they made mistakes, and what they learned. Composition wise, you are once more showing a keen eye and confident decision-making. Very good, the film workflow seems perfect for you. Mildly educating, but well mastered already. Hats off! Jörg-Peter
Erwin, I have recently converted to DSLR scanning after an eternity of using film scanners and Silverfast. The results have astonished me, in particular when scanning slide film. I’m gettIng unbelievable results from “scans” using an Olympus OM 1 with 60mm macro in Hires mode. In particular this setup digs out shadow detail that even a Flextight could not. And I get near instant feedback (with tethering) and completely consistent colour.
With negative film it is a little less astonishing, but still improved. Note, it is reallY important to get the raw converter to treat the files as neutrally as possible, otherwise it’s going to try to make your film look like your digital camera output. Although I’m generally in the CaptureOne camp, in this case Lightroom delivers far better results. I use a Cobalt linear profile, and use the curves tool with saturation adjustment at 0 for initial exposure adjustment. This leaves the colours exactly as they are. Unfortunately in CaptureOne although a linear profile and the Luma curve has roughly the same effect, for some reason all other sliders have a strong effect on saturation. For negatives I use Negative Lab Pro in Lightroom. Honestly it’s a no-brainer, and delivers equally good results as Silverfast NegaFix. Maybe better – I don’t think NegaFix has seen any improvement for at least 10 years.
Anyway those are the lessons learned of a recent convert, I hope it helps 🙂
And last but not least, thanks for sharing these evocative photos. The American South West seems like nirvana for film photography.
Thanks David! Very helpful tips!
Even as popular as DSLR capture of film has become and all of the tools available for it now, I still prefer traditional scanning.
There is the oldest and still the best scanning type of photomultiplier tube (PMT) drum scanners. And then most of the other scanners use CCD sensors, which I find give a better and more interesting rendering than the CMOS sensors in all digital cameras nowadays.
Some photos are underexposed, but others are correctly exposed. As Bryan explained, your settings were correct, albeit an overexposure of only two-thirds of a stop. Number 8 might have deserved some underexposure because the subject is so light, but is still well exposed. Nevertheless, I really like your photographs, there is so much to like about the square format.
The square format is interesting for sure. It’s a good break from 3:2 and helps to think differently about composing.
If I recall correctly, the Mamiya 6’s meter is located in (or near) the viewfinder. It does not read light coming through the lens. So photos with a lot of sky can fool it sometimes, causing slight underexposure. Also, if you use a filter, such as a polarizer, you have to compensate manually for that.
Nice photos though, Portra is thankfully a forgiving film. And hopefully the lens service will clear up the image quality. Sorry for the pun…
It’s an excellent pun 🤣
No, you thought correctly that putting the ISO on the camera to 100 would overexpose ISO 160 film.
For example, if ISO 200 would give f/8 and 1/125, then ISO 100 would give f/8 and 1/60.
My guess is that whatever combination of metering method and area of the scene that the camera’s meter was using was just underexposing the scene overall compared to what you expected, such that even the bit of overexposure you set didn’t make up for it.
Personally, I don’t think they look too dark, though.
Thanks Bryan, I am curious what other learnings lie around the corner 🙂
I really like these images and although they might not have turned out exactly how you imagined they are very good photos that authentically depict the locations. It was well worth the effort. Don’t stop now. I have never used a Mamiya 6 but I once owned a tiny autofocus compact camera ( The Mamiya U-AF )Nothing special in terms of the camera but to this day I still remember how surprising the sharpness, color and contrast of the prints taken with that lens were, even though it was only standard 35mm..Great that you are using a Mamiya in 2023. Digital has made things too easy for us these days and having to work at getting correct exposure brings its own rewards. Thanks for sharing the results.These do make me want to go out and shoot film.