Photographers tackle all manner of subjects using available light. These days, we can even deal with dim natural-light conditions, thanks to fast lenses, modern high-ISO-capable sensors, and AI-assisted denoising. But, in some situations, artificial lighting is the way to go. I found myself in just such a situation recently. So, here’s how a complete novice embraced artificial illumination, starting from scratch with a one-light setup.
I am a member of a thriving visual-arts community, dominated by painters, with fabric artists, ceramic artists, and photographers making up a small but enthusiastic minority. Accordingly, initiatives envisaged by our Visual Arts Commission are usually designed to include all these creative subgroups.
But recently, a short-term project was launched which, realistically, could only be tacked by the photographers. This is an account of my participation in this project, and how it expanded my photography skills.
The idea was to celebrate senior members of our local community by taking their portrait photographs. A selection of these would then be displayed at a facility devoted to this group of residents: The Spreckels Center.
Nifty fifty-five
The centre caters to people in the local community aged fifty-five and over; a generous definition of senior citizens, I would posit. And, in line with this philosophy, only art produced by people over fifty-five is eligible for display at the facility’s hallway gallery.
I attend yoga classes, and have also presented in an ‘Armchair Travel’ series at the centre. The latter is a program for sharing photographic travelogues with those no longer able to make foreign trips.
For the ‘Celebrating Seniors’ project, local photographers were invited to submit examples of their portraiture. On the basis of these submissions, they would be considered for participation in the project.
I duly submitted a series of informal posed and candid portrait shots, such as the one above, which have featured in previous Macfilos articles. They passed muster, and so I joined a five-person photography team for the project.
Patrons of the centre were invited to sign up to have their portrait photograph taken by one of the team. The resultant collection of photos would be reviewed by an independent jury and a subset selected for printing and display. Everyone who was photographed, whether displayed or not, would receive a framed, printed portrait.
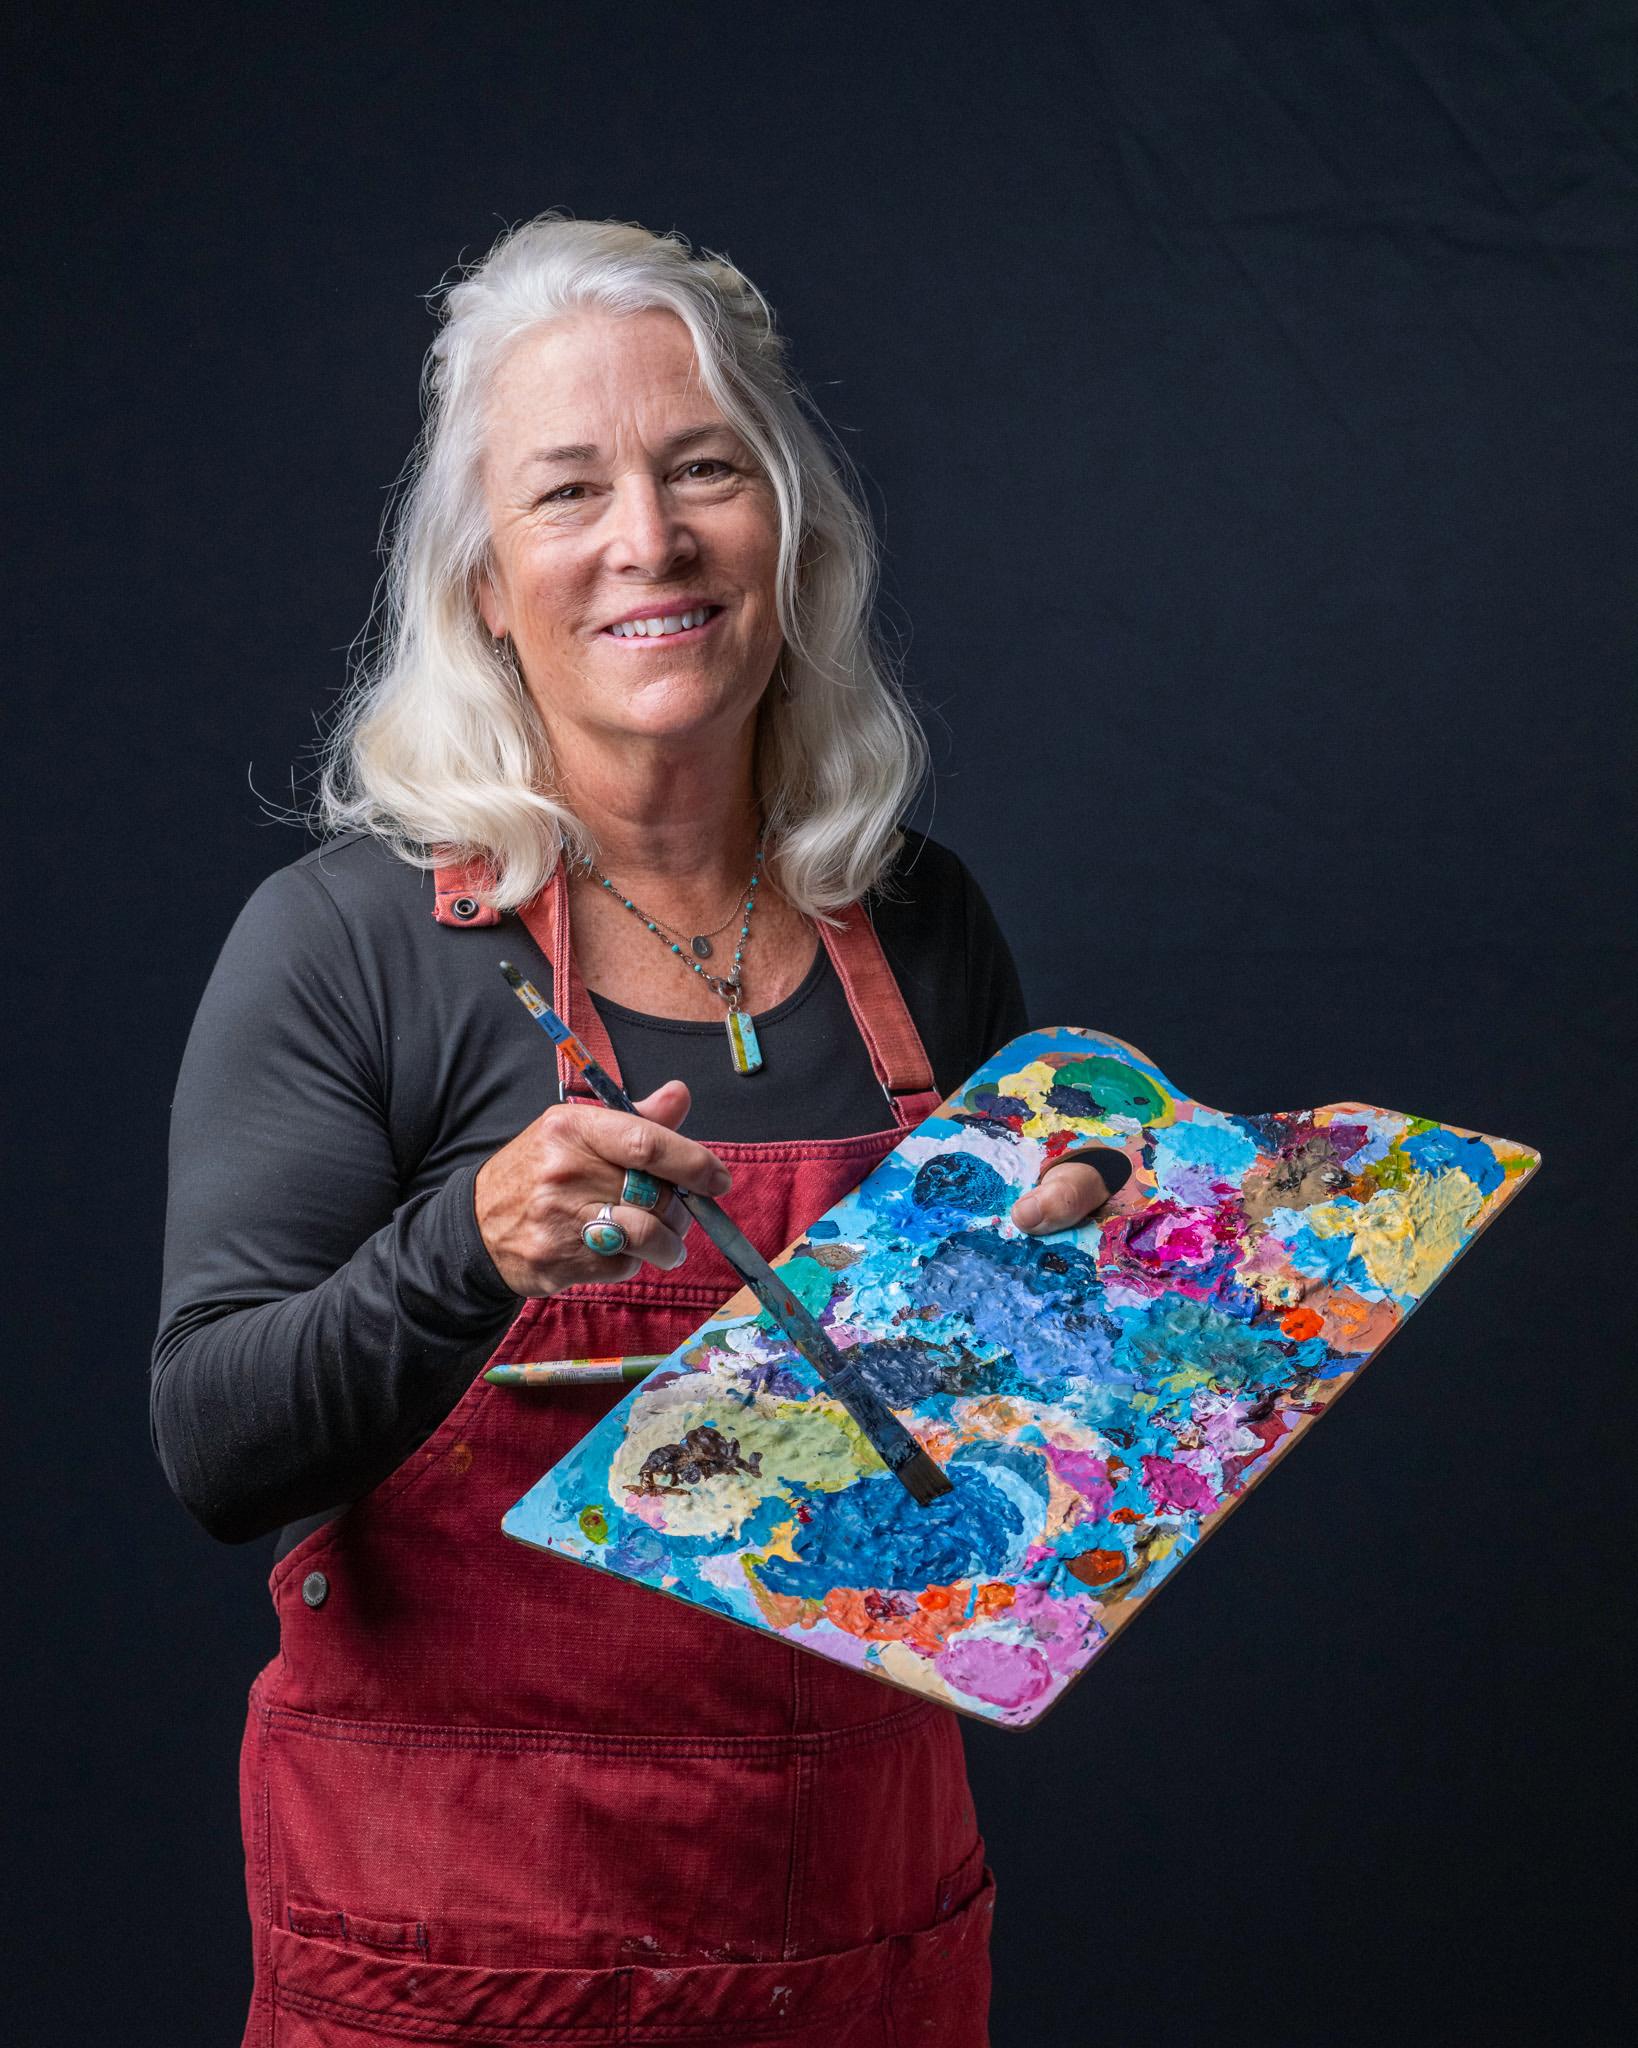
I aimed to produce as professional a portrait as possible for each person I photographed. If possible, I wanted the portrait to convey something of the person’s interests – ideally, activities in which they engaged at the Spreckels Center.
Let there be light…
Initially, I considered taking photographs using available light, for example, near windows or in the centre’s garden. However, I was concerned that natural lighting conditions could be rather hit-or-miss. Further, I saw the project as an opportunity to expand my photography skills. I had never shot using artificial lighting, and so here was a chance to learn how.
I turned to the University of YouTube to acquaint myself with the field. Believe me, there is a wealth of excellent material out there on this topic. I quickly realised I could get out of my depth in this area, and so sought advice on a simple starter setup.
I found a video, by Sean Tucker, especially helpful. Sean is a photographer and writer I follow on Instagram. He described a one-light, off-camera flash set up, which delivered impressive results. It also comes with the benefit of being portable, especially appealing to me since I would be transporting my gear to the shooting location.
But, as I began to search for suitable on-camera flash triggers with which to control an auxiliary flash unit, I ran into a problem. I shoot Leica and LUMIX cameras, which, it turns out, are poorly served by third-party flash accessory manufacturers. Finding triggers for Canon, Sony, or Nikon cameras would be a doddle. Leica and LUMIX, not so much.
Less flashy
When I sought input from the Macfilos community, Jörg-Peter Rau asked if I had considered continuous lighting, rather than flash. Bingo! This would avoid all the issues of flash triggers and synchronization. I could just shoot as I normally would, seeing the desired end-product right there in my viewfinder.
Yet more assistance came from a local friend. He happened to have a small, two-light kit used for volunteer photography at a nearby school. I was able to borrow the kit for a week to experiment with it.
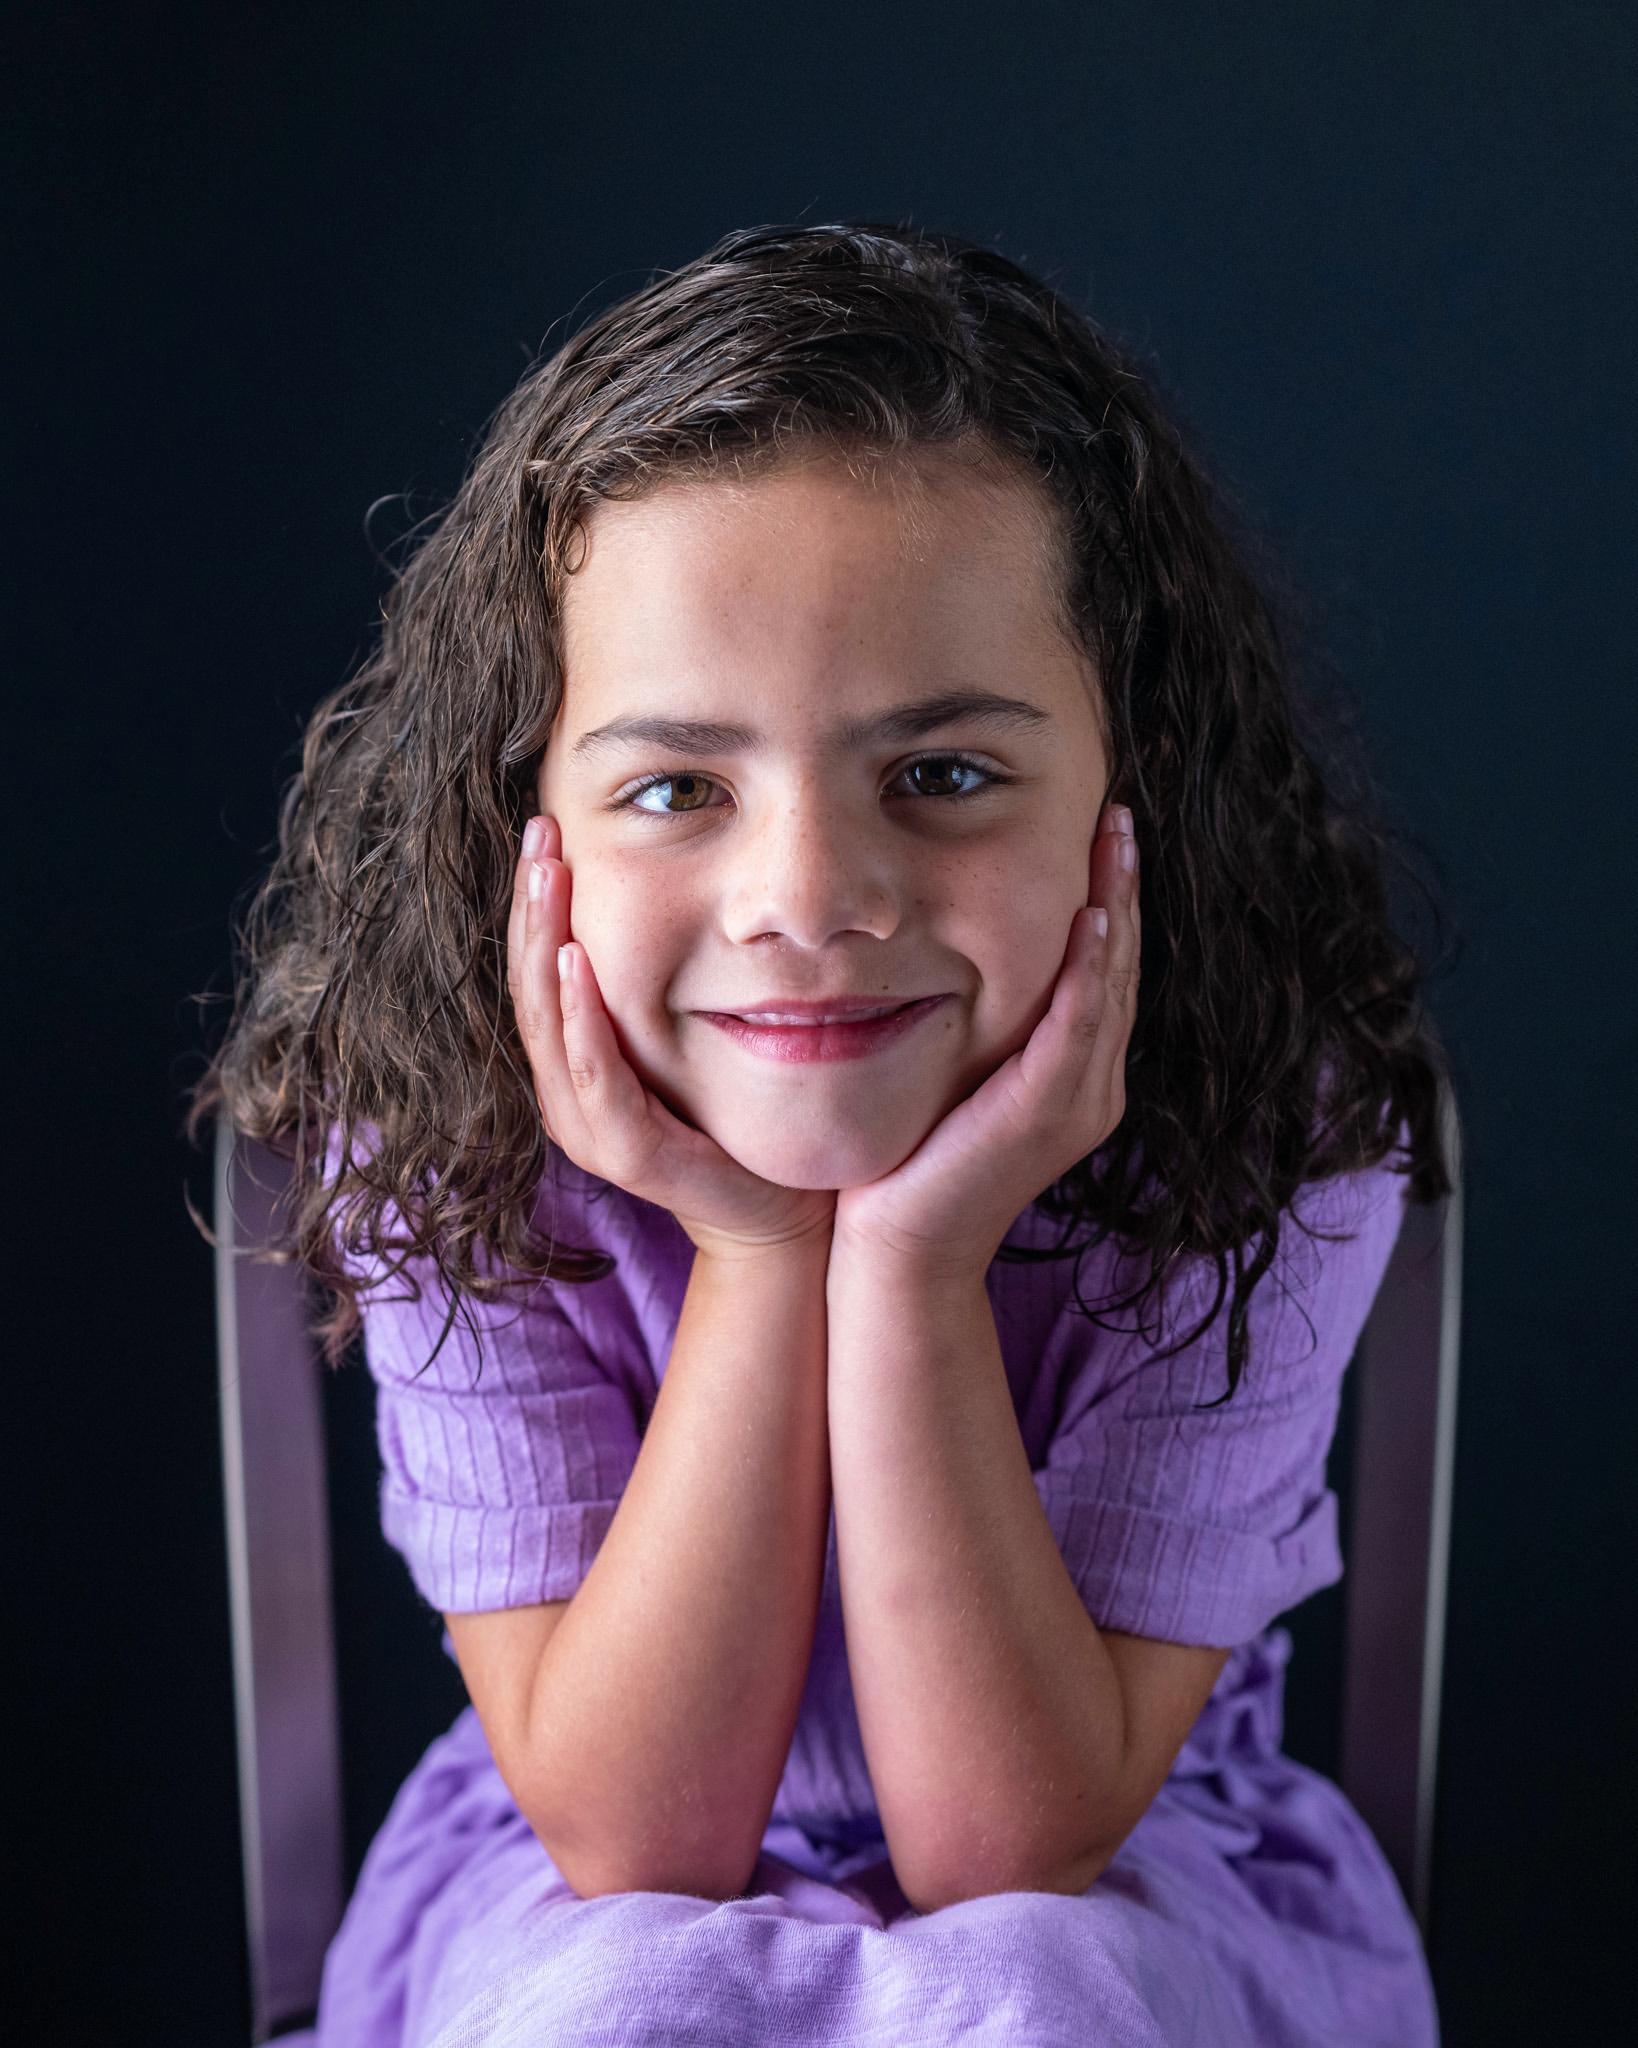
The final break that sent me on my way was a visit from some family members. One of them was willing to pose for me. I set up the borrowed lights in a spare room, together with a collapsible backdrop I had bought. After a few minutes of photographing my young model, followed by a quick review of the images on my laptop, I knew I was in business.
Portrait pilot
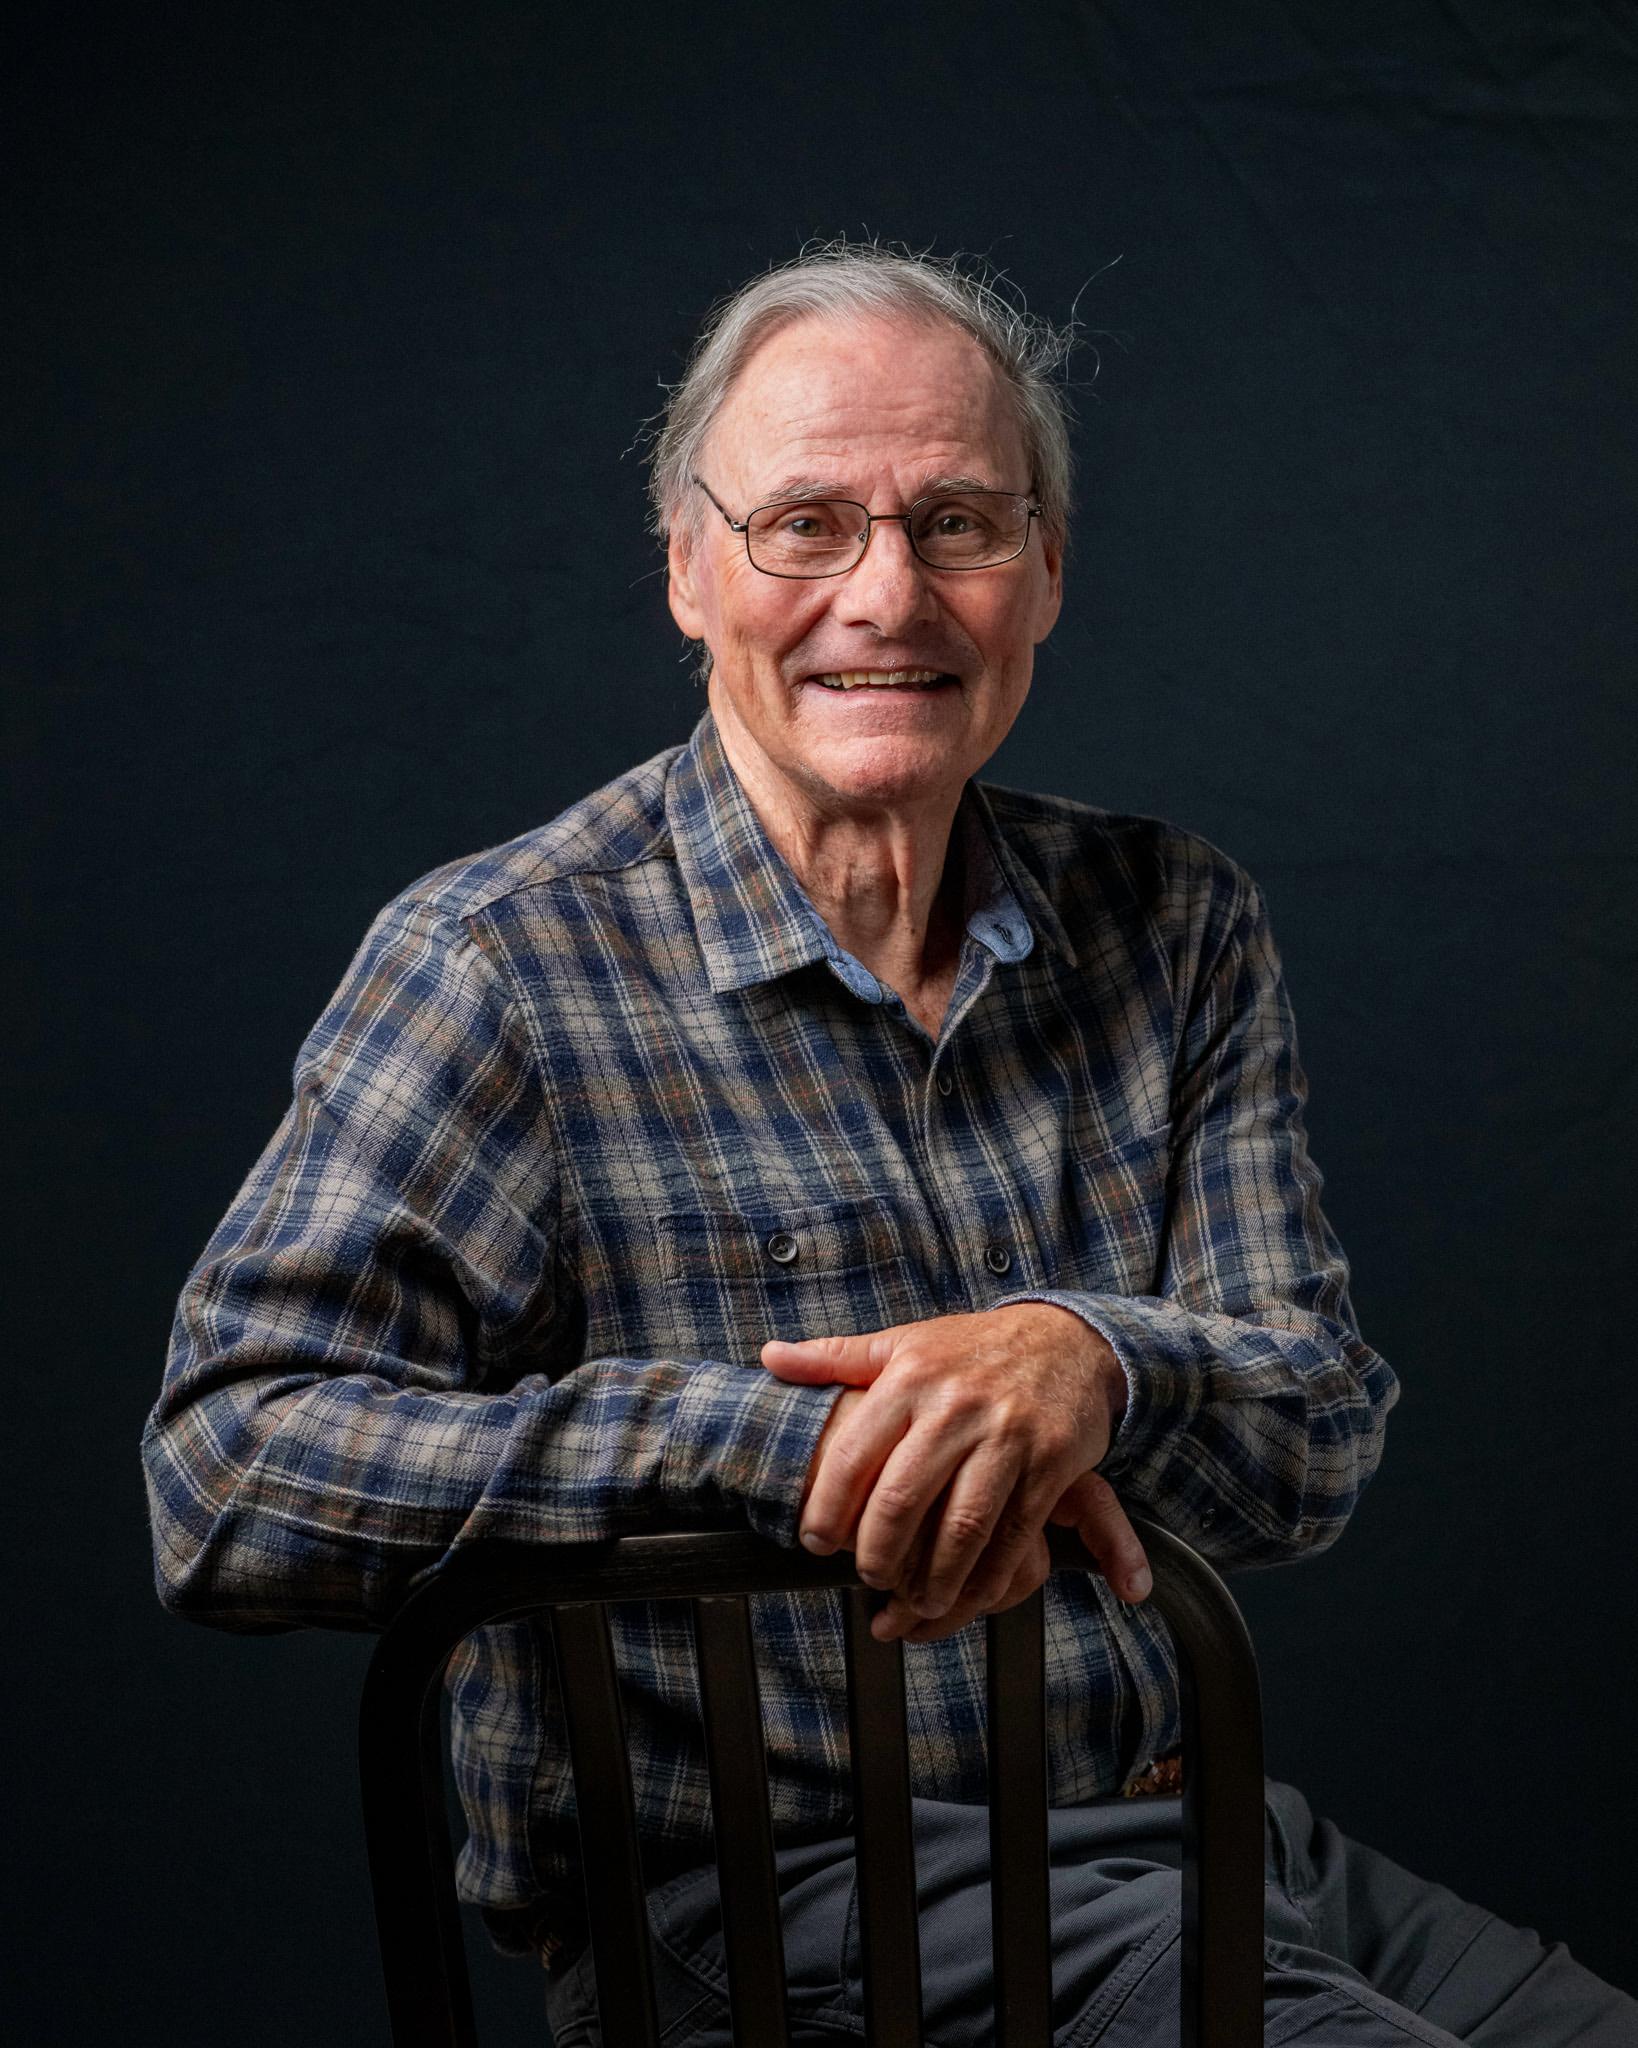
The set-up I used for this pilot effort went as follows. I placed two 60 watt LED lamps in small soft boxes, at 45 degrees to the subject. I stacked them one above the other, giving a total of 120 watt illumination, above and to the side. Opposite the soft boxes, I hung a small reflector on a tripod. This filled out the shadows on that side of her face. Behind was a reversible black/white backdrop, with the black side facing the camera.
I shot with a Leica SL2 equipped with a 50mm APO Summicron SL at f/2.8, 1/250s, ISO 1600.
My subject, her mother, and I were delighted with the results.
Encouraged, I decided to invest in my own one-light setup. I was sure I could use it to photograph family, friends, and perhaps even members of local organizations.
The eyes have it
My choice of lighting system was influenced by yet another video. Gavin Hoey, an incredibly enthusiastic Brit, has a superb series of video tutorials on the Adorama TV channel. In one of his videos, Gavin explained now to use a one-light setup to achieve a range of portrait styles.
Most helpfully for me, he demonstrated taking headshot photos using a continuous lighting approach (starting at ~8:50). In fact, he pointed out a benefit of continuous lighting on the appearance of a subject’s eyes. With flash illumination, the bright light appears and disappears so rapidly that the eyes do not have time to adjust. But with bright, continuous lighting, the subject’s pupils contract, leaving a much more visible iris. This gives brightly coloured eyes a very flattering appearance.
Inspired by Gavin’s work, I decided to buy a Nanlite 200 LED light, a 44” Glow Octa Parasnap soft box, and a sturdy, spring-mounted lighting stand. This system gave me a single, bright, variable one-light setup that was quick to assemble and break down.
My total expenditure for light, soft box, stand, reflector, and collapsible backdrop came to around $600. This is comparable to buying a Thypoch Eureka 50mm f/2 collapsible lens for M-Mount, which I have had my eye on. I am postponing the lens purchase for now.
In at the deep end
The lighting gear arrived while I was away on holiday. Upon my return, I had one day to open the packages, set up the system, and try it out. On the morrow, I used it in anger for the portrait project.
I had encouraged two of my yoga class members to sign up for portraits. Three other people signed up for my session, so I photographed a total of five people. I wrote to them ahead of time, encouraging each to bring along relevant props that we could incorporate. We scheduled a fifteen-minute session for each of them.

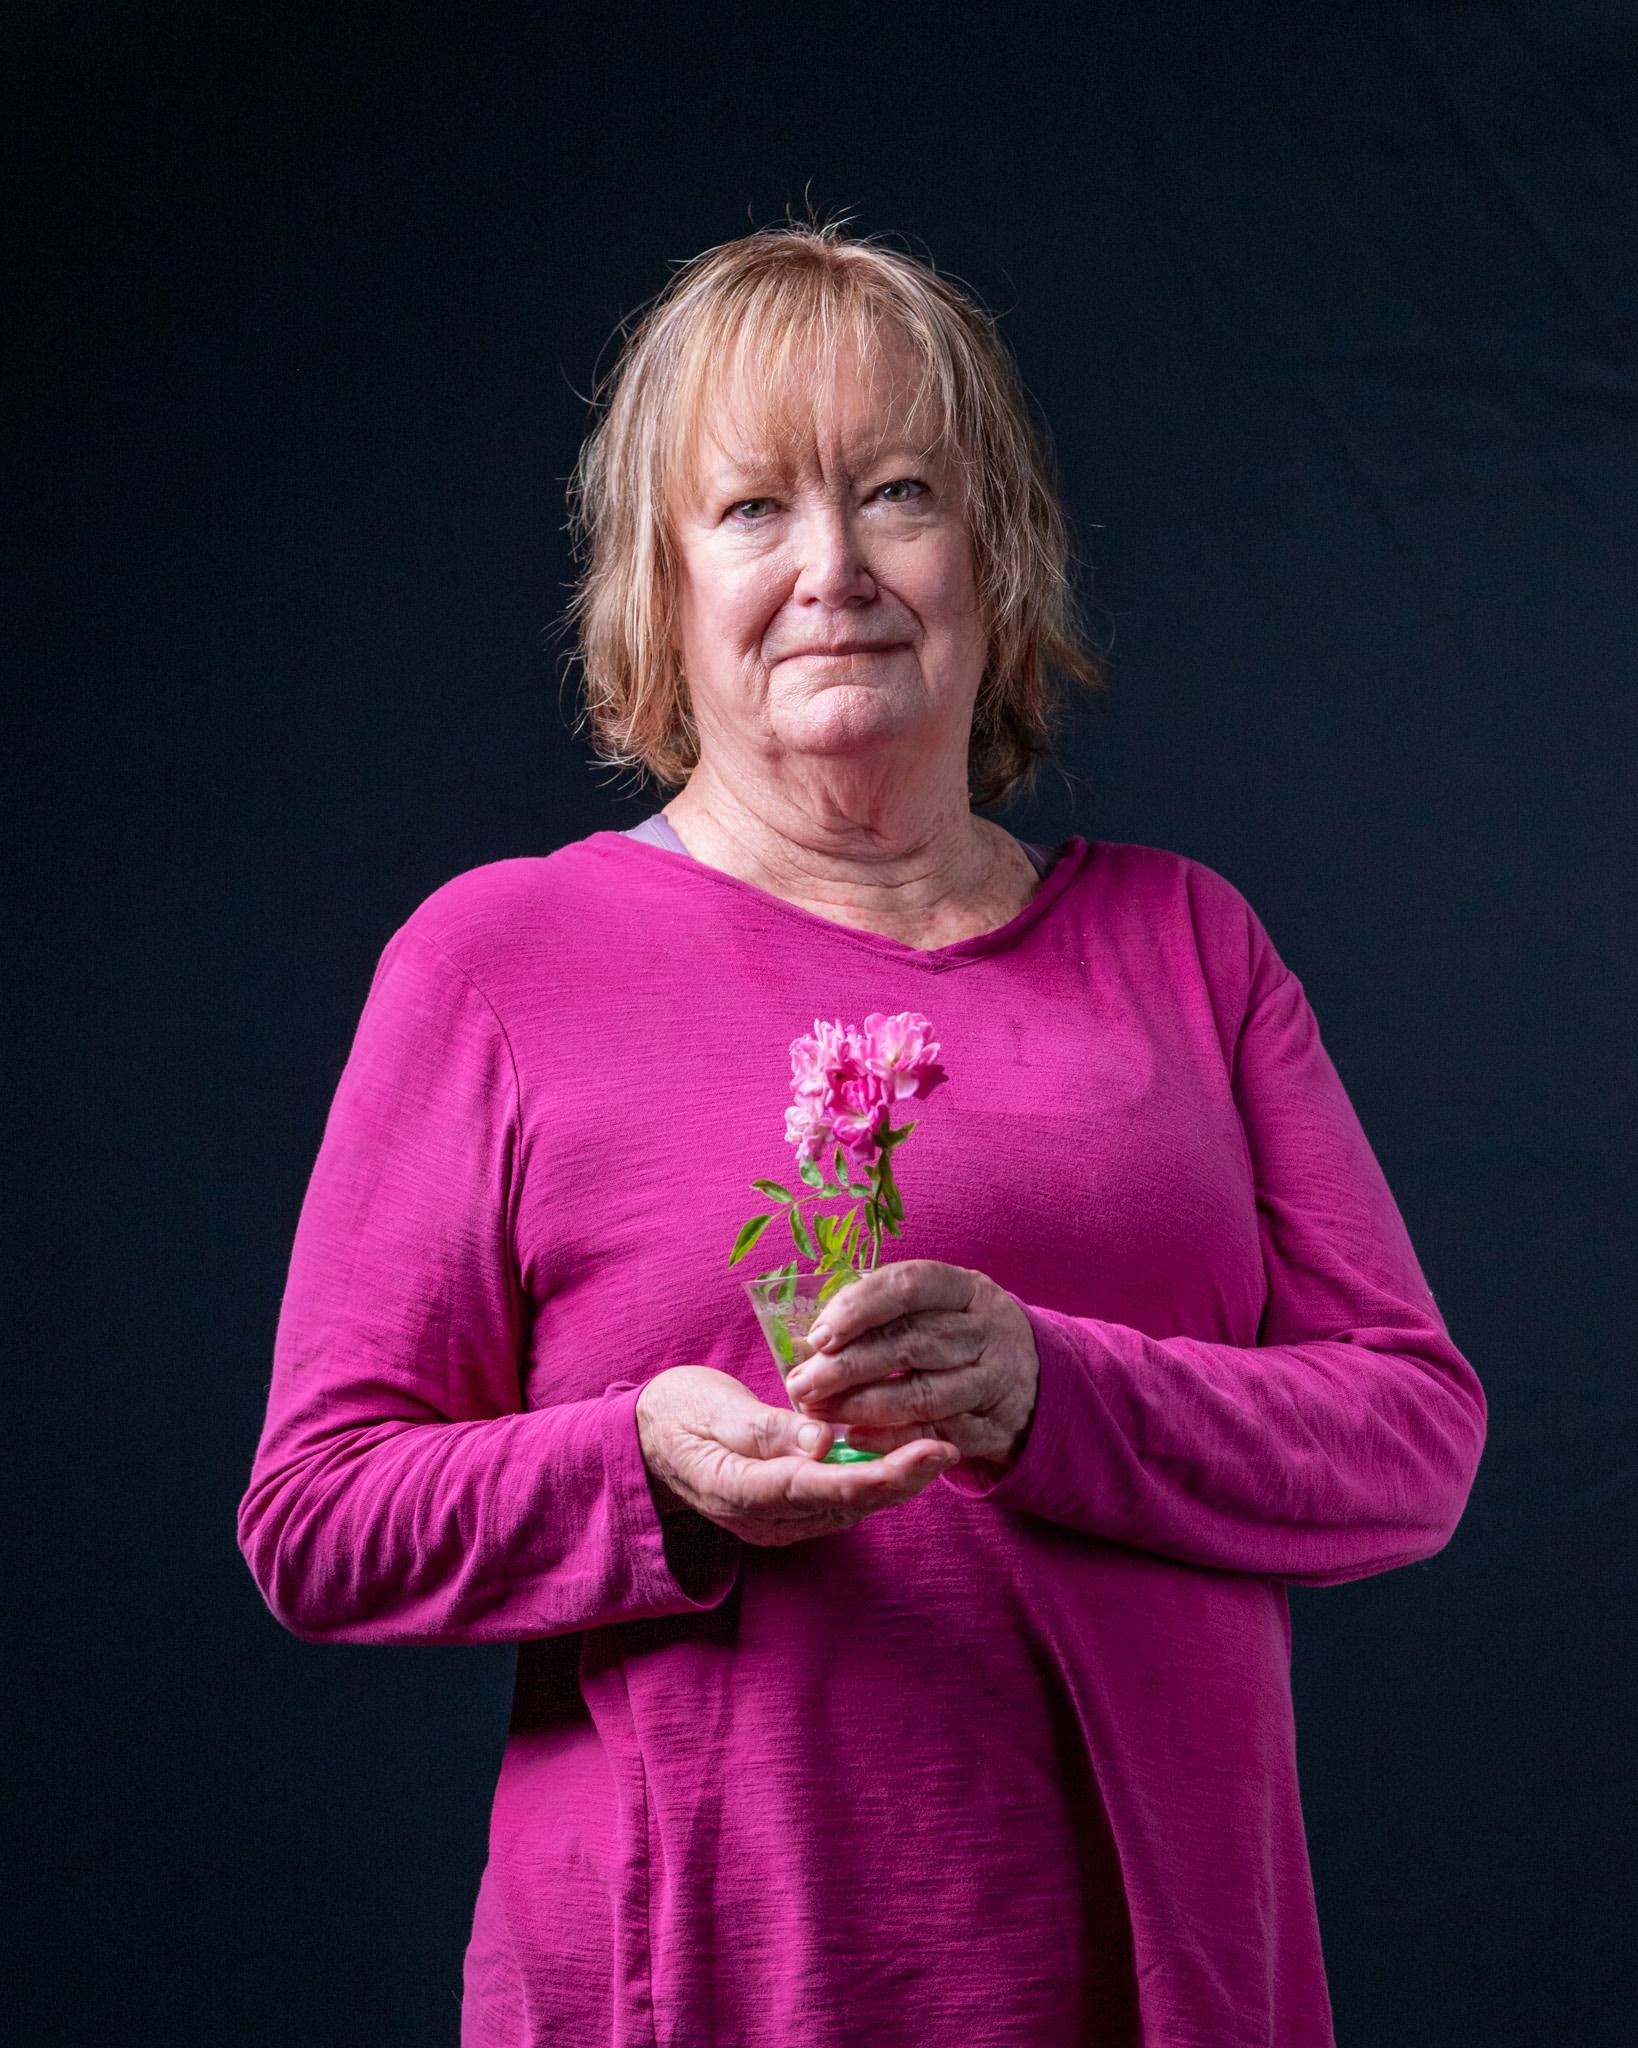
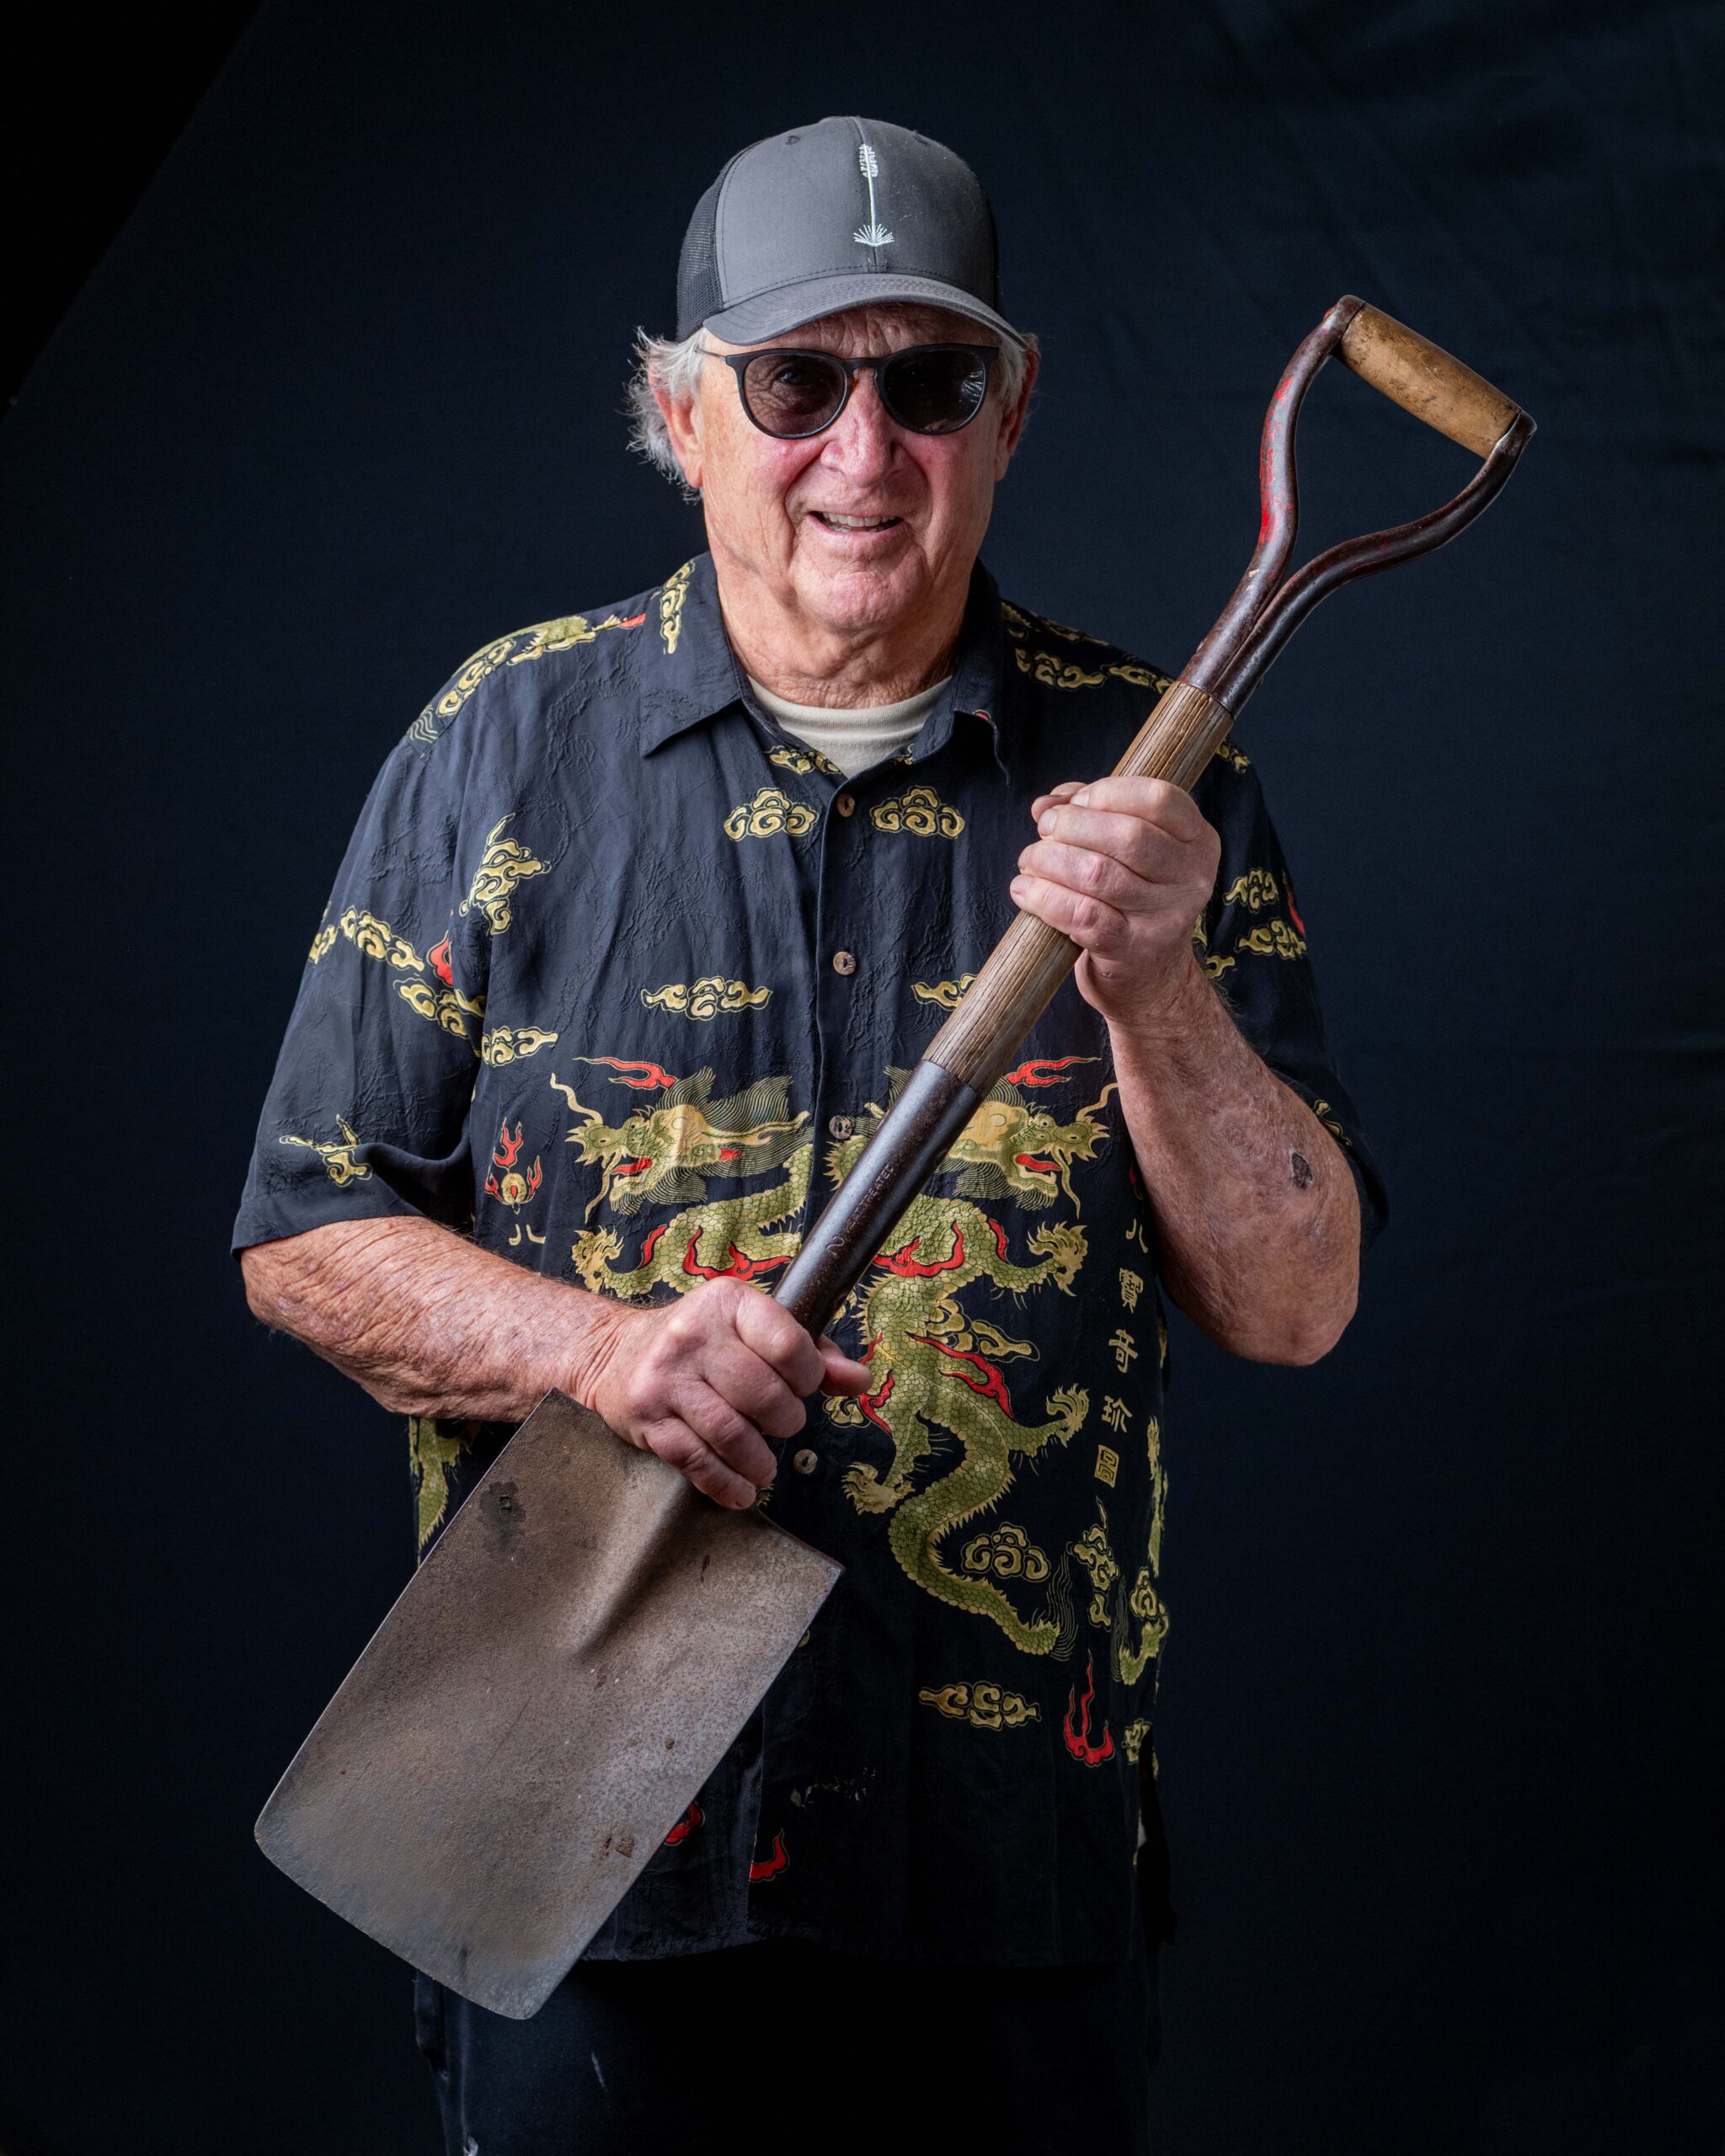
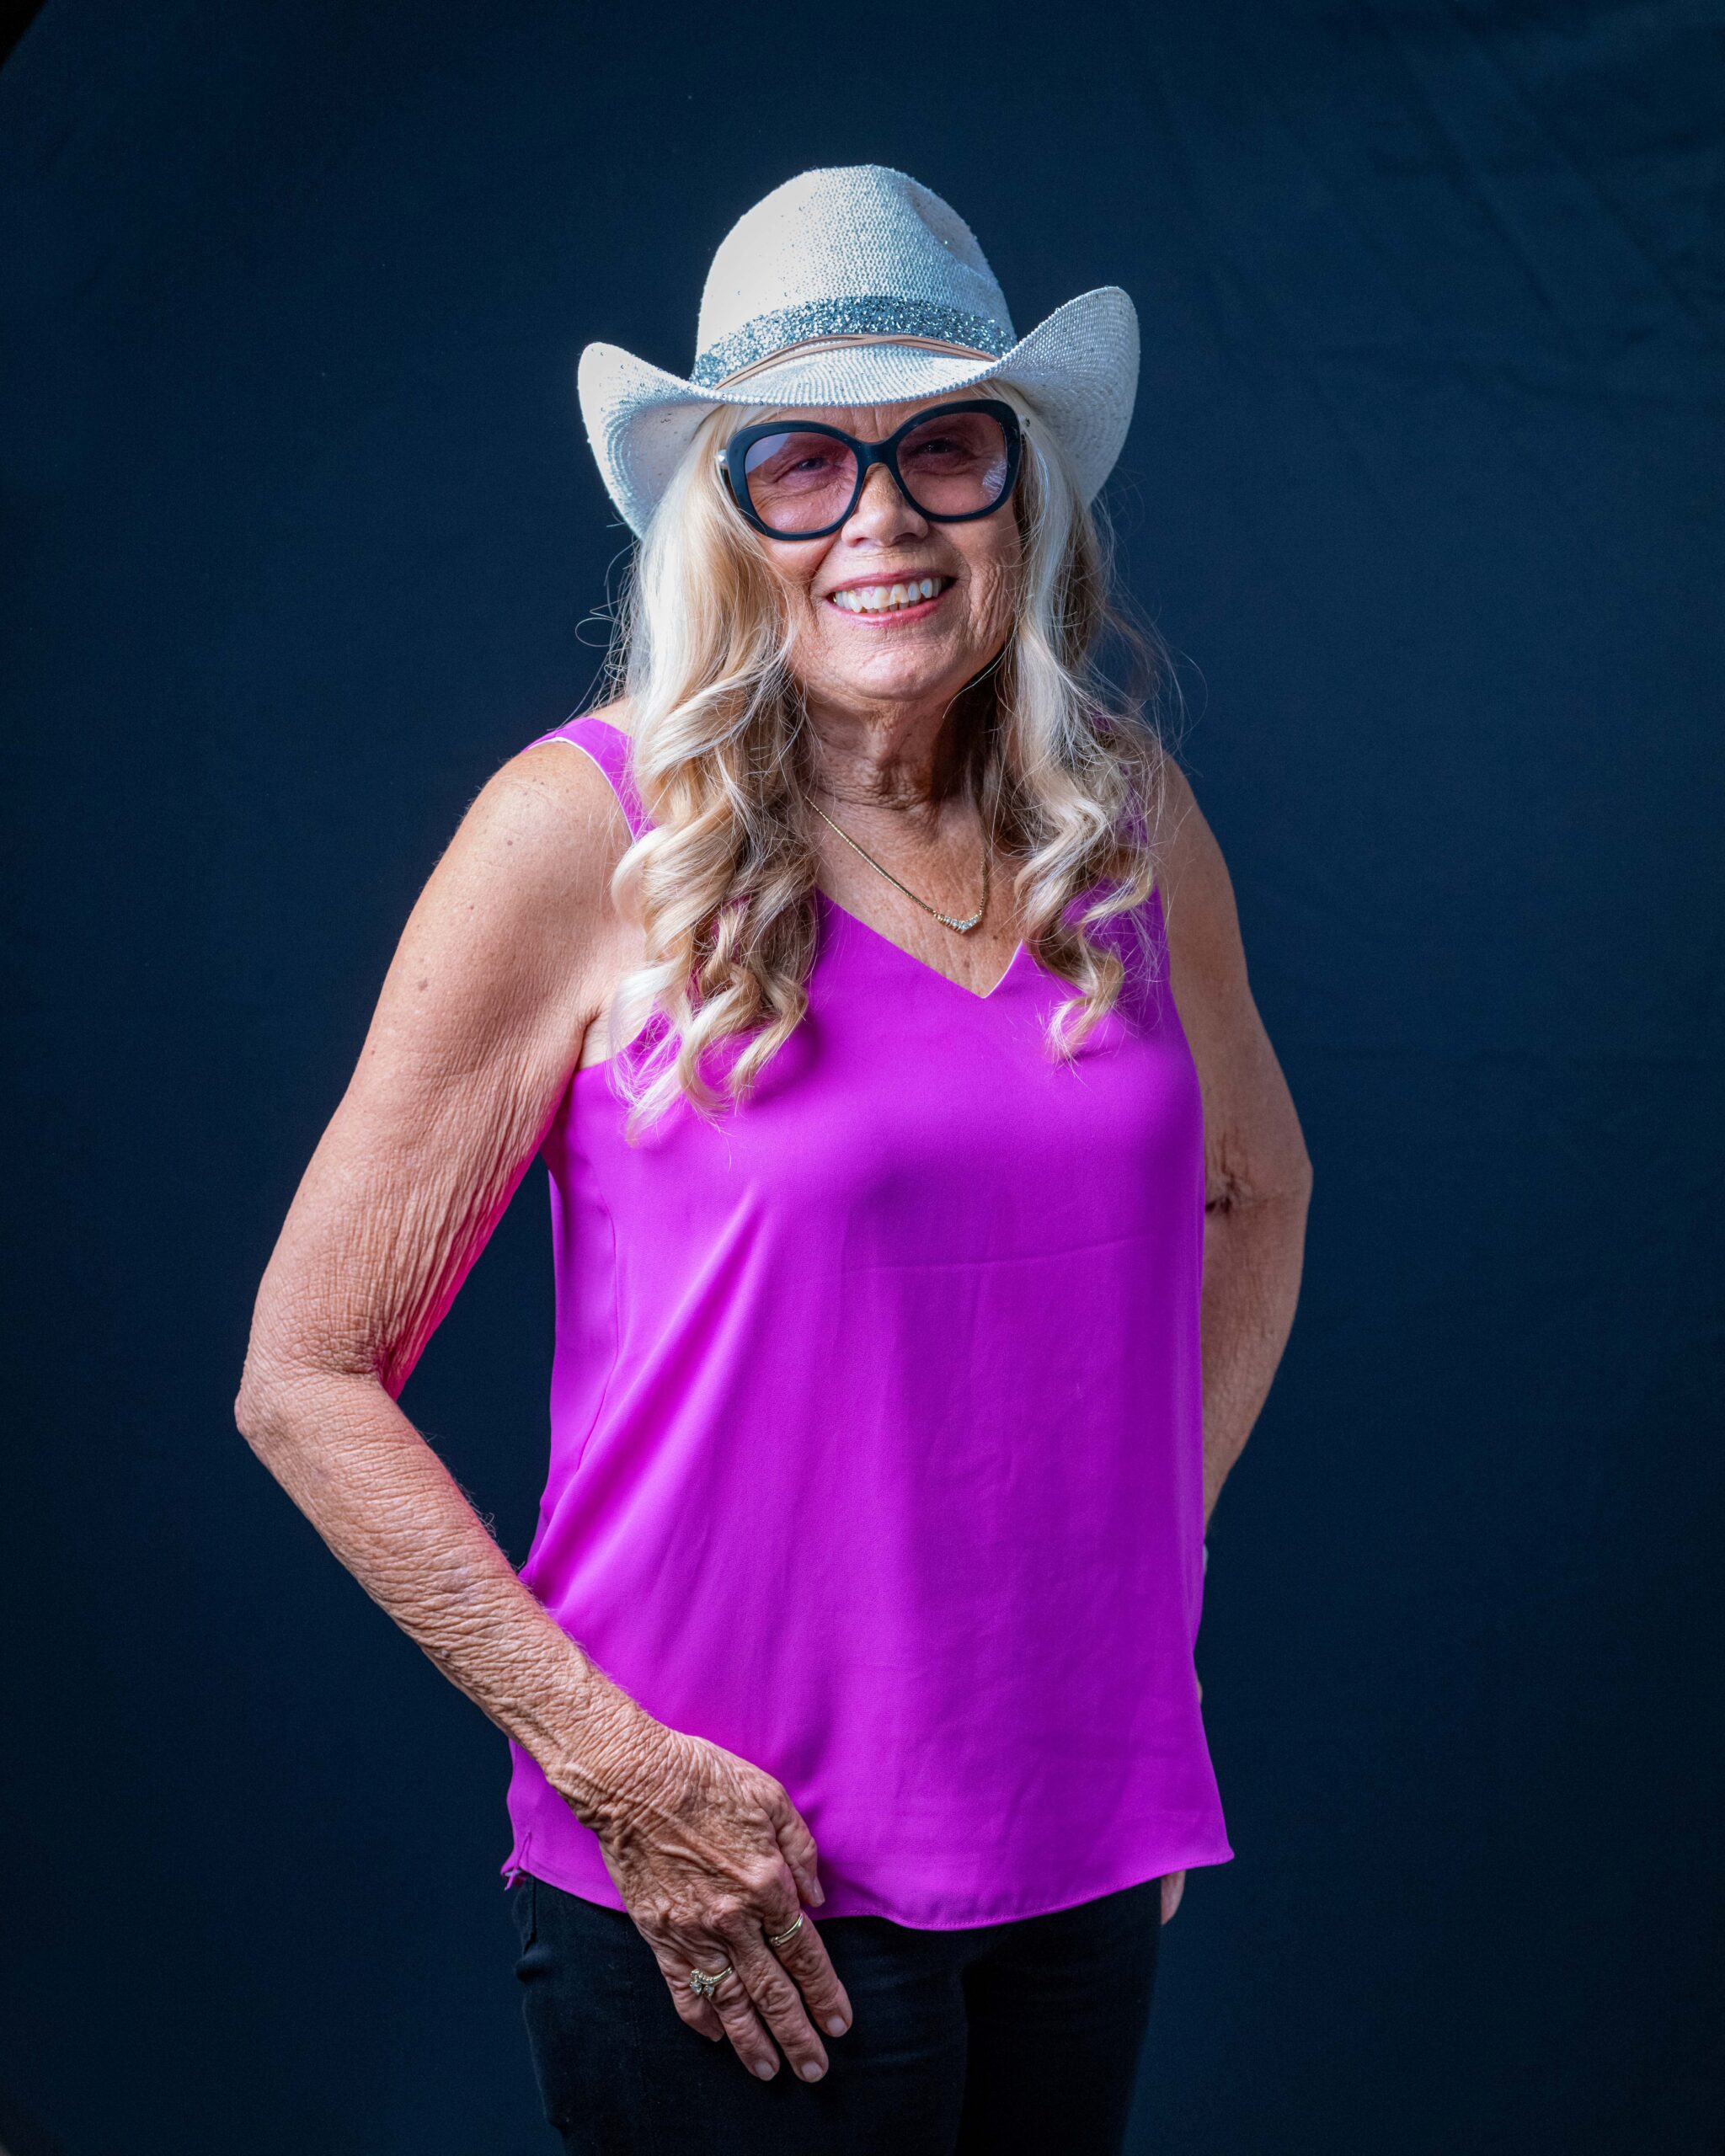
I put together the one-light setup in the centre’s Activity Room. Closing all the blinds and turning off all the lights meant that I had full control of illumination using my system. I positioned the soft box to produce ‘Rembrandt’ style illumination: 45° to the side and 45° above the subject. Using a counter-stool from my kitchen, I took photos of each subject sitting in two different positions, as well as standing.
Adjusting the relative positions of the subject, light, and reflector relative to the backdrop yielded a range of illumination effects. Several articles I had read suggested using a lens with focal length of at least 70mm to avoid distortion. I therefore used a Panasonic Lumix 85mm f/1.8 lens, set at f/4.0-to-f/5.6. This delivered razor sharp images with lots of detail. I shot with exposure compensation set at a -2/3 EV to make sure I captured detail in the highlights.
Proper props
Most of my subjects delivered the goods when it came to bringing along props. The gardeners brought along a vase of heritage roses and a spade that had been in the family since 1953. The line dancer brought along a cowboy hat. The painter came with a paint-splattered easel and brushes.
We had a blast taking the photos. I directed them to adopt various poses, and encouraged them to smile. I even told them my go-to Tom Jones joke to make them laugh. If enough people request it, I’ll share it in the comments.
I was delighted with how things turned out. But, I could also see potential improvements I could make in future shoots.
Learning on the job
Firstly, my soft box spilled light onto the backdrop. I therefore plan to by an ‘egg-crate’ grid to attach to the front of the box. This should produce a more controlled, directional light.
In addition, although the backdrop is large (2m × 1.5m) it did not fully encompass tall or wide subjects. I therefore used Photoshop to fill in the missing sections of the backdrop. In future, I would adjust its position to ensure better coverage.
I used apertures of f/4.0 to f/5.6 to provide a reasonable depth of field. But, in some situations, a deeper depth of field, produced at f/8.0 and above, would have been better.
Finally, I was using my camera’s built-in light meter to automatically set exposure. This resulted in a lot of variation in the background illumination, and I was forced to use some heavy-handed editing during post-processing. Note to self: need to buy a hand-held light meter.
While I was at it, I asked a friend to photograph me using my camera and the one-light setup. As a user of the Spreckels Center, I decided I was a legitimate subject, as well as a project photographer. I submitted my self-portrait along with the other shots for consideration by the jury.
Do I get the job?
I consider myself a life-long learner. Learning how to use a one-light setup for formal portraits has been both fun and enjoyable. Contributing to the ‘Celebrating Seniors’ project was a wonderful experience.
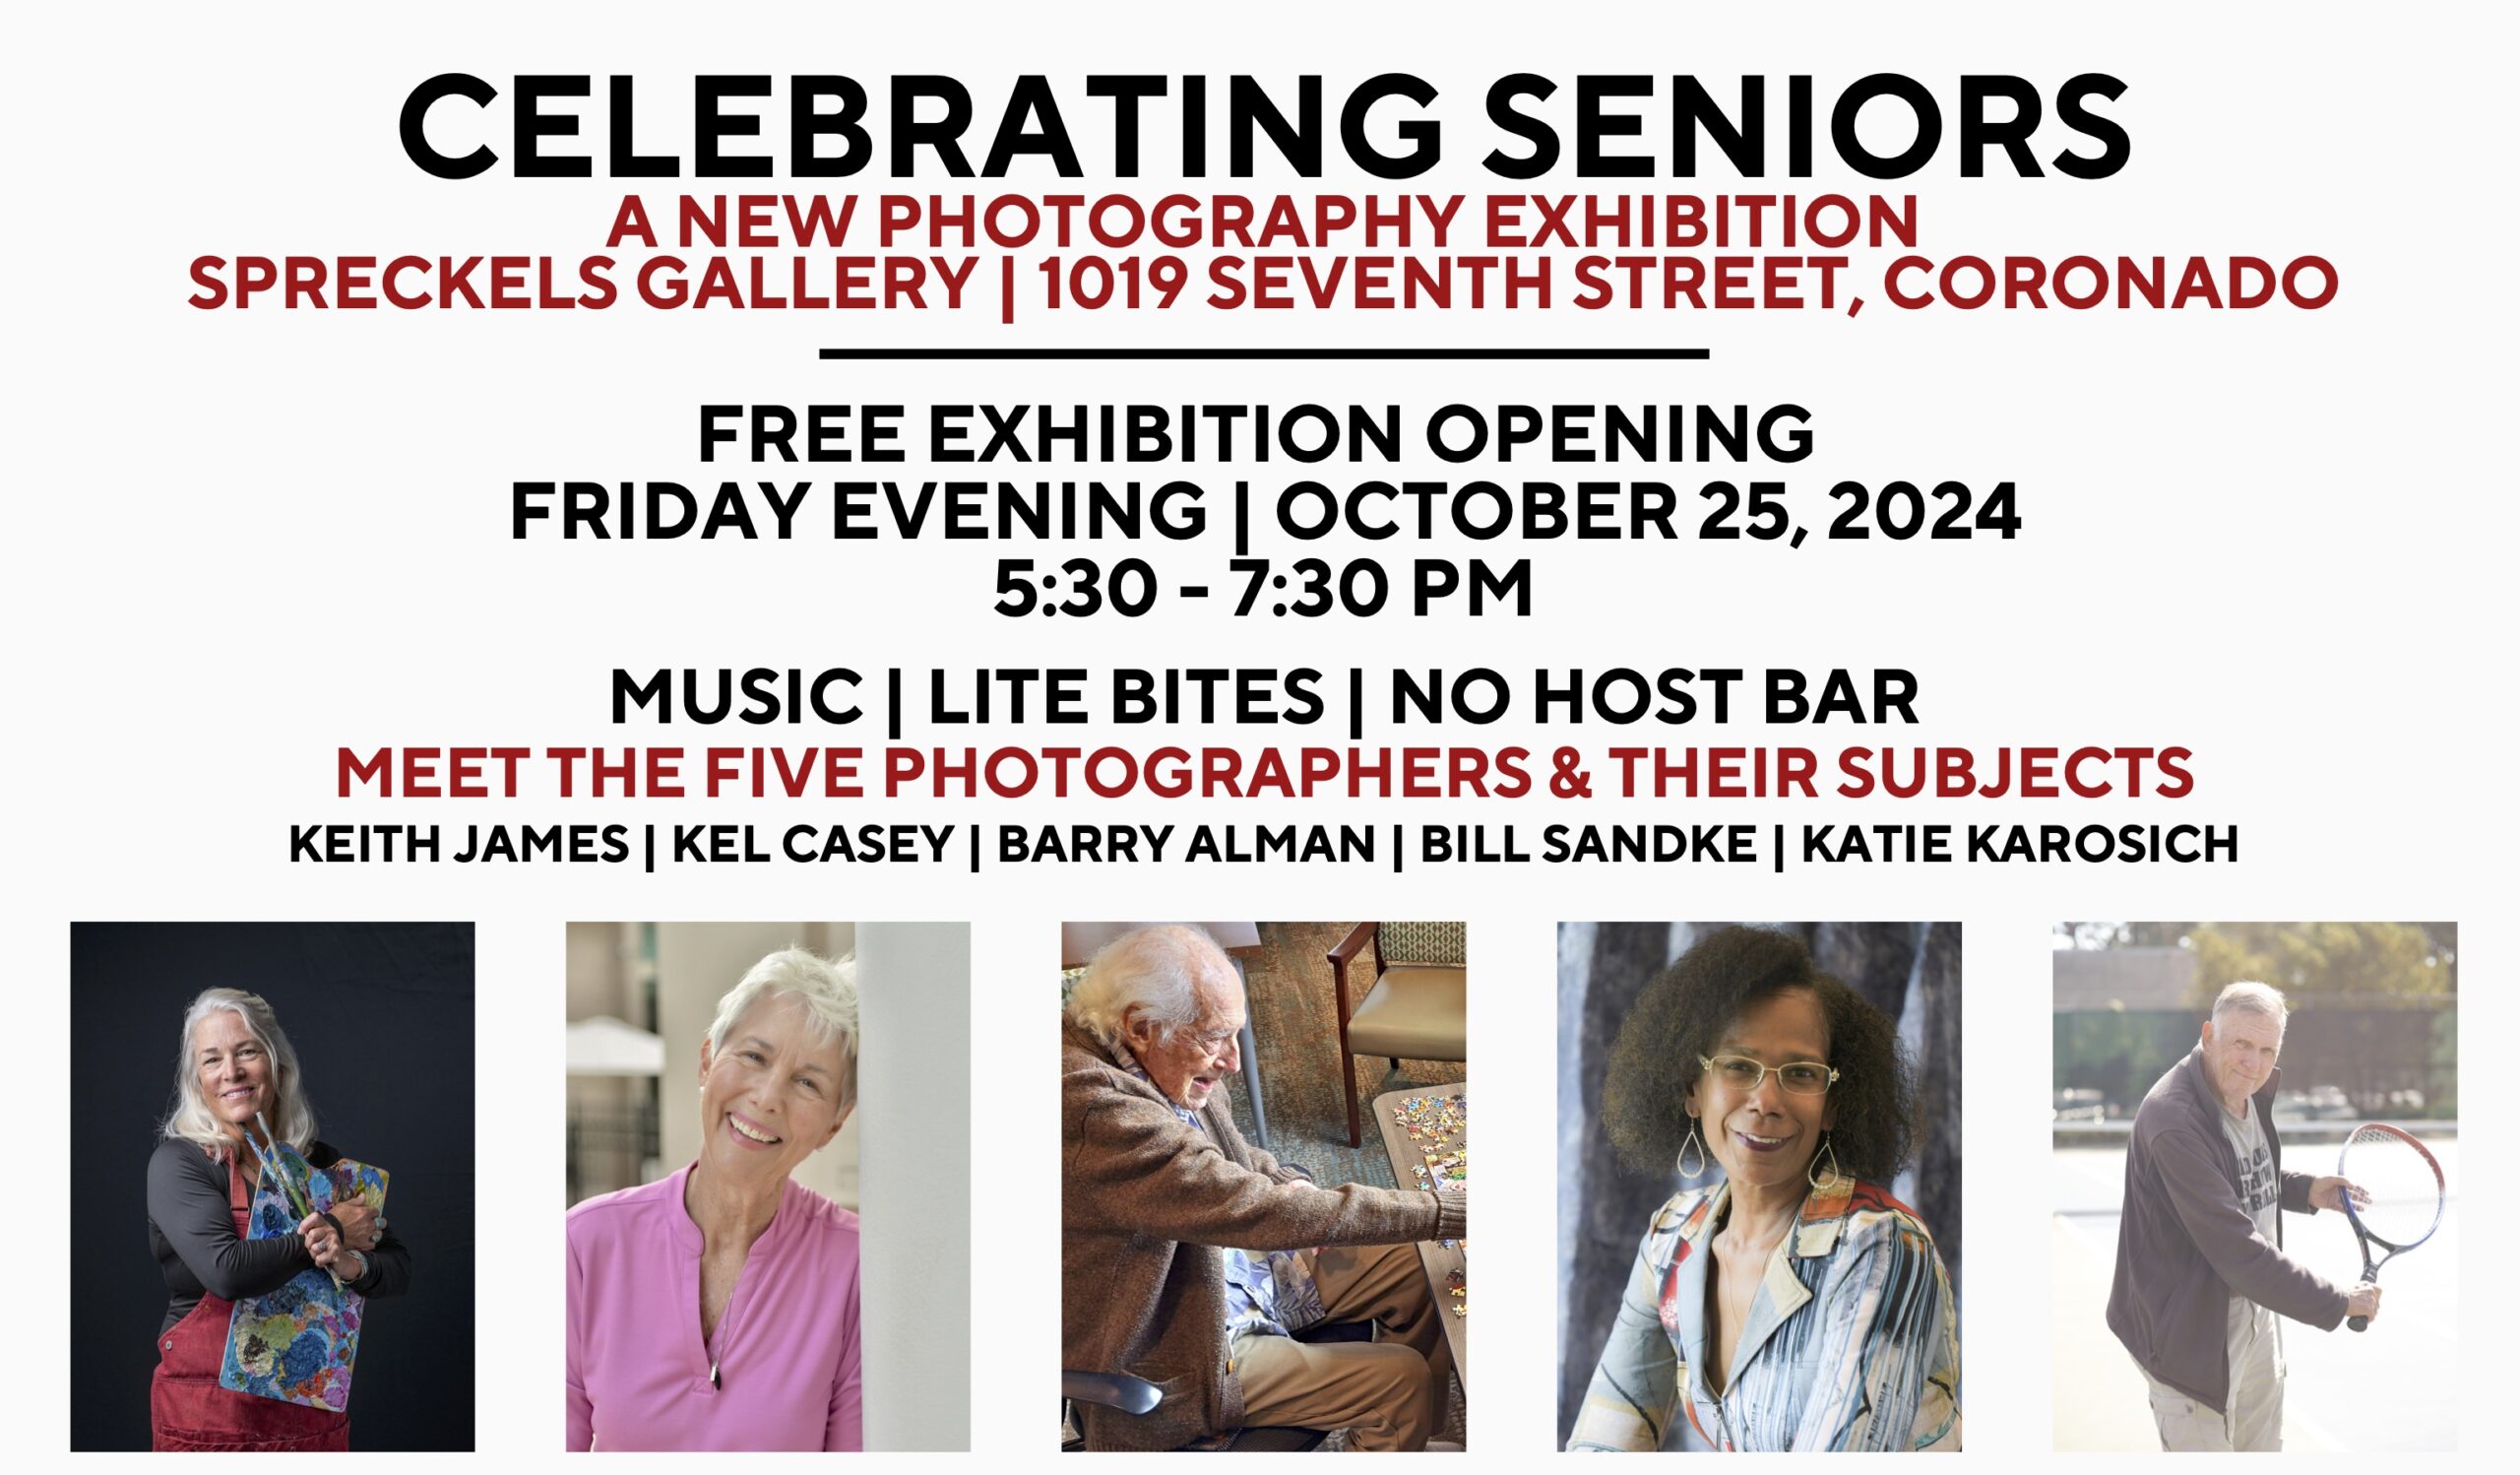
These portraits featured in the exhibition referred to above, which opened on Friday, October 25th. It was a fun event, with photographers and subjects mingling and comparing experiences. Here is the flyer used to advertise the opening reception.
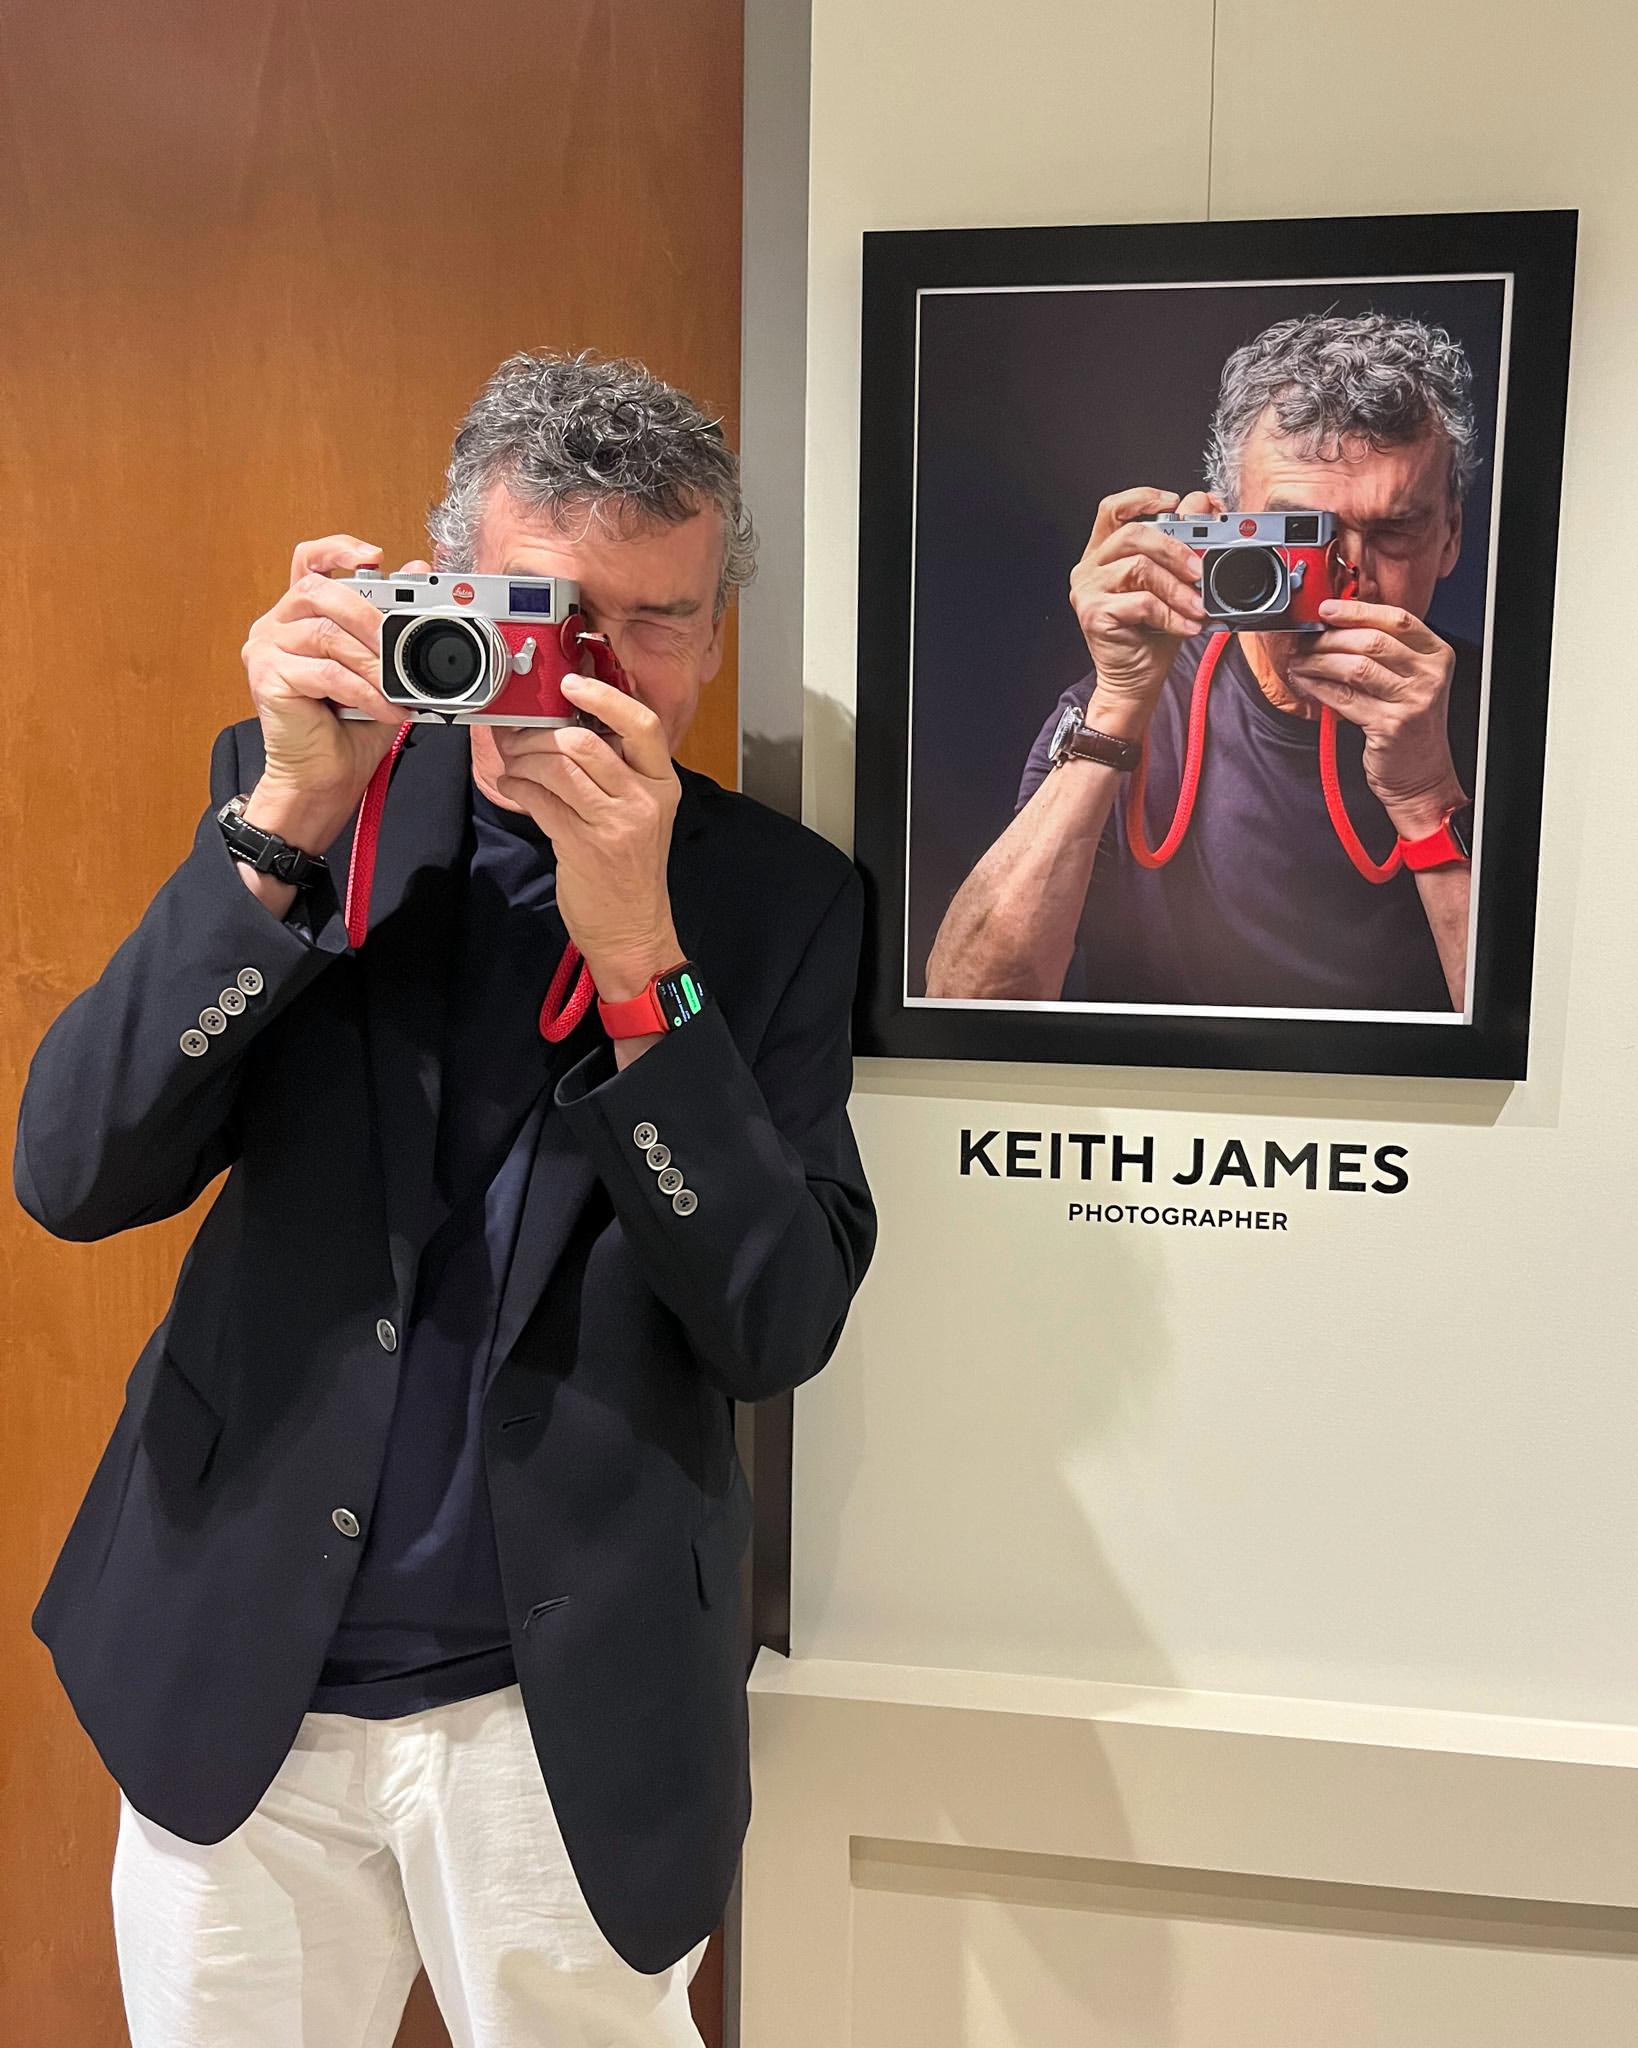
And here is a shot of me, posing in front of the print informing attendees that I was one of the photographers taking part in the project. I will have more to say about self-portraits in a future article.
After all the excitement, I have now packed away my new studio lighting gear. But I am itching to set it up and dive in again. I hope to tackle many more such projects in the months and years to come.
My plan is to strong-arm friends and neighbours to pose for me so that I can experiment with different lighting strategies. I might even volunteer my services to local folk looking to include a portrait with their Holiday messages. Perhaps I will get a few takers.
Join the Macfilos subscriber mailing list
Our thrice-a-week email service has been polished up and improved. Why not subscribe, using the button below to add yourself to the mailing list? You will never miss a Macfilos post again. Emails are sent on Mondays, Wednesdays, and Fridays at 8 pm GMT. Macfilos is a non-commercial site and your address will be used only for communications from the editorial team. We will never sell or allow third parties to use the list. Furthermore, you can unsubscribe at any time simply by clicking a button on any email.

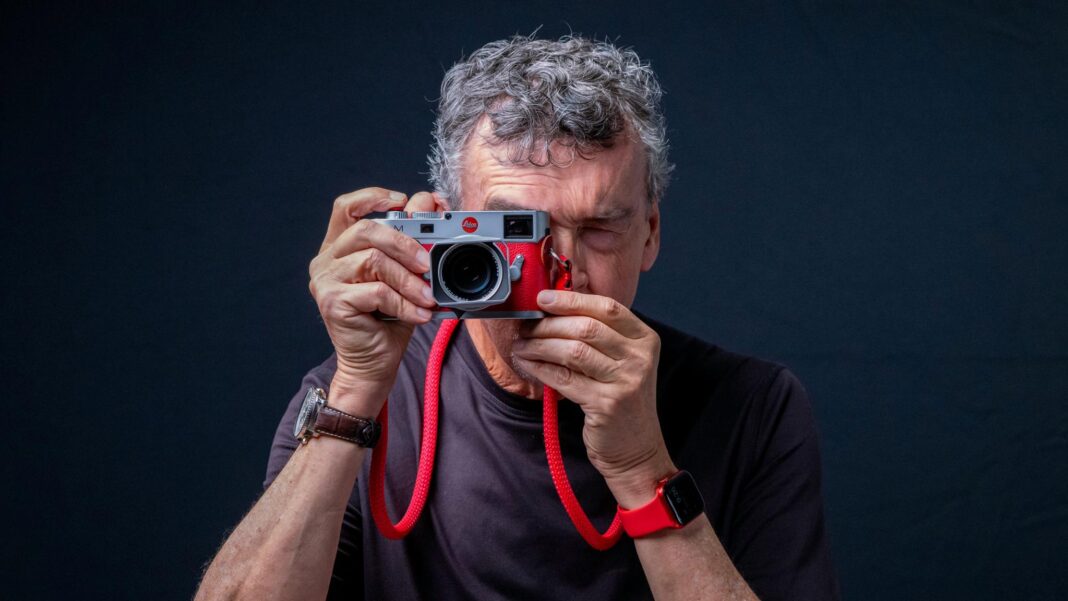
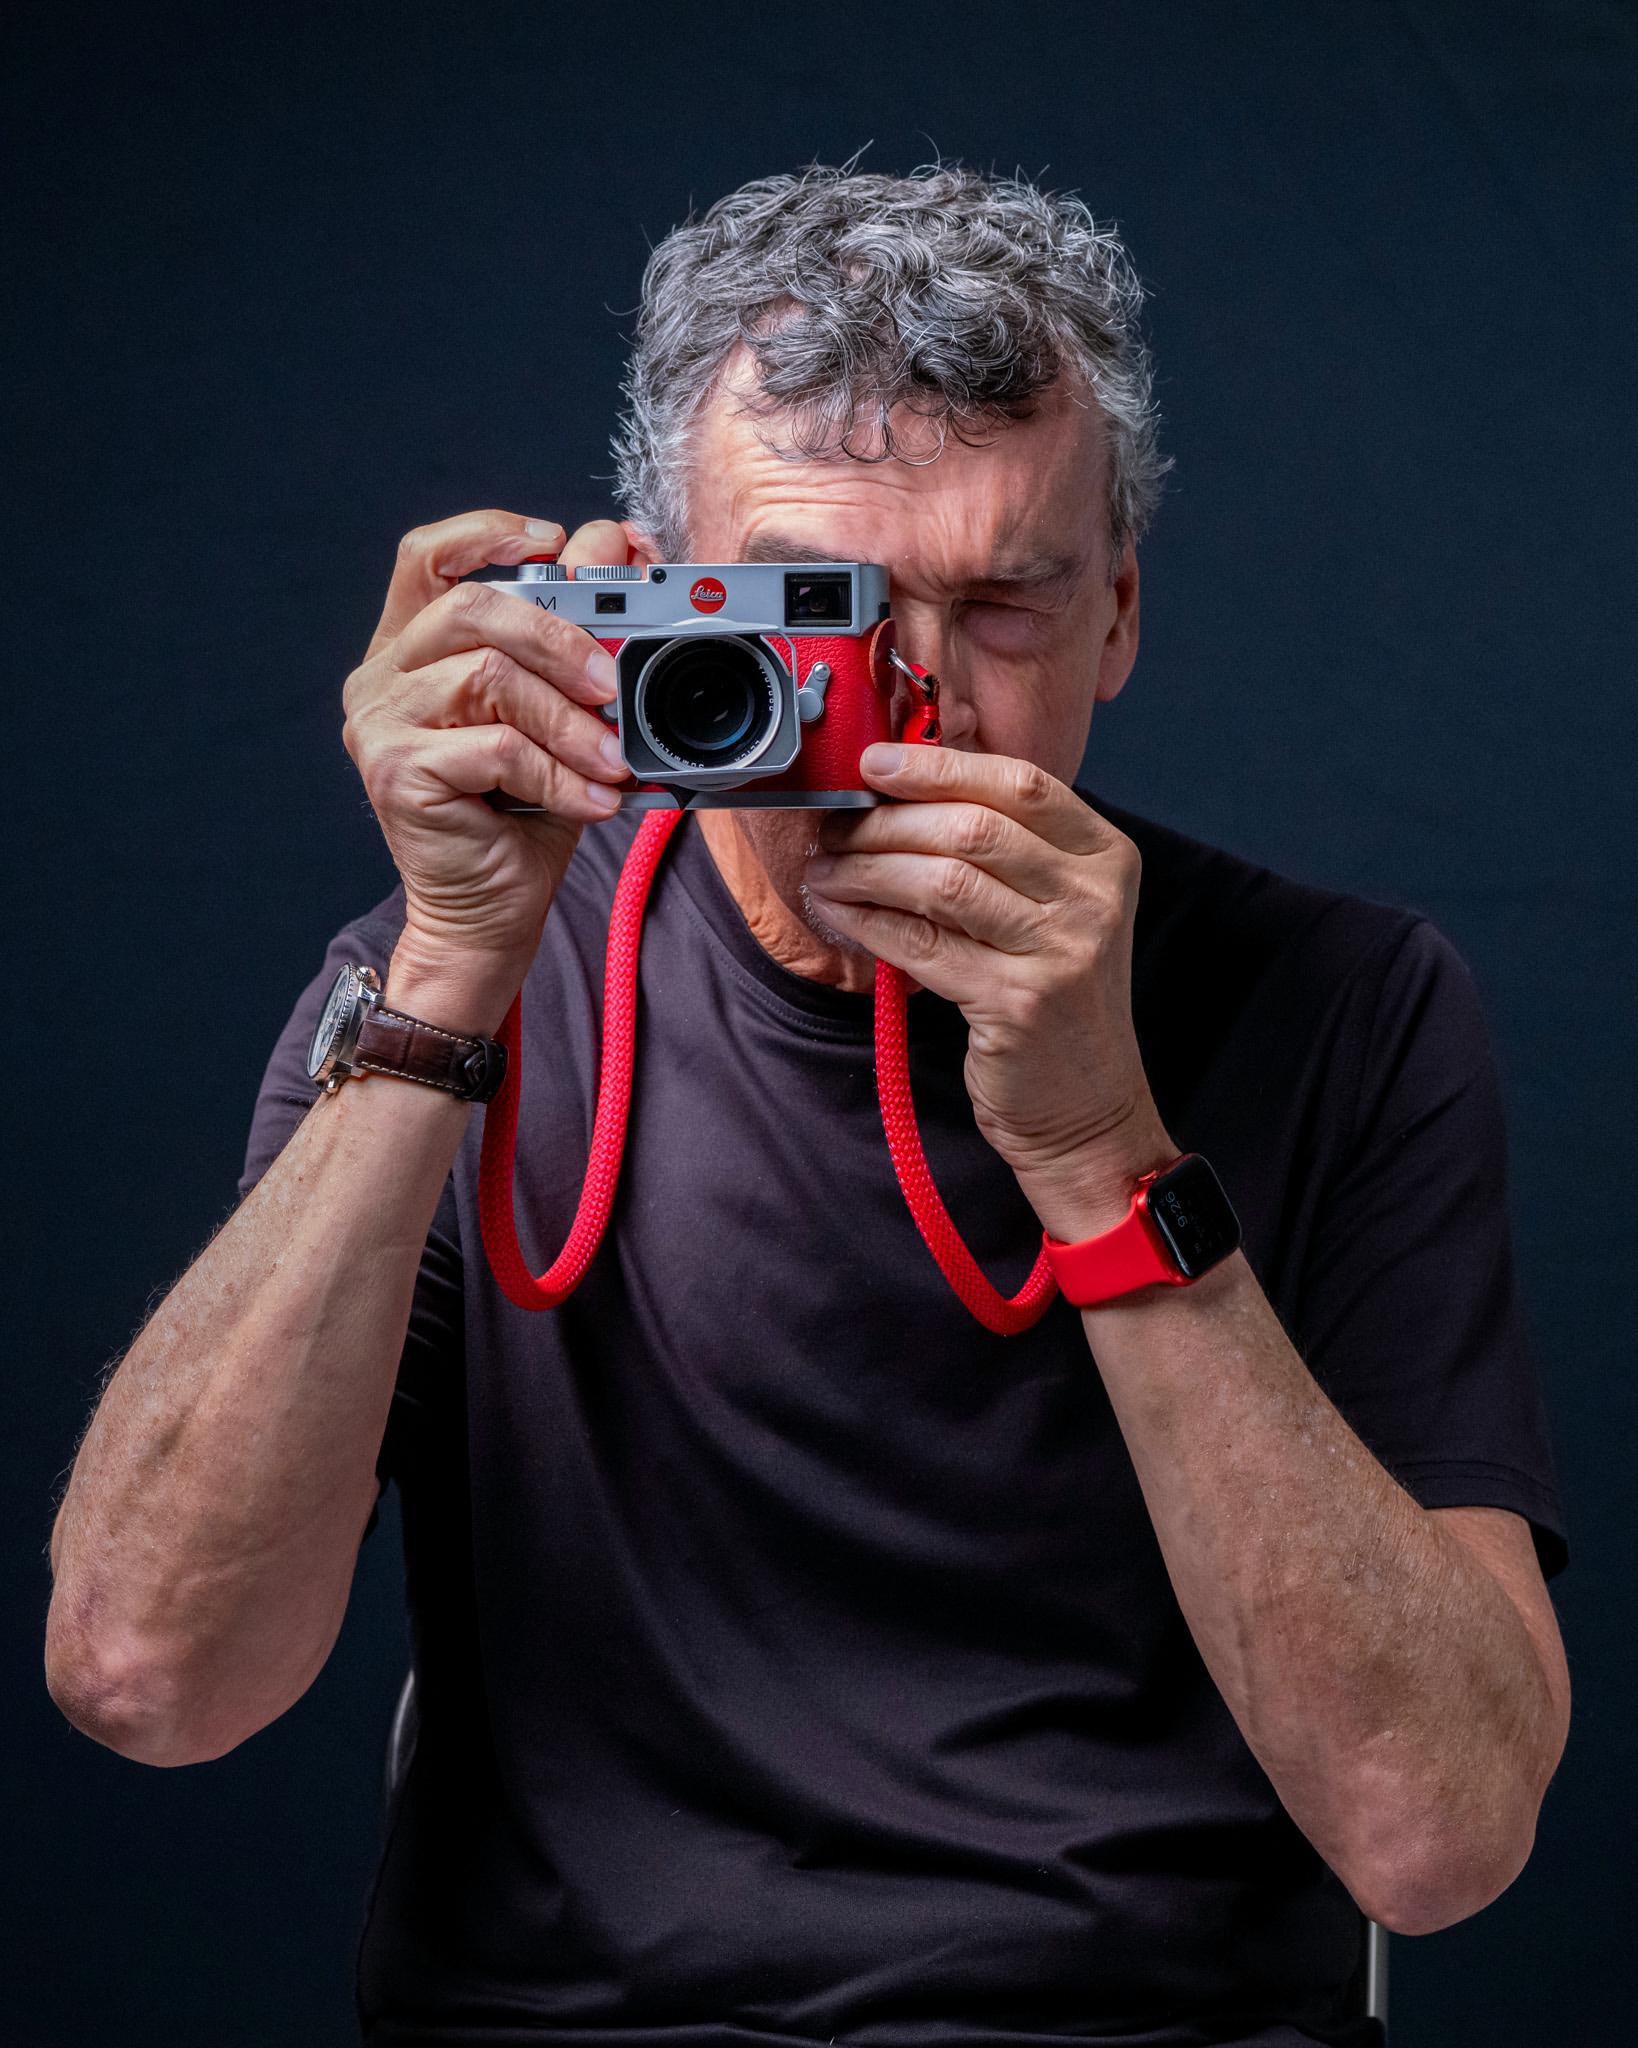
Off topic but I’m curious about that red Leica M. The top plate looks like a M Type 240 but there’s a frame line selector lever beneath the viewfinder, which the 240 does not have. What is it?
Hi TC. Apparently, the camera was from a Leica à la carte program, which allowed some customization of M240s, hence the red leather finish. I don’t know whether the person who ordered the camera requested the frame-line toggle switch, or whether it was ‘standard’ on these à la carte M240s, but that’s indeed what it is. One of our readers might know the answer. All the best! Keith
Thanks Keith for an interesting read.
I do like the deliberate trick of having your subjects holding or having an item that tells us something about themselves. It tells us much more than just the look of the subject. I’ve also found on occasions that strong expressions other that simple smiles also convey personality.
Something like David A below, I’ve generally chosen a brightly lit window for indoors, in a white or very light coloured room which provides subtle fill in. But maybe I should think more about a simple light setup.
Questions: Do you concern yourself with colour temperature of the lights? Or do you compensate the colour balance in camera setting, or adjust in post processing to get the skin tones that you want?
Hi Wayne. Many thanks for your comment. My light (Nanlite 200 monolight) emits at daylight-balanced, 5600 Kelvin. So, there has been no need to adjust the color temperature during post-processing. Since taking these portraits, I have used my light setup at home and am very pleased with the skin tones in the photos I have taken. They are extremely ‘life-like’. I will share a further post in due course to illustrate this. All the best, Keith
What an enjoyable and inspiring post. And what a great initiative to bring painters, photographers and other artists together. Immediately brings to mind Cartier-Bresson, who started as a painter, became a photographer, and went back to painting again at the end of his life.
Hi René, thank you so much! I am glad you enjoyed the article. Yes, I feel very fortunate to live in a community where there is such a commitment to the arts. It is enlightening to be exposed to artists working in different media, and how they approach projects. I think I’ll stick with photography for now though! All the best, Keith
Lovely portraits!
I use Yongnuo RF-602/N flash trigger on M9 to get occasional F/8 flash exposure on family events.
Inside the RF-602/N box is RF-602TX trigger paired with RF-600RX receiver.
Same pair works on Nikon FM-2n.
Thank you garlo! I am glad you like them. Although I am very pleased with how my continuous lighting approach has worked out, I remain intrigued by flash photography. Down the road, I might well revisit that option. Thanks a lot for the suggestion of Yongnuo triggers! All the best, Keith
Truly educational article. I’d no idea that one could get such professional results using so simple a setup.
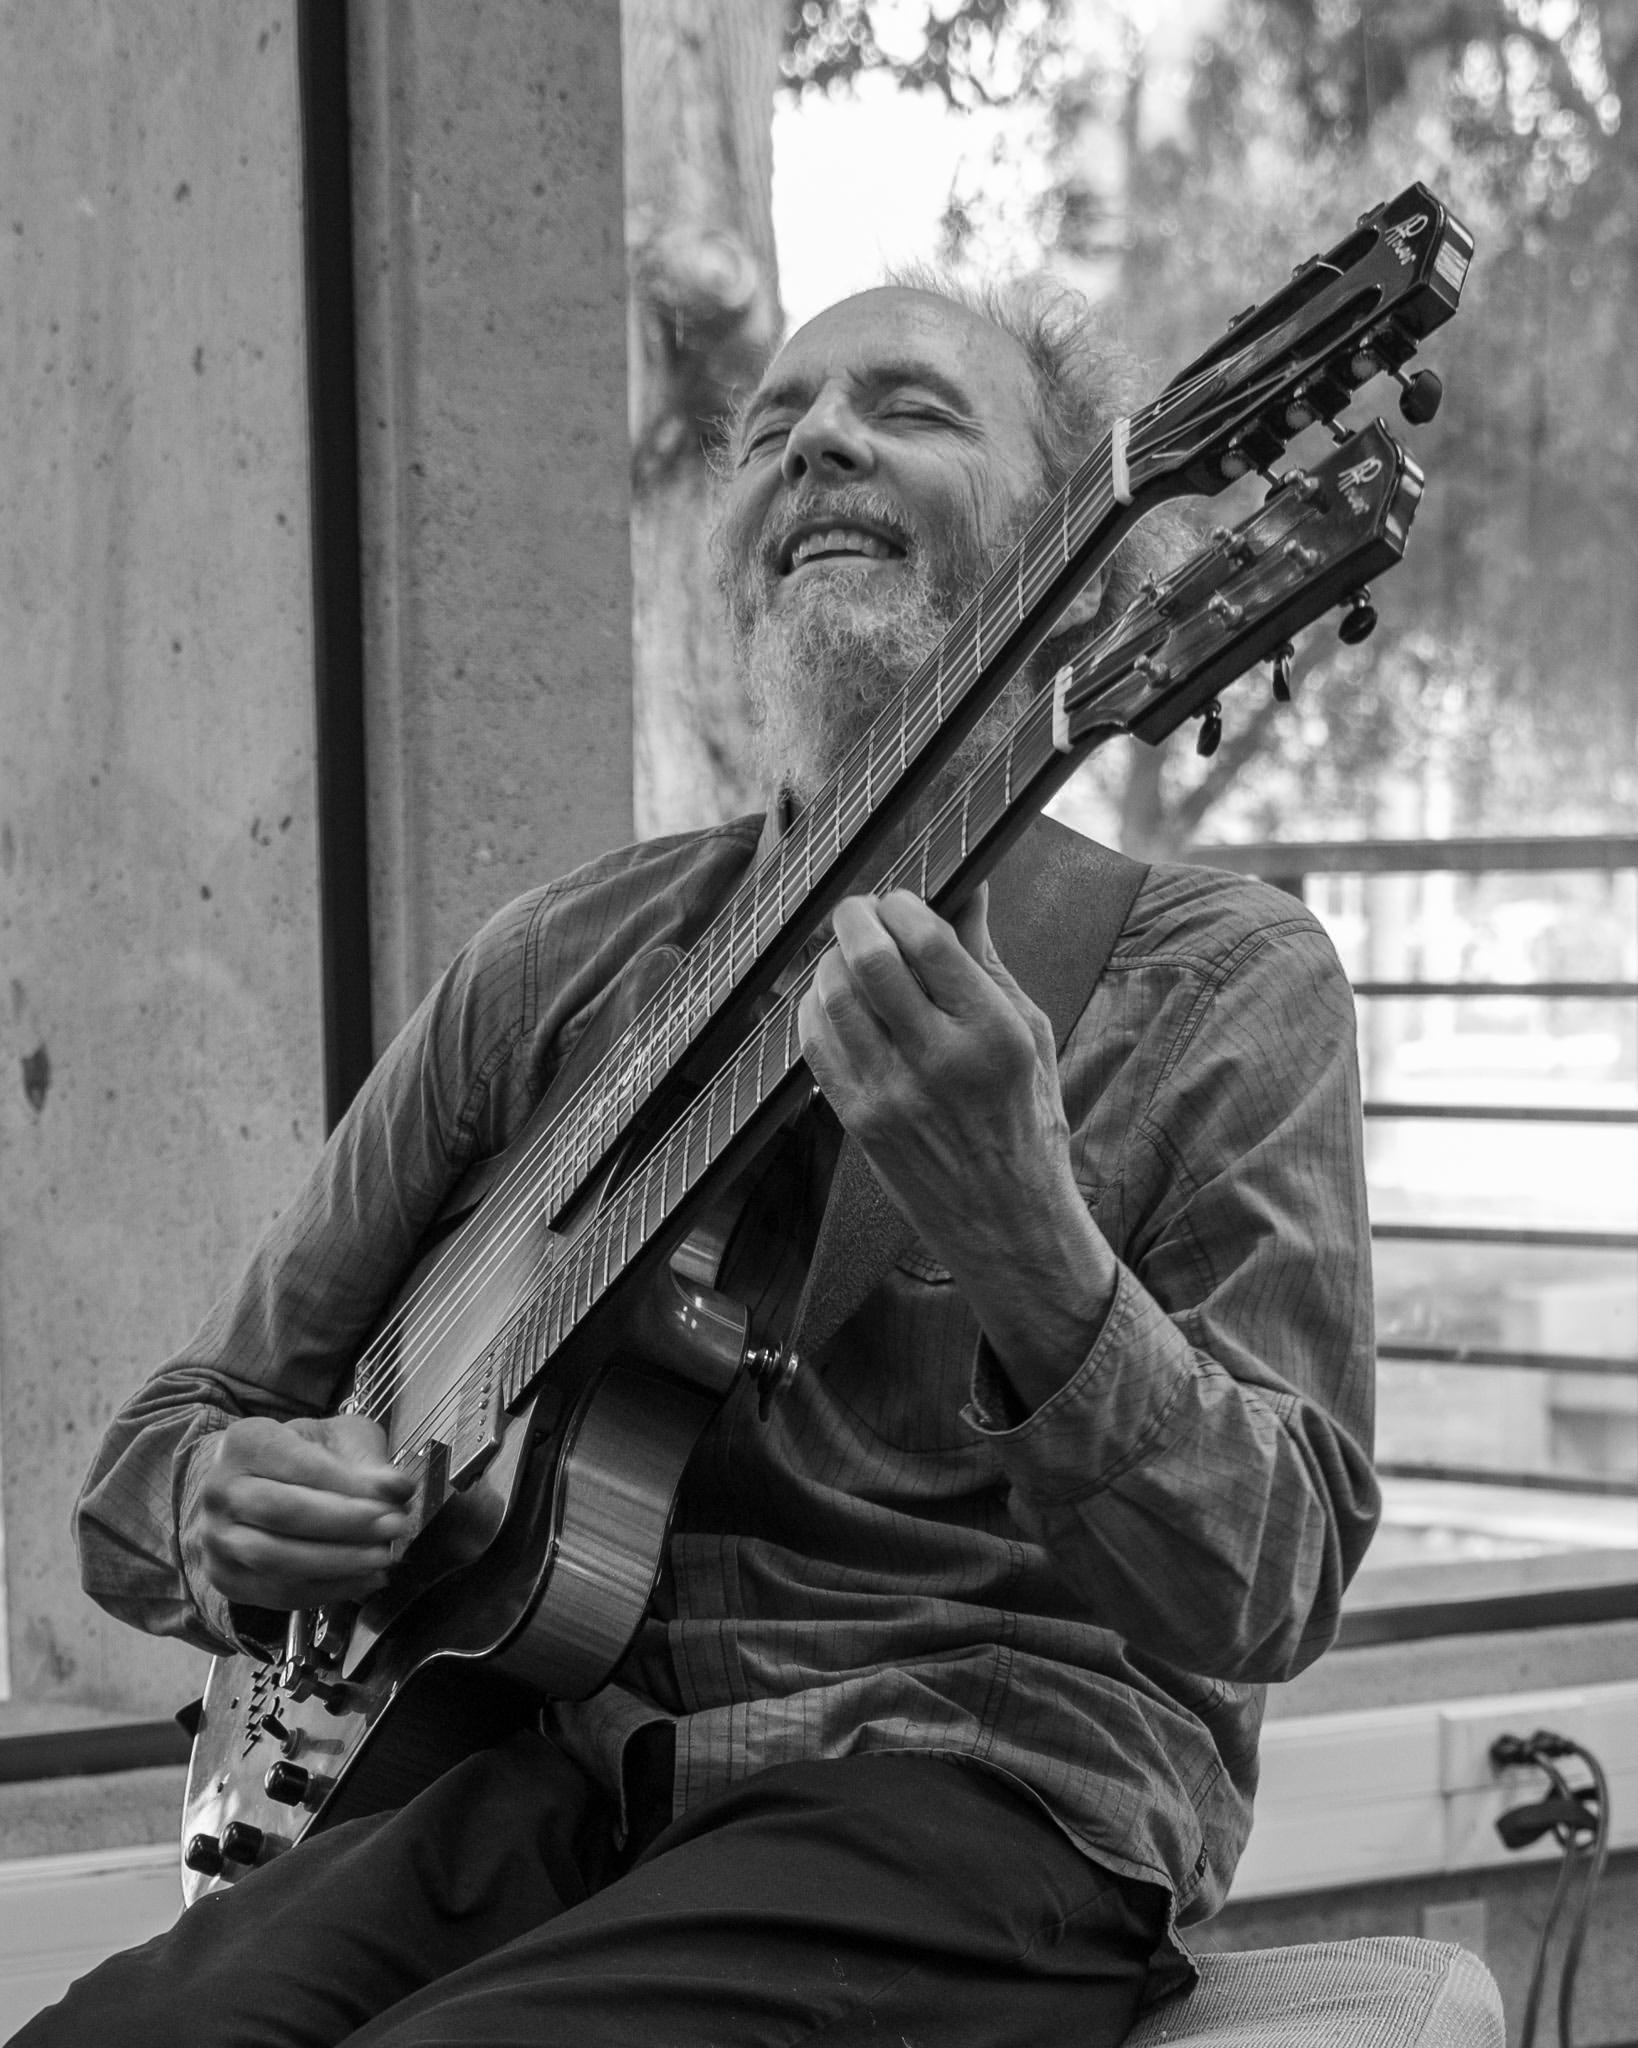
That said, I think ‘Lost In Music’ was still my favorite!
Hi Kathy, I am glad you liked the article. Are you tempted to give it a try?
The photograph of the guitarist, Peter Sprague, immersed in his music, is one of my favorites too. You could possibly pose such a shot. This is the benefit of candid portraits, capturing spontaneous expression of emotion! All the best, Keith
Love the guitarist shot. Shades of John McLaughlin when he was with The Mahavishnu Orchestra.
I should have added how engaging are your portraits of friends. Well done.
Keith, that is a very good compromise using just one light.. My preference is one window admitting daylight and a reflector, but your solution is much more flexible and guaranteed. I have enjoyed many of Sean Tucker’s videos, on various subjects He has since moved to NE England, near Whitby. Check out his video on Frank Sutcliffe.
Thanks, David! Sean is indeed a very talented fellow: writer, photographer, videographer, and even philosopher. He has a fascinating backstory too. Perhaps other Macfilos readers will be tempted to look into his work now. All the best, Keith