When you cast loving eyes over your Leica Q, can you imagine stripping it down to its smallest component? And then contemplate putting it all back together again? It’s not a job for the faint of heart, but luckily we know a man who can.
Mission impossible
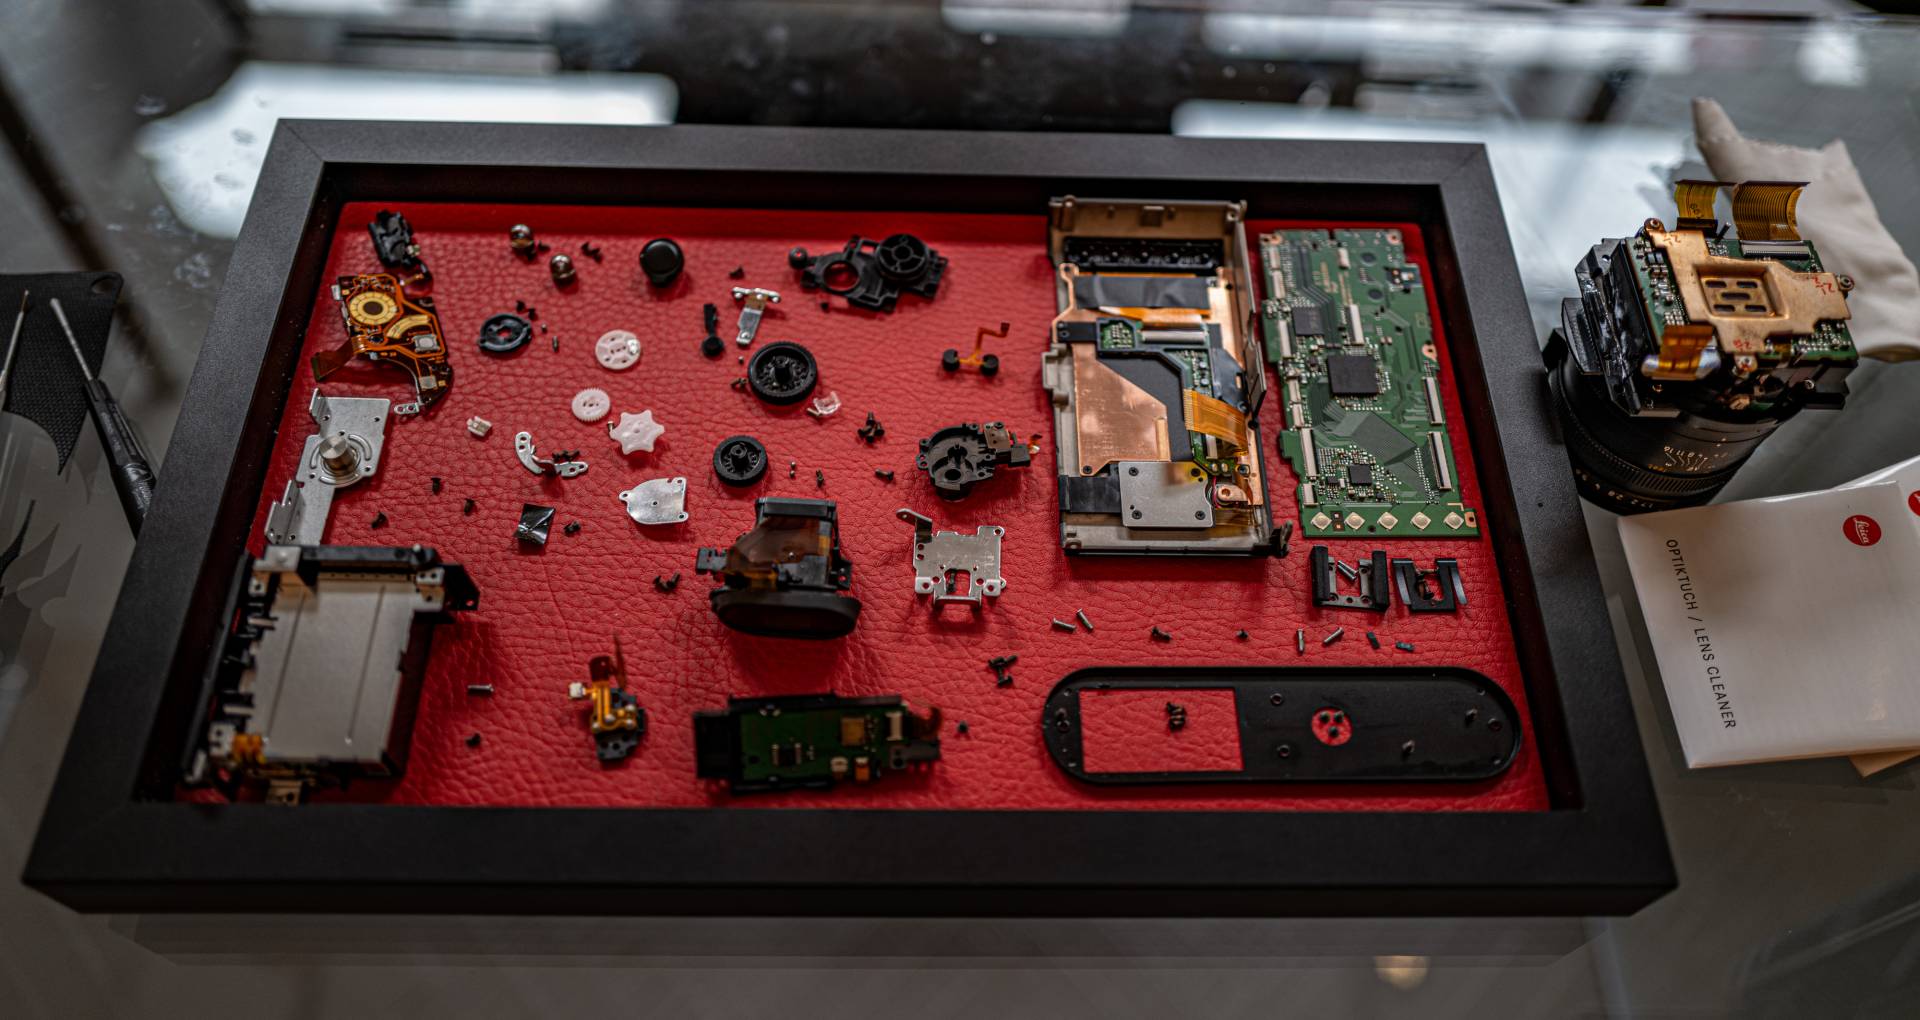
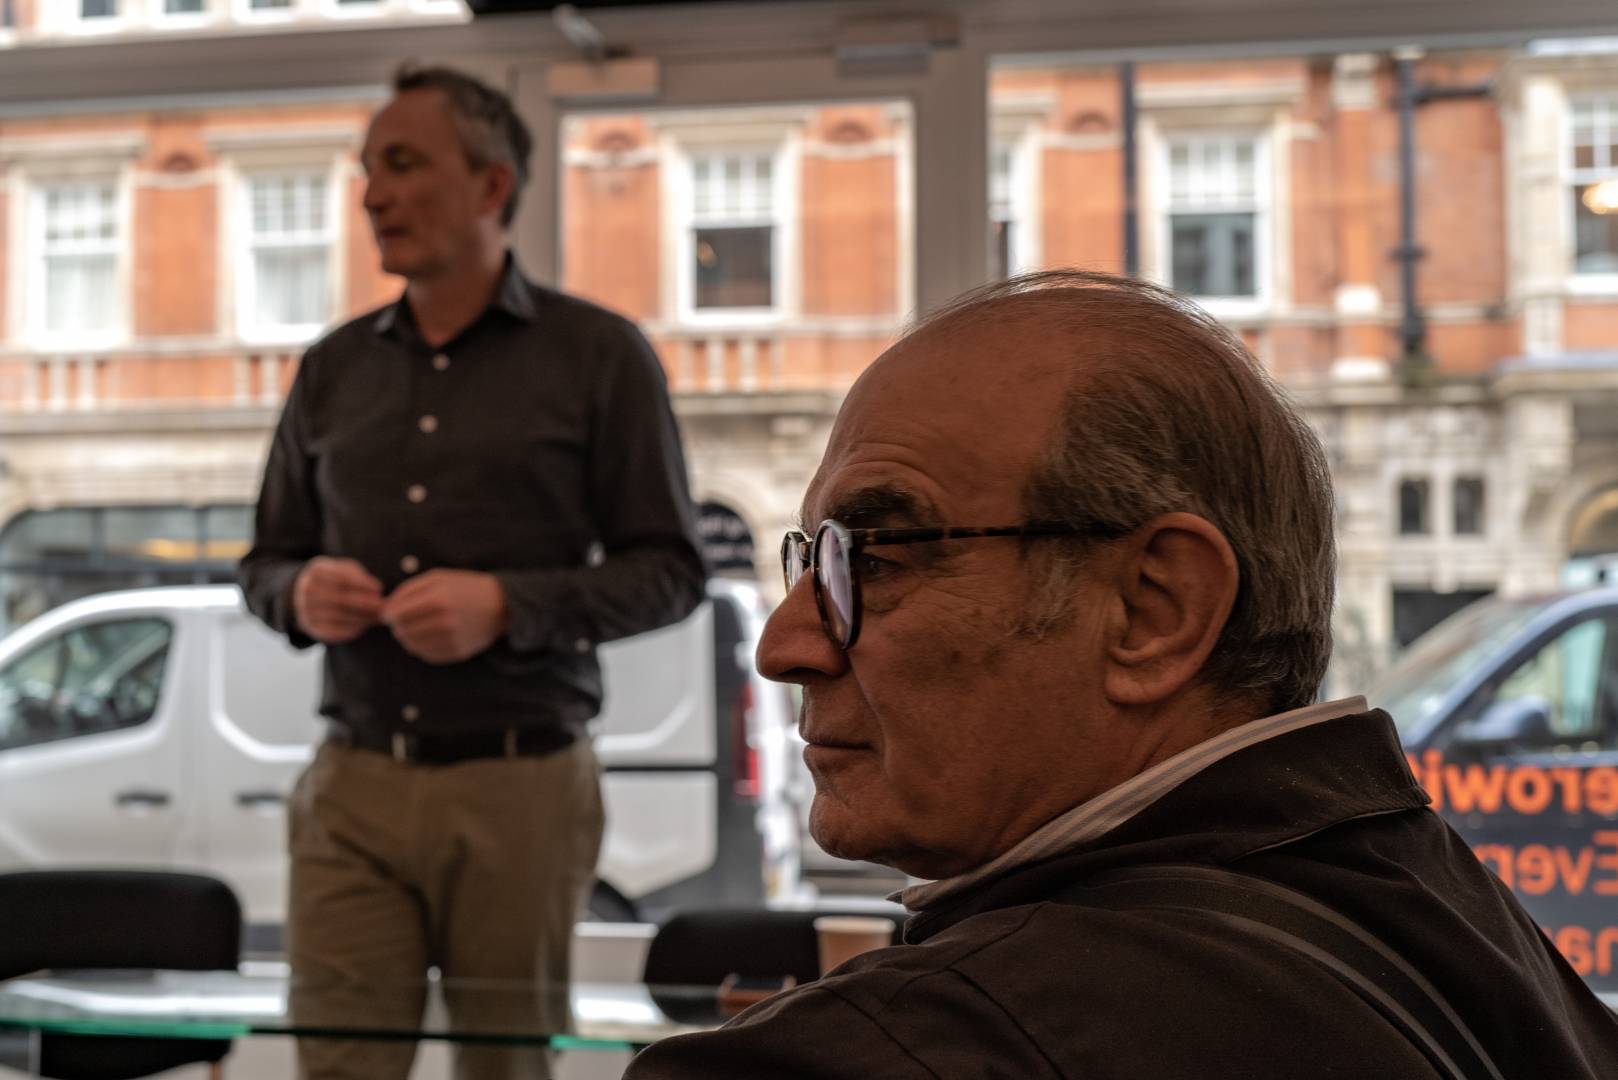
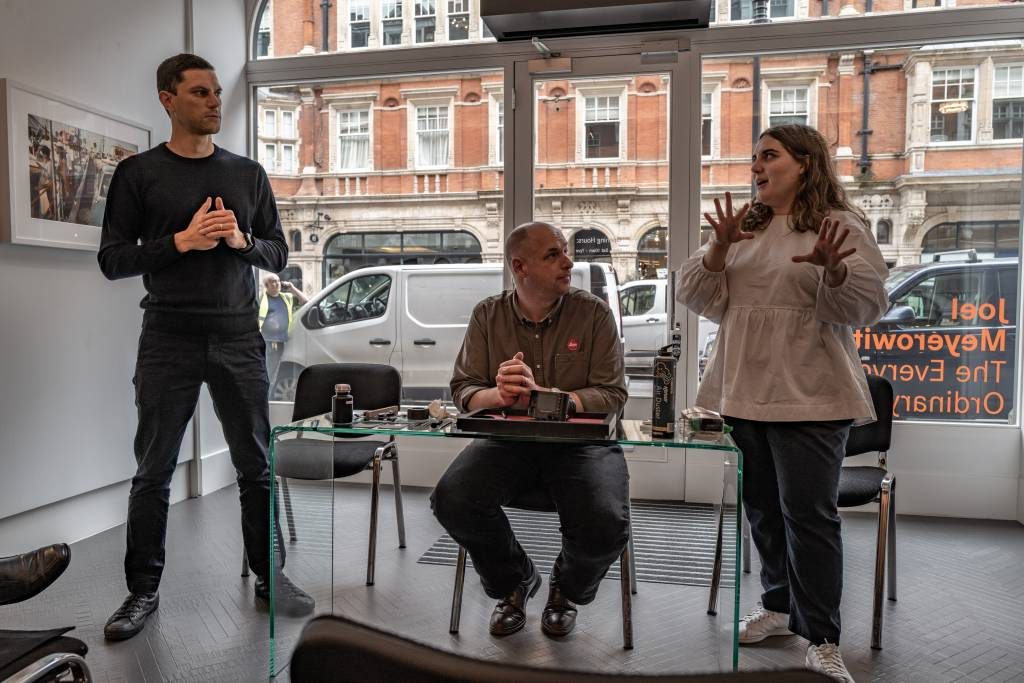
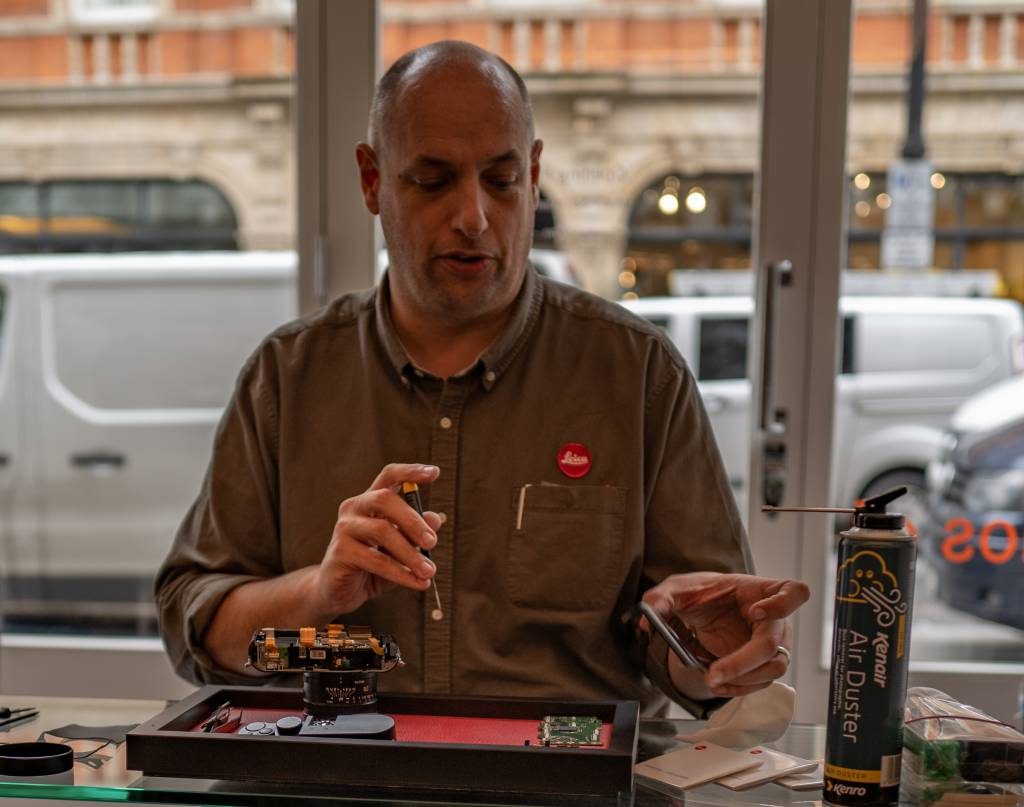
It’s all in a day’s work for Leica’s expert technicians. At a Leica Society meeting in Leica’s London showroom last week, technical expert David Slater did the seemingly impossible before our very eyes. I didn’t time him, mesmerised as I was by his dexterity, but I think he took just 45 minutes to reduce the Q to its smallest components, all neatly laid out on a tray. It takes about four hours for the complete repair process, including the stripping down and final checking and resetting.
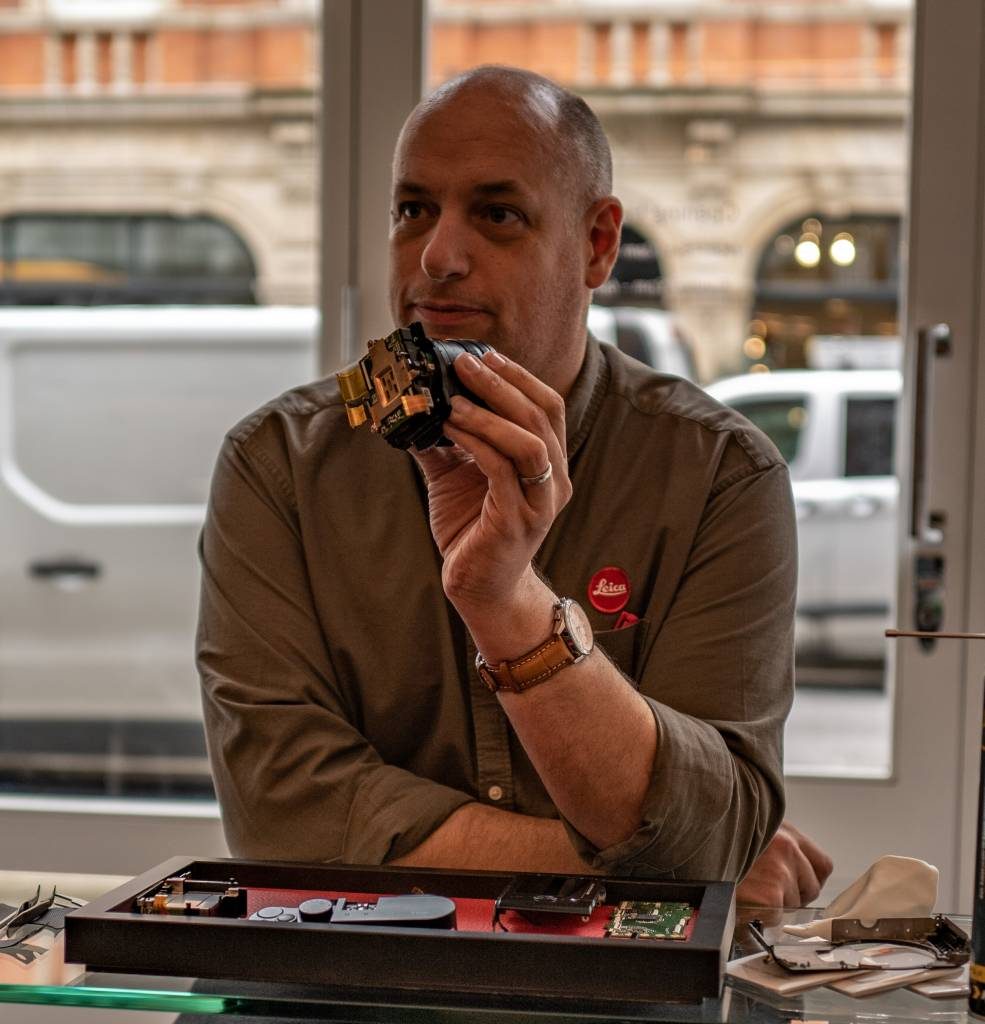
Most Leica compacts, including the D-Lux, C-Lux, V-Lux and previous X-generation cameras, can now be fully serviced in London, thus avoiding the time and expense involved in sending the dodgy device back to Wetzlar. The Leica Q is included and owners will be content to hear that David can put things right on the spot.
Owners of the new Leica Q are not so lucky. Because of its weather sealing, the Q2 has to be sent back to the factory if dismantling is thought necessary.
Running commentary
During the dismantling process, David kept up a running commentary, explaining every step. The first surprise for most of us was that the leather body cover must be scraped off. It’s a dead duck then, because it stretches and is more than likely damaged, so every strip-down involves supplying a new cover.
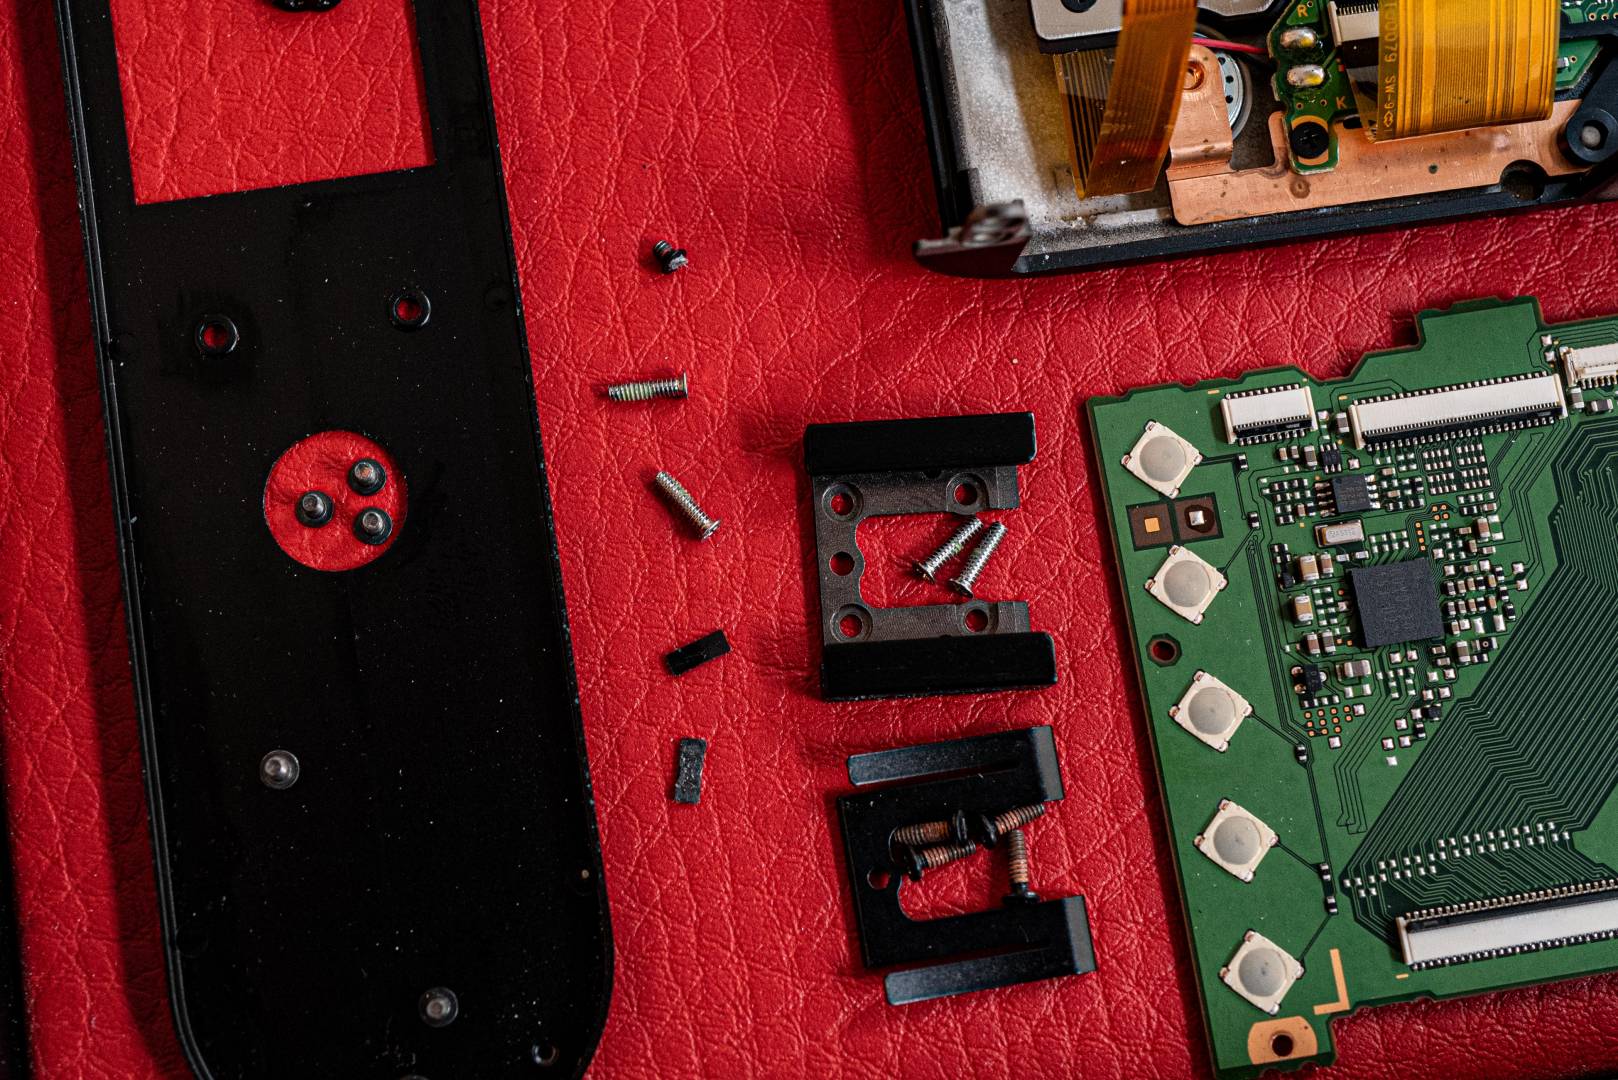
As David points out, this isn’t a problem because they hold stocks of body covers and can even tackle the more common special editions. You’re out of luck, however, if you have modified your precious camera body with a third-party fuchsia-hued lark-skin covering.
Why does the leather trim have to be removed in the first place? It’s because some of the vital screws are hidden beneath the cover. So to get at them, off comes the leather. Fortunately the screws are protected by a recessed insert so that they cannot be felt through the thin coating once reassembled.
Painstaking
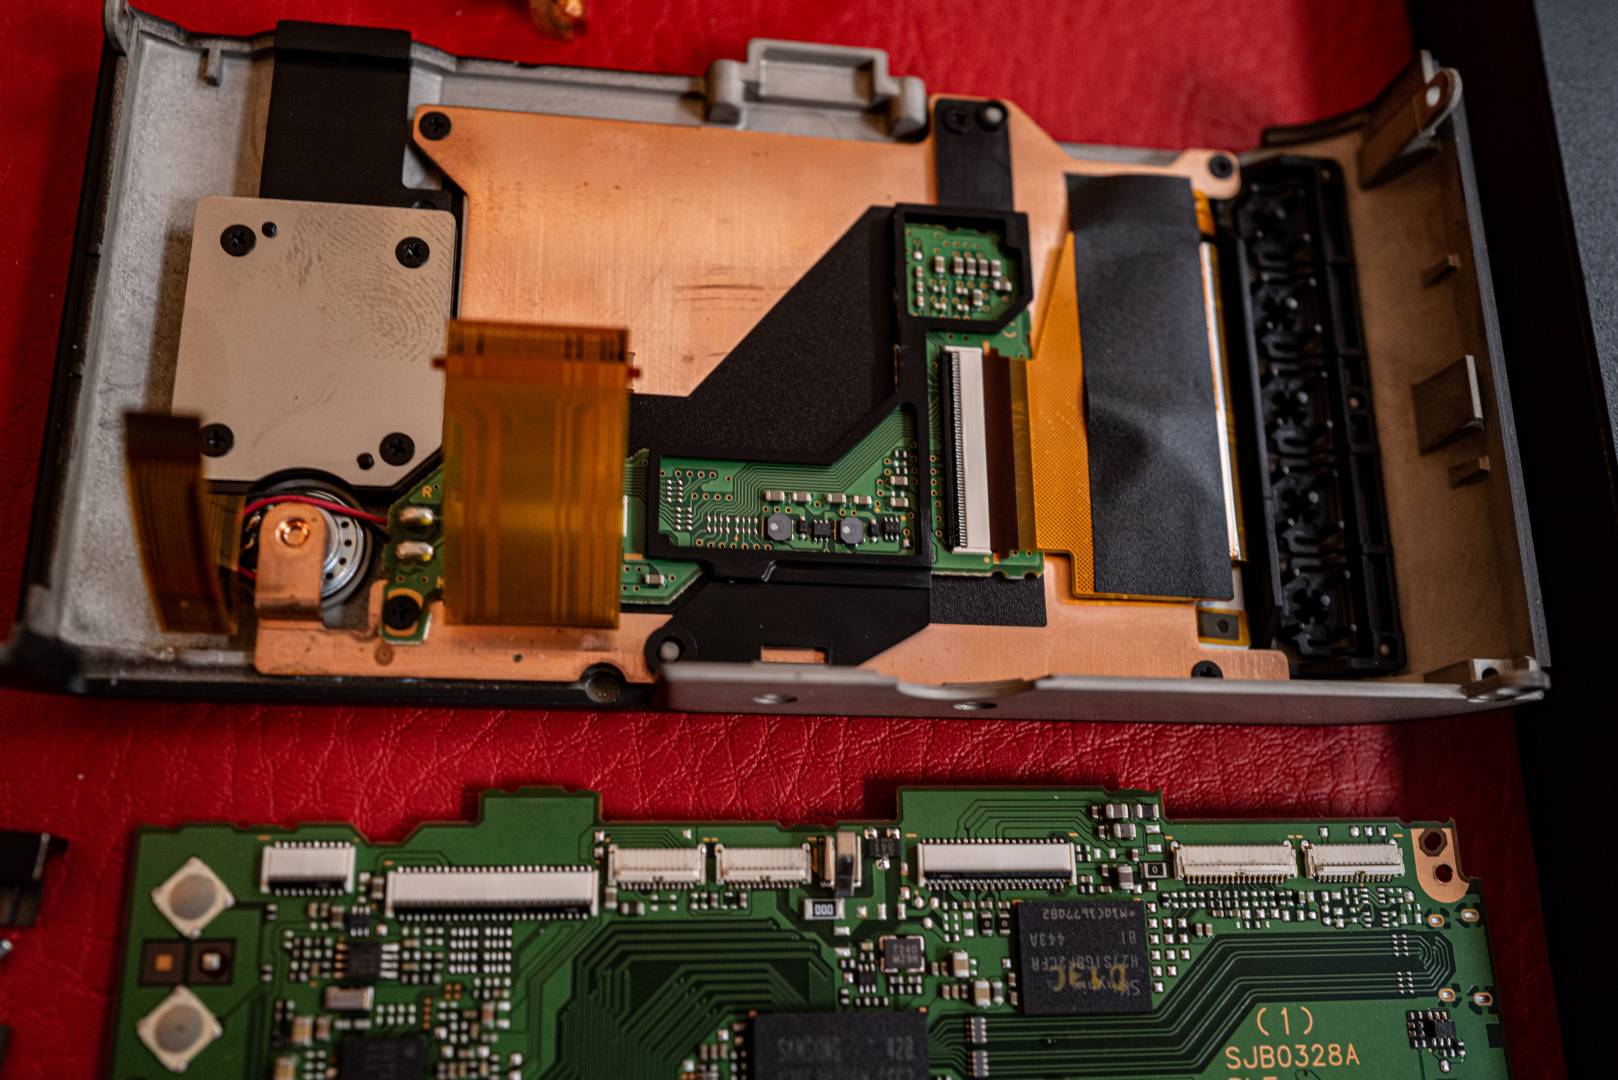
When the leather has been removed it’s then a methodical but painstaking general dismemberment of the camera, right down to the smallest part. The main board comes away as a unit but, as David pointed out, the SD card slot is firmly attached to the motherboard. If the slot is damaged, perhaps by an over-enthusiastic owner forcing in a card the wrong way round, this could mean replacing the motherboard. So be warned, treat the SD card slot with care since damage will be costly.
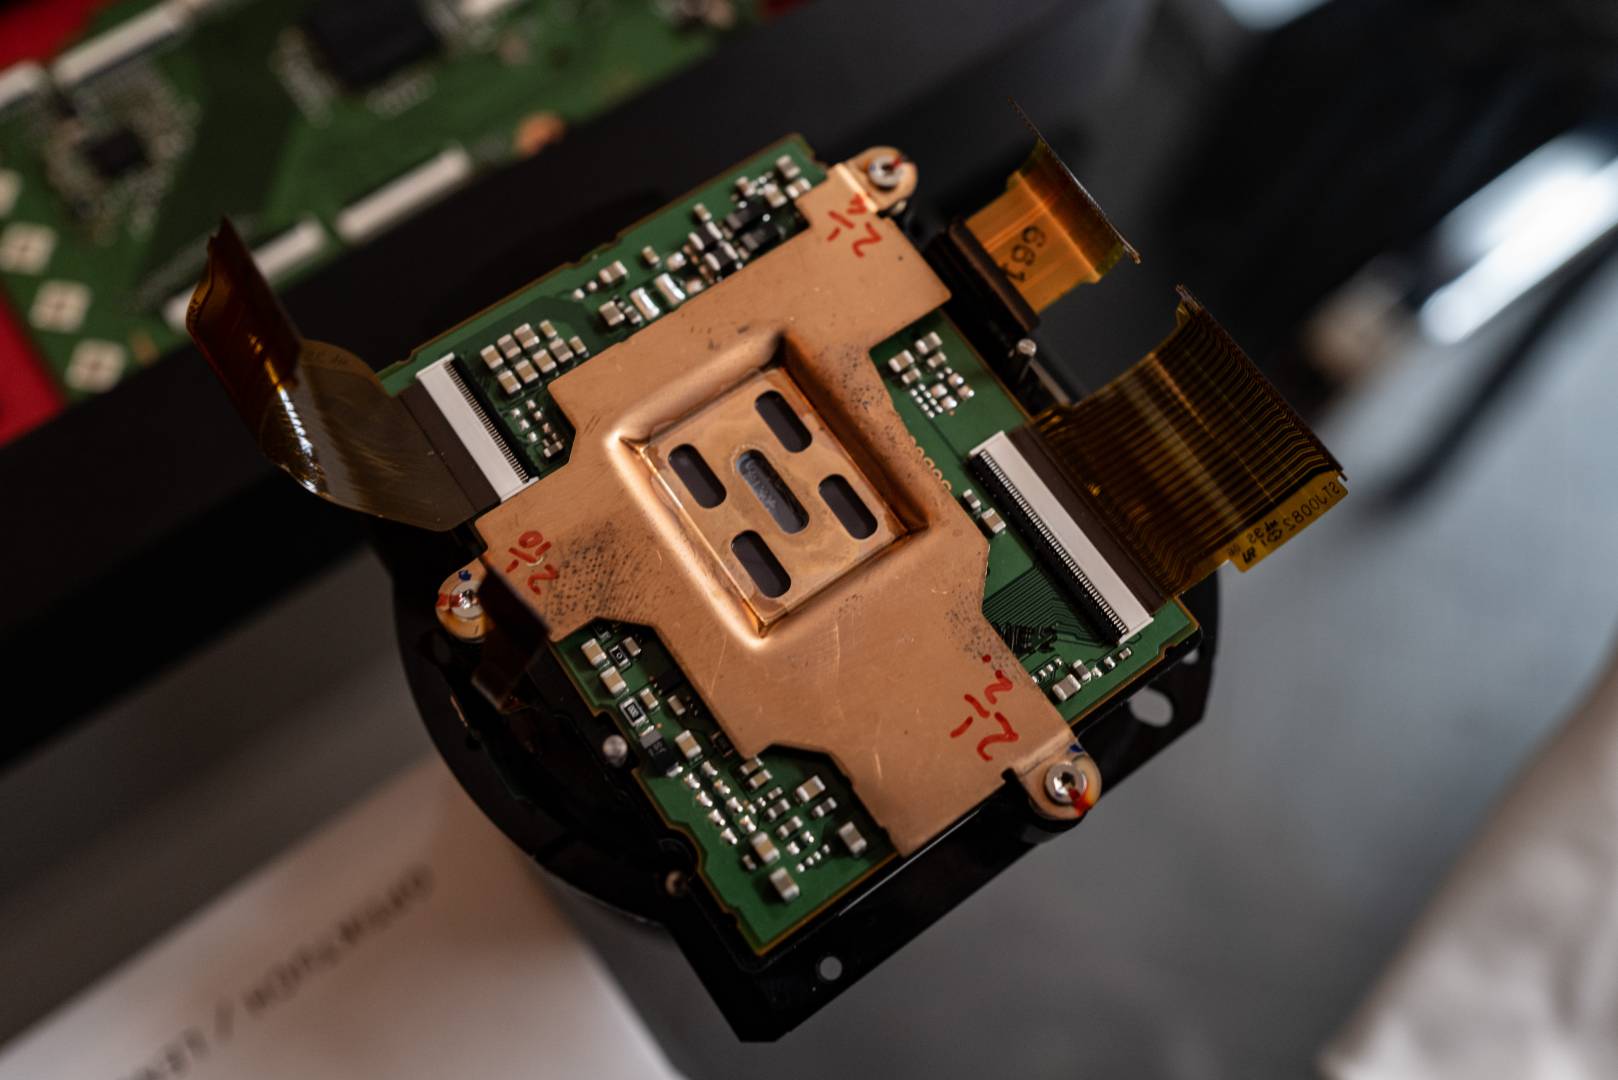
The sensor is a particularly delicate component that needs careful handling. According to David, in most Leica cameras the sensor represents fully half the cost of the camera — which I take to mean the production cost rather than the eventual retail price. It is the single most expensive bit of any Leica camera and it’s one of the reasons why sensor replacement, if necessary, can hit the wallet so hard.
Expensive lens
The f/1.7 Summilux lens is the one part of the camera that cannot easily be dismantled. David took it as far as he needed to for demonstration purposes, although some of the additional electronics at the back end can be removed if necessary. Nevertheless, the lens remains a discrete unit which is actually one of the most costly parts of the camera. When pushed, David estimated that it represents around thirty per
Much of the electronics are Panasonic sourced but the whole camera is assembled in Germany to exacting standards.
Itsy bitsy layout
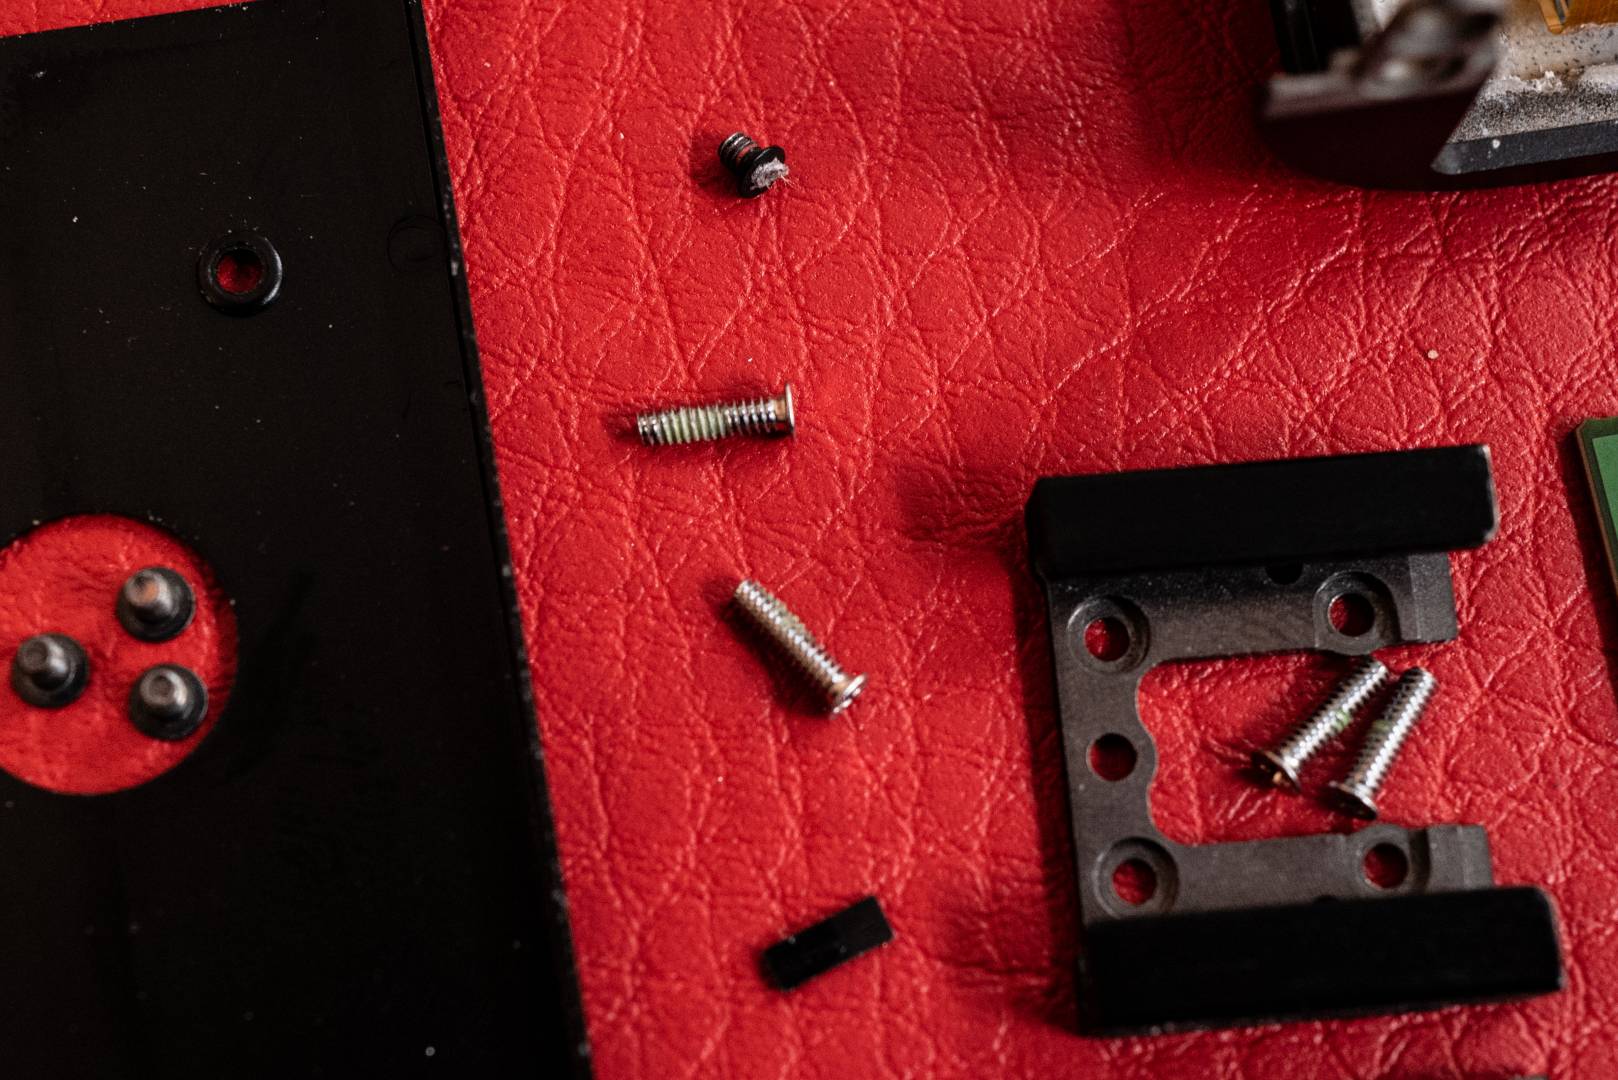
I had the opportunity to photograph the components once the camera was fully stripped. As a person who can strip a screw thread merely by glancing at it, I cannot but marvel at David’s expertise and confidence. The layout of the tray, with all the components in serried ranks, follows a pre-ordained pattern, a subterfuge which is especially important when dealing with a new camera. After a time, though, he says he can strip down and reassem
David dismantles Leica Qs three or four times a week but many of the cameras that come in for repair get a similar treatment — so that’s three or four cameras per day when you include all models from the C, D, V, X series to the Q.
Are there any common components between the Q and other cameras? As an instance, David picked up a minute cog as the only common feature between the Q and the D-Lux. The rest is unique to the Q. However, the general layout and method of assembly is very similar to that of cameras such as the X1 and X2 and the more recent X models. They all conform to an established Leica methodology.
The demonstration was extremely effective and offered a window on the unique quality of Leica as a company. Being able to take your camera to Leica and know that it can be repaired efficiently, even after a decade, is a great comfort.
It is one of those factors which ensures that Leica digital cameras have a longer active life — and thus greater value retention — than cameras from some other manufacturers. It’s this personal touch that is often lacking with other cameras. Even the X1, introduced alongside the M9 in 2009, is still fully serviceable in London by David and his colleagues.

I had a nightmare last night with my X2 going haywire. Fortunately, it’s good to know the problems can be fixed.
I had an X2, with a broken battery door catch. Sent it off to leica, and a month later it was returned unfixed, “Part no longer available.” This was in 2017, five years after that camera was released. That didn’t feel great.
Excellent report of the event Mike, and excellent images taken in difficult light.
Thank you, Keith. Good to see you there.
Fascinating and unusual article, Mike. Very comforting to know that my X2 and XV can get treatment if necessary.
It’s good to see David get a mention because he has always been very helpful to me including providing some TLC to my X1 when it returned from an expedition to the Arctic.
And we shouldn’t forget the estimable Jimmy Hughes who is equally helpful and knowledgeable. David and Jimmy make a great team and together represent Leica UK’s secret weapon when it comes to customer relations. Where else could you get such personal attention to detail?
I fully agree about Jimmy, he’s immensely helpful.
another +1 for Jimmy Hughes
And another pat on the back For Jimmy Hughes. A pity he is down to a few days a week. Near to retirement?
I didn’t know what. He will be a tough act to follow if this is true.
I am a mechanical watch fanatic and what tweaked my initial interest was finding an old and abandoned pocket watch on my grandparents’ barn. I got permission to take it apart and spent a good while very slowly putting groups of small parts into small containers. I reassembled it (no pieces left over!!!) and got it going, but it ran for 30 seconds and never ran again.
Cameras are undoubtedly similar and require high levels of dexterity, organizational skills and patience to do what’s required. I suspect the message behind the disassembly of the Q is when it comes to service you get what you pay for. And in the case of Leica that’s excellence.
When I wrote for “Practical Photography” I remember going to see Alan (? – can’t remember his surname) one of Olympus’ technicians at Honduras Street (then Olympus’ London HQ ..not far from where Red Dot Cameras is now, just off London’s Old Street) and standing over him while he stripped down – and then rebuilt! – OM2 cameras, and a ‘Quick Auto 310’ flashgun.
The teeny-weeny parts inside that camera! ..Minute cogs and shafts, grommets and widgets ..I’d always wondered why the QA310 flashgun had that great big bulge at the back ..and, once taken apart, I saw it was all capacitor; the reservoir which stores the charge to fire the flash!
Nowadays, of course, there are fewer cogs in cameras, and more electronics, not clockwork. Alan always wore an ‘earthing strap’ on his wrist, to avoid any static-electricity build-up which could damage the electronics when he handled them.
(My only experience of dis-assembling Leica gear was to remove the lens mount from a Konica 50mm f1.2 lens, to shim it to match the focus in my M9 viewfinder. Oh, and to re-assemble it afterwards. And, to recently fix the unmountable base-plate of a Leica IIIa – I worked out that I had to reverse-unscrew the locking nut on the bottom of the take-up shaft, WD-40 it – and also the washers, the spring and the thread – and then reverse-thread screw it back on again. All’s OK again now. Oh, and a drop of WD-40 on the shaft of the rewind knob, to reduce the tension so that the film doesn’t tear.)
My experience, though, of Leica’s own workmanship is sometimes good ..sometimes not so good. I had to stand over the repairman at Solms, three or four years ago, until the focus of my M9 was set properly accurate, and I’ve returned three lenses after they had 6-bit coding added, because the ‘rebuilding’ of the lenses (the old mount is taken off, a new one is added, then the focusing has to be all re-calibrated) made the focusing FAR too stiff; they all had to go back and be “un-stiffened” so that they were actually usable. Win some, lose some.
I did ask David about static. He said that he would always take precautions on the rebuild.
Bit of a wet day where I am today. I think I’ll get the screwdriver set out and have a go at my DL7 and CL. I’ll report back in, say, August next year.
Can’t wait. Don’t forget the tweezers.