
Introduction
To claim that infrared photography is “as old as the hills” would probably be an exaggeration, but it has been around for a very long time. The American physicist Robert W. Wood published the first infrared photography in 1910. It uses the light of the “near-infrared spectrum”, which is immediately adjacent to that of visible light, about 700 to 1000nm wavelength.
I could see each colour of the rainbow in the white light, and, at the very edge of the spectrum, an eighth colour I had no name for.
—Stephenie Meyer, “Breaking Dawn”
In the fourth volume of the “Twilight Saga”, heroine Isabella Swan wakes up transformed into a vampire and makes the observation quoted above. So vampires can “see” infrared. This makes morbid sense, considering their warm-blooded prey.
The human eye cannot perceive the infrared wavelengths. So, unless you suddenly feel a strange urge to drain people of blood, you need other tools to gain access to the world beyond visible light.
Certain types of film are sensitised to this area. There are “pure” infrared films (which are quite tricky in use) and films that have a correspondingly extended range beyond the visible spectrum, for example, the Ilford SFX200, which can also be used like a “normal” black-and-white film.
Digital sensors are equally sensitive to infrared light and this is quite undesirable because it blurs the images. That is why there is an infrared blocking filter in front of each sensor.
In this context, a small birth defect of the Leica M8 immediately comes to the mind of the Leica expert. Its infrared filter is too weak, which results in black areas appearing purple and, therefore, additional IR-cut filters are needed in front of the lens. This misjudgement of the designers, however, makes the camera capable of being used for infrared photography without any modifications. Most digital cameras have to be freed from the filter in front of the sensor by special companies.
Even the first Leica monochrome (based on the M9) not only has no Bayer filter, but an infrared filter is also either very weak or probably not present at all. This is also true for the M246 and the M10-M. The monochrome series is therefore predestined for infrared photography.
In order to take photographs with infrared light, an infrared pass filter must be screwed in front of the lens to block visible light.
The special appeal of infrared photos
I am fully aware that I am treading on unsafe ground here because whether or not one likes photos with infrared light is a question of personal taste.
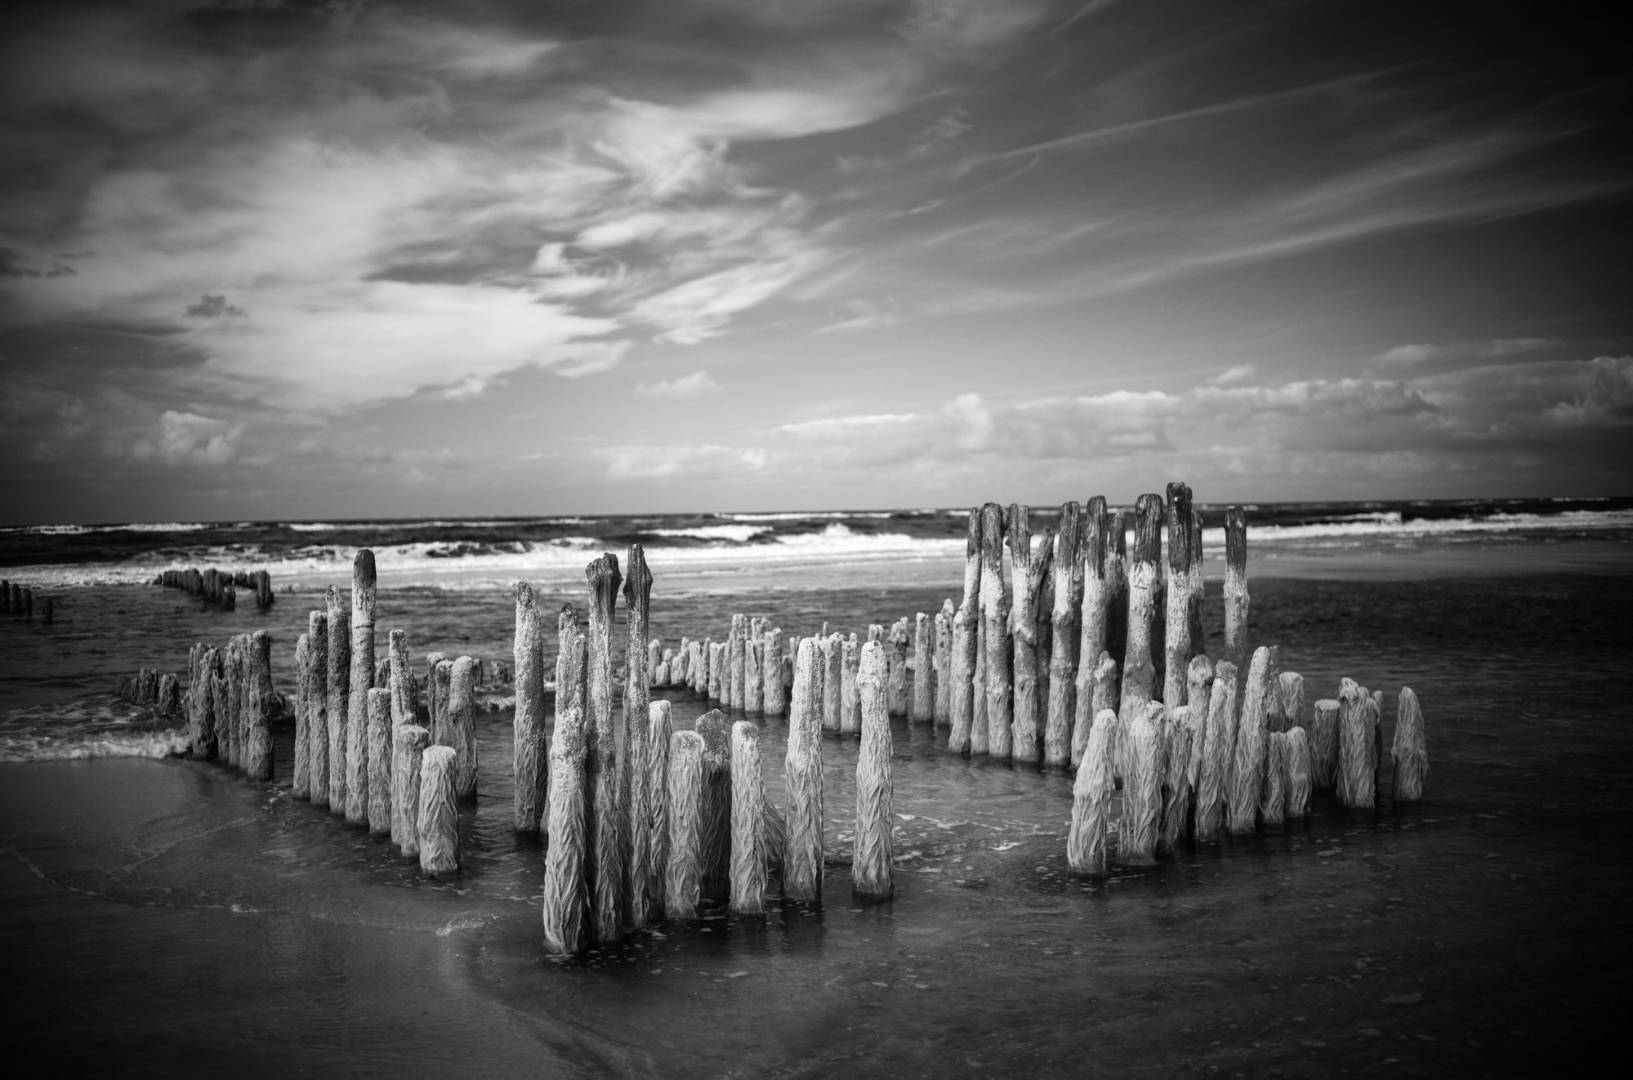
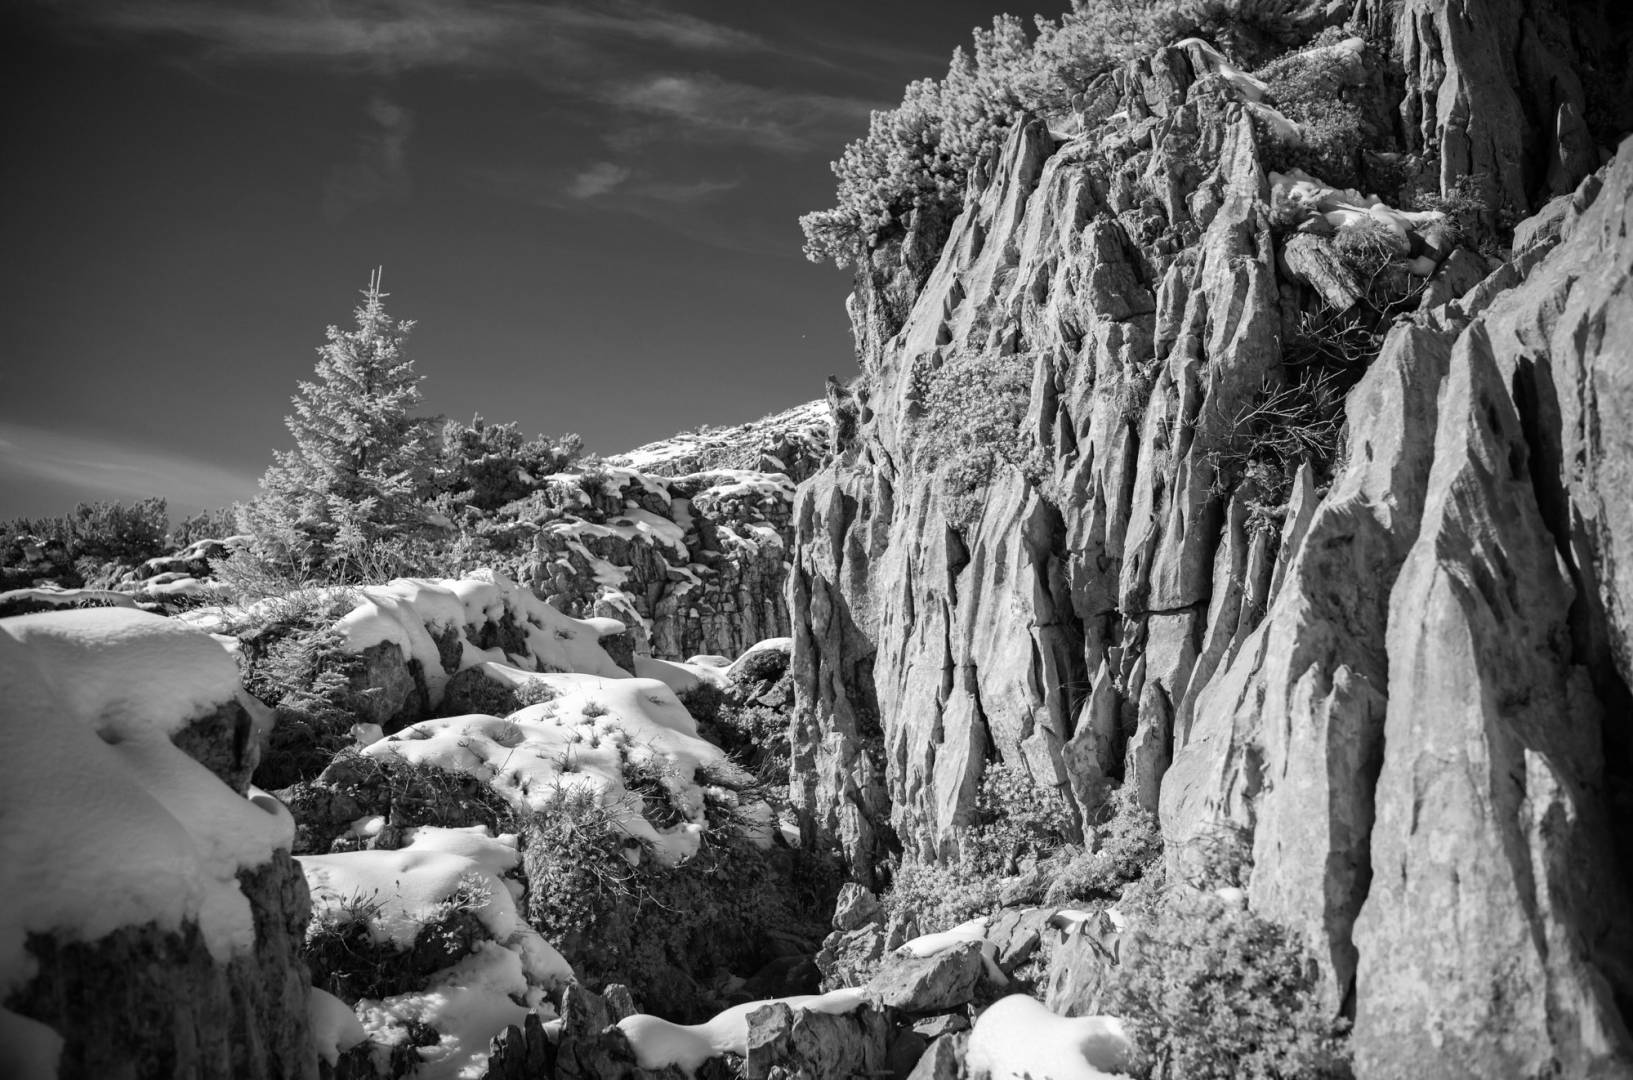
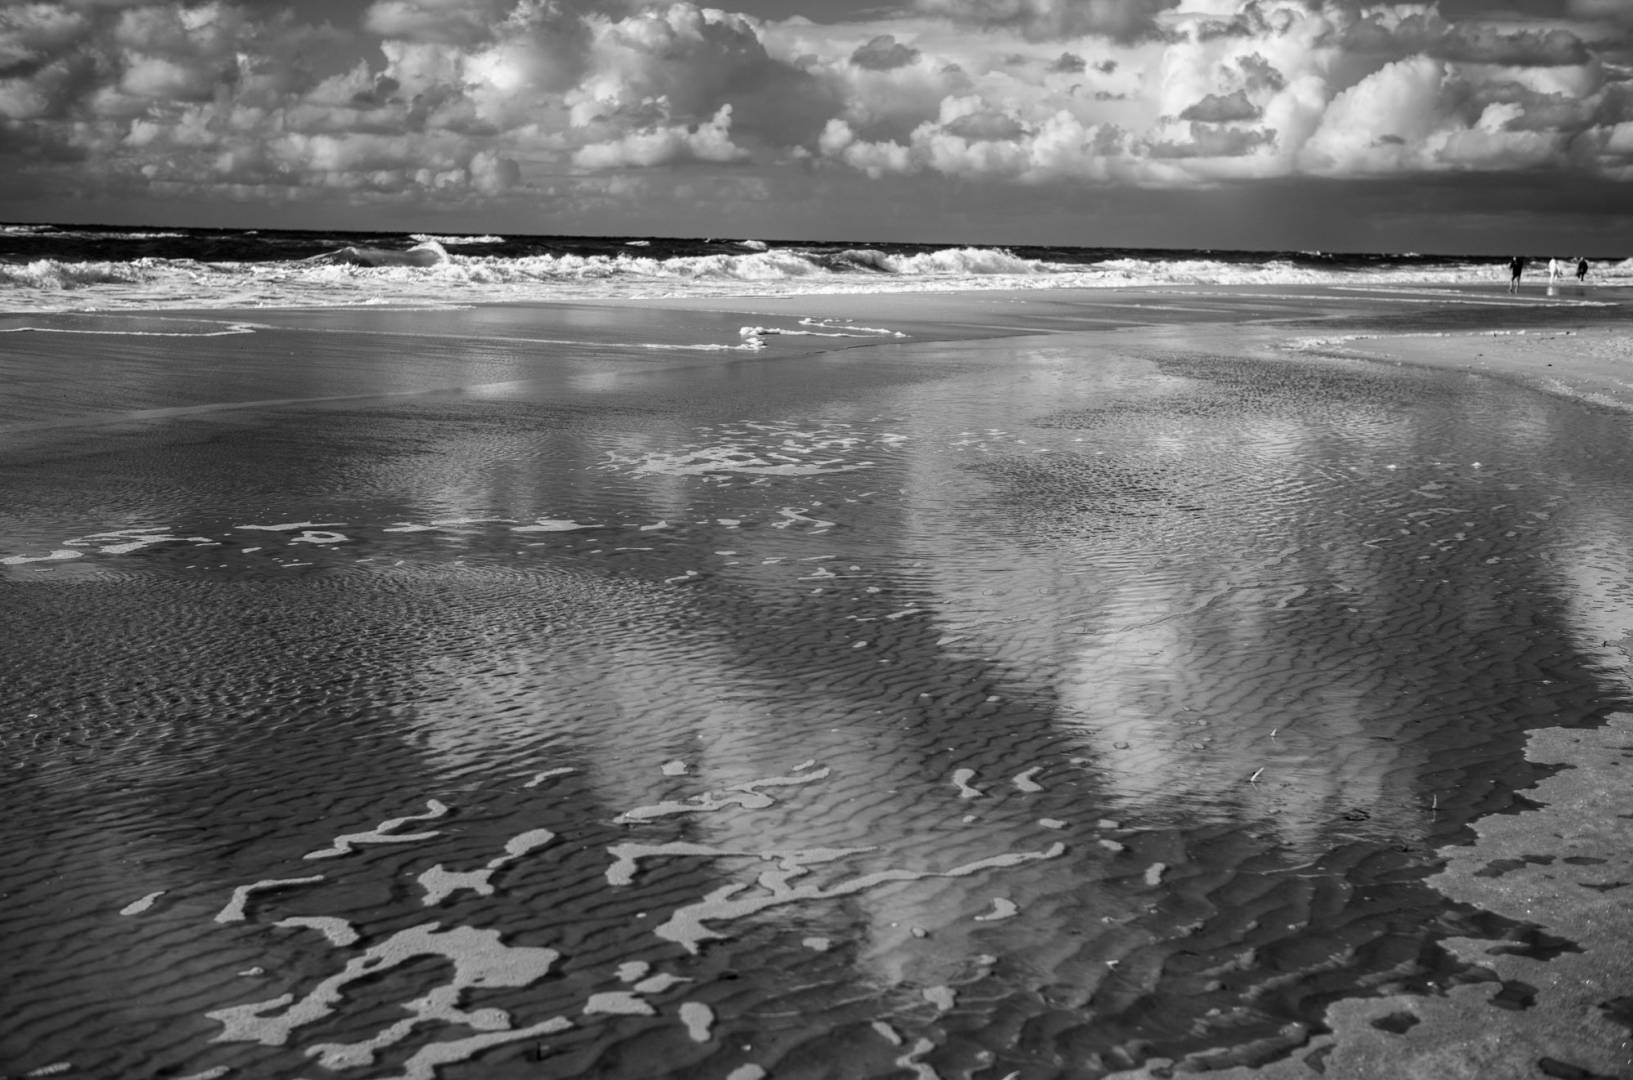
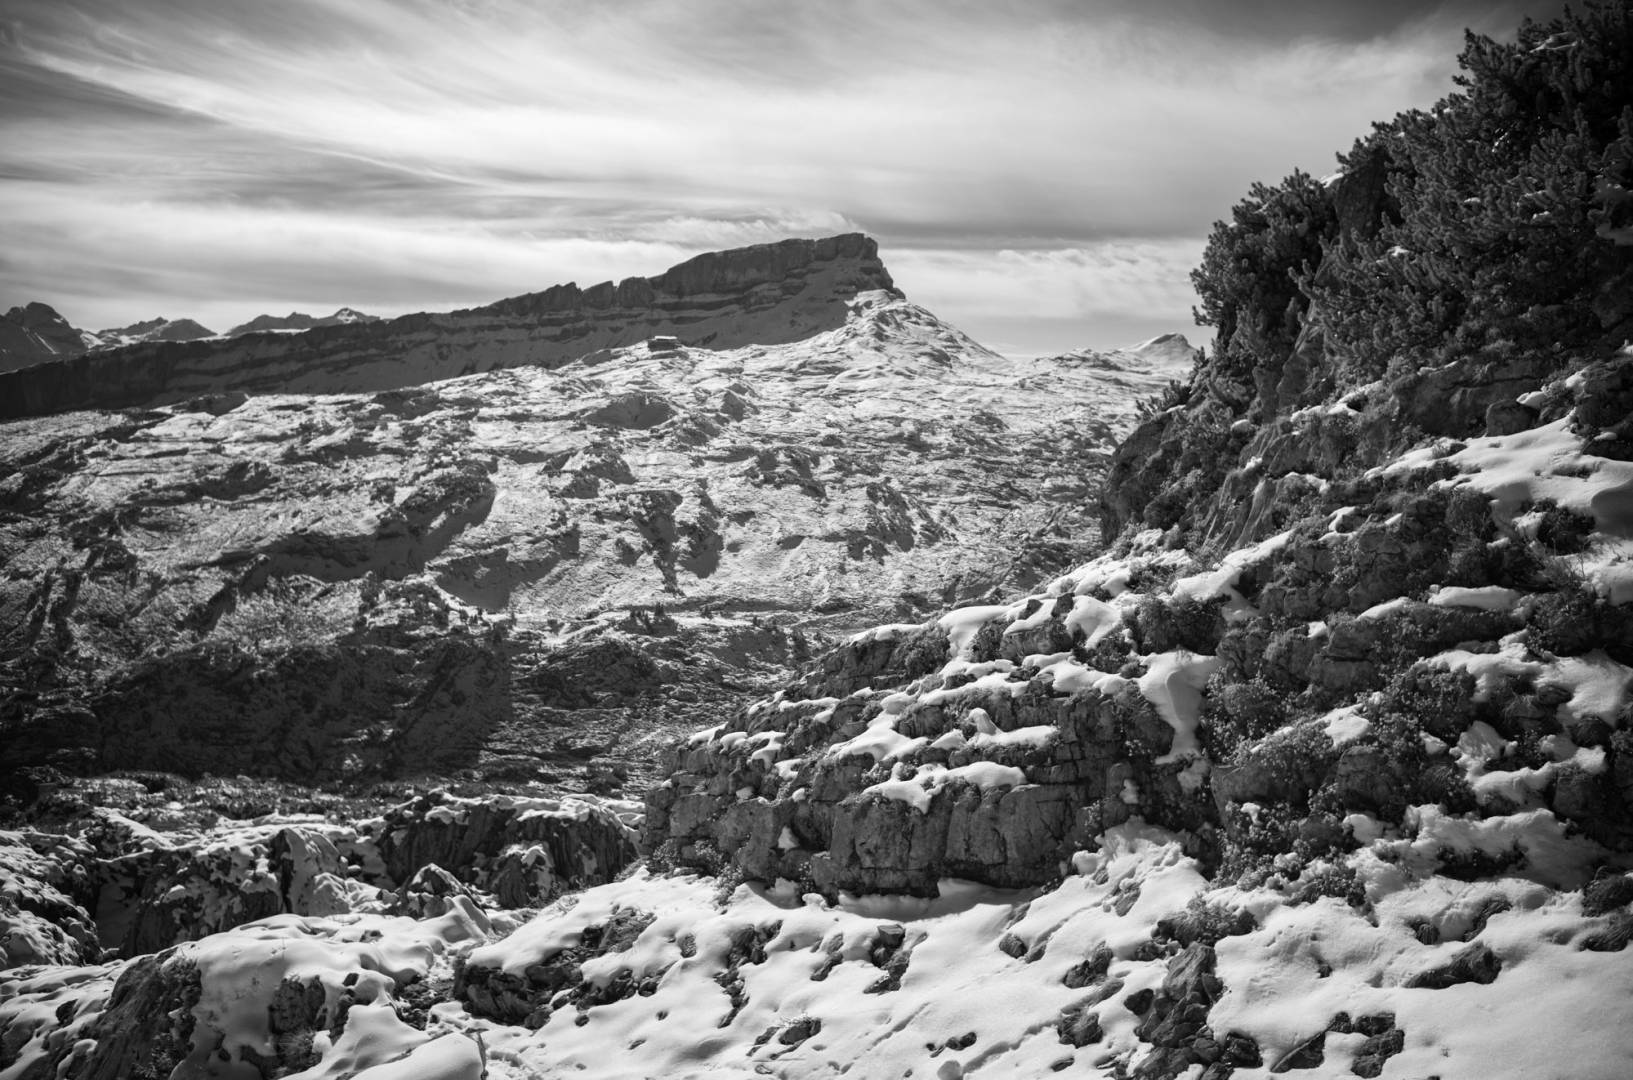
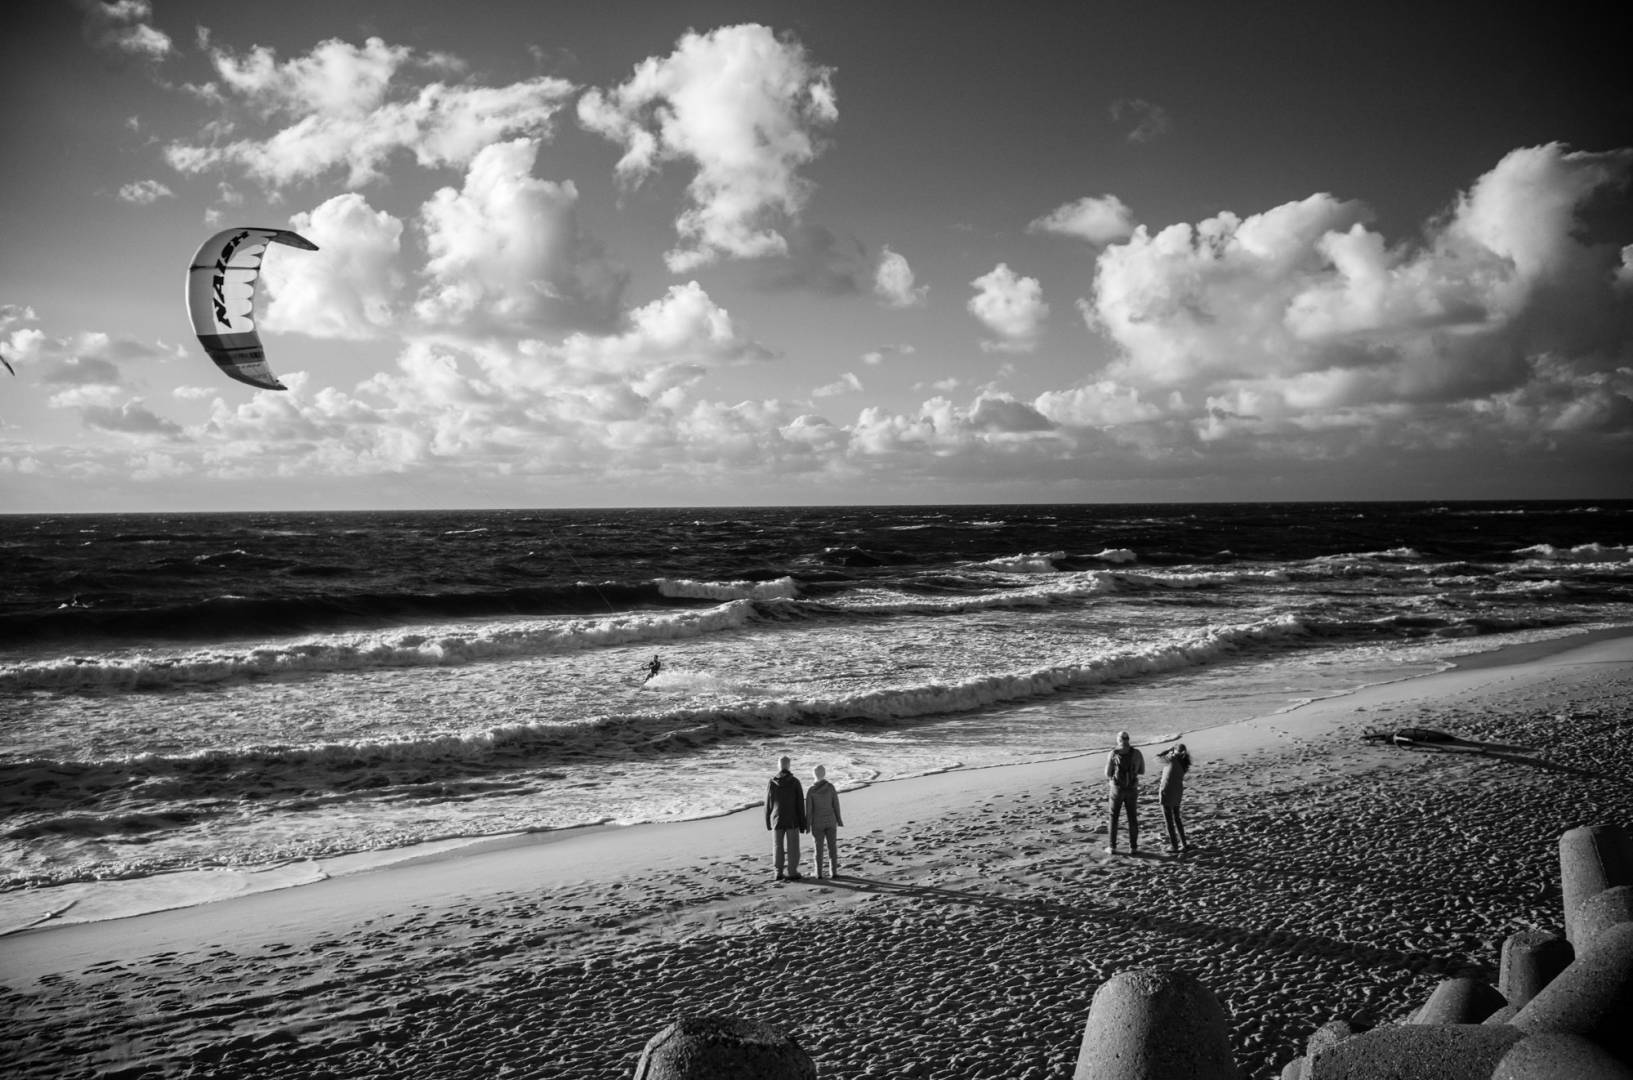
I find them pretty cool. There is something surreal about them, with the dark sky and extreme cloud contrasts, the white foliage of the plants and black water surfaces. How does the effect come about?
Infrared wavelengths are scattered by haze and air pollution to a lesser degree than visible light. Without such visual impairments, objects are therefore easier to recognise in the infrared range than in the visible light range.
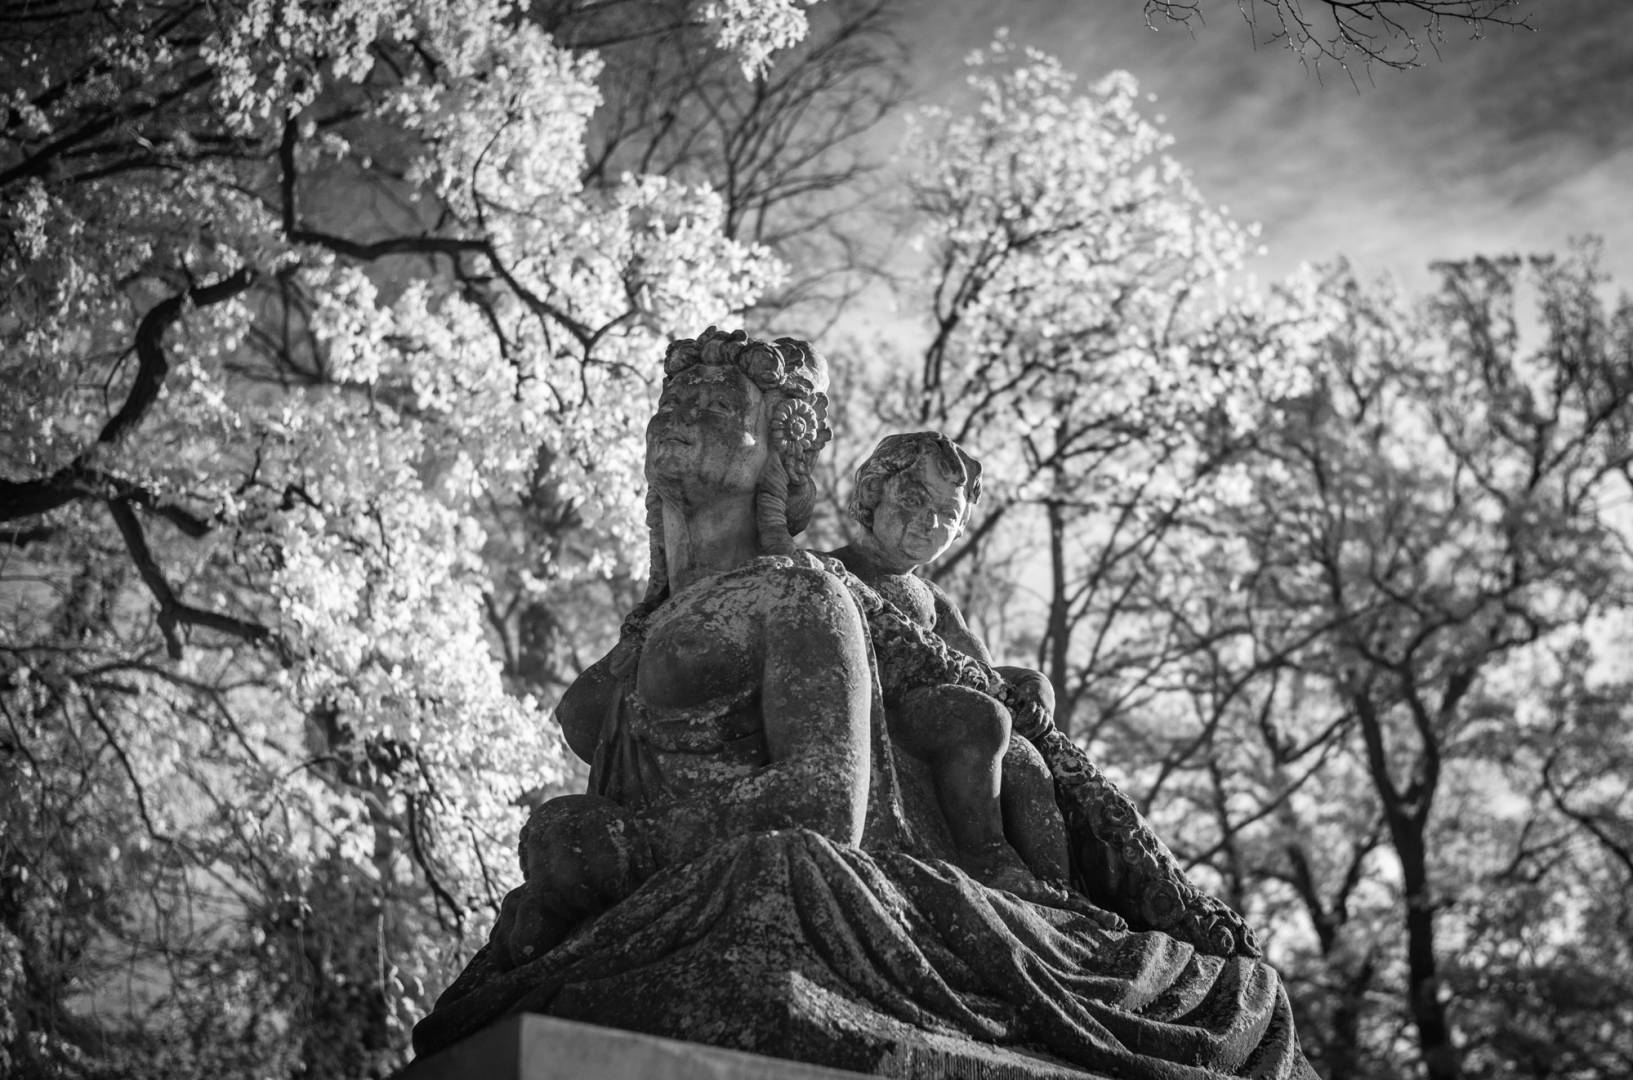
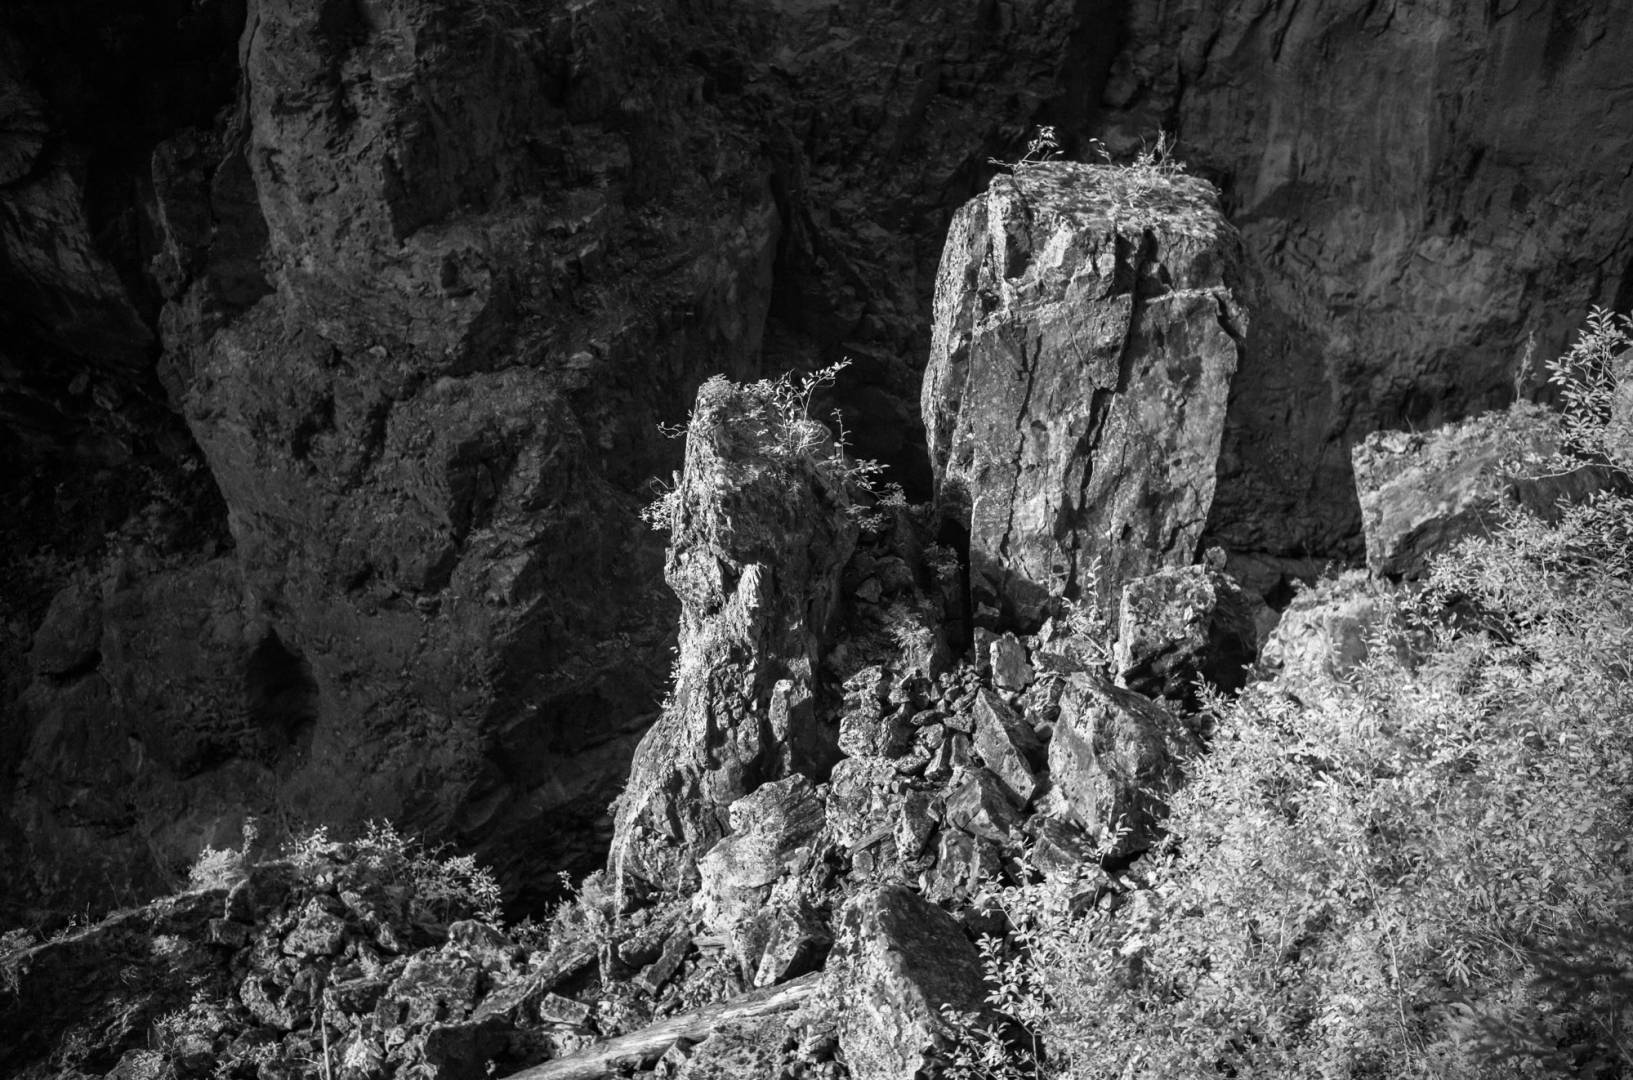
The objects photographed also have different reflective properties than with visible light. The “Wood Effect” (named after its discoverer) is particularly well known. It refers to the special ability of chlorophyll to reflect infrared radiation strongly. It therefore appears very bright in the photos.
It is a sad truth of human history that when new scientific knowledge is discovered, there is always someone who immediately derives a military benefit from it. Infrared photography has been used for aerial reconnaissance since World War I, as enemy positions covered with camouflage nets stand out excellently from normal foliage.
But already in the thirties, photo enthusiasts recognised the aesthetic effect of infrared images. Ilford and Kodak produced various films suitable for this purpose.
In short: Analogue infrared photography
Analogue infrared photography is always associated with a certain amount of trial and error. Exact filter factors cannot be given, it depends on the wavelength the filter passes and the intensity of the (sun) light.
With the Heliopan RG715, which I usually employ, I have learned to assume a factor of 32 to 64 (this is only one f-stop difference!) to calculate the exposure with analogue film. You can imagine that, for example, with the Ilford SFX (which has 200 ASA), even in bright sunshine the resulting long exposure times mean that a tripod is required. Bracketing is also recommended. Experimenting is fun on the one hand, but on the other hand, it can be a “pain in the ass”, since you use a lot of expensive film, especially with medium format.

Digital infrared photography
After sitting on the fence for a long time, I decided to buy an M10 Monochrom this summer. I have had the “original” M10 from day one and had got so used to the feel of the slim body that I didn’t want to go back to the previous models (although they are still excellent cameras).
The high sensitivity of the monochrome sensors puts an end to the limitations of analogue films. Exposure can be controlled in real-time in live-view mode, hand-held shots with short exposure times are suddenly feasible and all this considerably expands the range of possibilities.
At this point, a disclaimer: I have also been taking analogue photos for years, and I do not see the M10-M as a substitute for the charm of real silver halide film. But as someone who loves black and white photography, I appreciate that the monochrome models provide me with uncompromisingly excellent image quality even where film simply cannot be used. It’s nice to know that the DNGs from the camera require hardly any editing (a few corrections to the tonal values are almost always enough) to achieve an aesthetically pleasing result.
Optical aspects
Infrared light has a different refractive index on optical glass than that of the visible spectrum. Most vintage lenses have an infrared mark for correction. It does not matter whether it is an SLR camera or not, because the filter is so opaque that it is impossible to focus. On all my AI-S-Nikkor-Lenses you can find the marking, on the Zeiss lenses for my Hasselblad 501c, on the Fuji GW 690 (the „Texas-Leica”), on my Plaubel Makina 67 and all my Leica screw-mount-lenses.

Interestingly, Leica has at some point deviated from applying IR markings. Maybe they were unreliable, because the degree of correction depends on the filter. In analogue IR photography, therefore, one usually works with small apertures (f/8 or f/11) so that small inaccuracies are not noticeable.
Also with the digital M10-M, the rangefinder is unusable for this reason. Possibly there is an exception with apochromatic lenses, as these are corrected into the near infrared range. I own the Apo-Summicron-M 75mm and, after a few hand-held wide open test shots, it seemed to me that the deviation was marginal. To confirm this statement, I would have to do a “serious” sequence of tests from the tripod, which I have not yet come to.
Practical approach
Once you are aware of all these aspects, hand-held infrared photography with the M10-M is child’s play compared to the analogue version.
But you definitely have to go into a fully manual mode. Once you have a suitable subject in front of the lens, the first thing you do is activate Live View or use the electronic viewfinder. Personally, I think the Visoflex is too bad (I say, Leica: why is it not possible to offer a state of the art EVF?). Depending on the lens, you set an exposure time that is realistic for hand-held shots at the high resolution of the M10-M. With a 35mm lens, for example, I take 1/125s, that is almost four times the focal length as the reciprocal of the exposure time. This is the disadvantage of a 40 MP sensor.
Choose a relatively open aperture to avoid going through the ceiling with ISO values, mostly in the range of f/2.0 or f/2.8. Wide-open (f/1.4) makes the vignette more obvious than in visible light, but I like that.
The camera’s internal light meter cannot measure through the IR pass filter, so turn the ISO wheel until you agree with the exposure. I usually end up at ISO 1600 to 6400, depending on the intensity of the sunlight and the reflection of the subject. The histogram is very helpful, and slight underexposure is no problem to have some safety margin for highlights.
You have to focus with focus peaking. This is done with wide open to ensure that the greatest sharpness is optimally focused on the subject. Please note: The hard stop of the distance ring is useless, “infinity” is in fact just before.
Stop down to the desired working aperture, recheck the composition of the picture and release the shutter. Done.
Once again: This procedure and the recommended settings are relevant for hand-held shots, which are of great value to me because I don’t always have a tripod with me.
For the best possible picture quality, you would work from a tripod, set a low ISO value, choose a small aperture (maybe f/8) and adjust the exposure time accordingly, which becomes comparatively long (at ISO 160 and f/8 this is in the 1/8s range).
Recommendation: The use of colour filters
One of the most attractive features of the Monochrom is the classic, artisanal way of working that is possible with the camera. The DNGs are incredibly flexible to edit, but this is hardly ever needed. In contrast to digital black and white photography with colour sensors, most of the creative act does not take place in post-processing, but directly during shooting.
Digital colour images contain the channels for red, green and blue, which are used after conversion into a black-and-white image to create a tonal separation through suppression or amplification of a given channel.
Reflection and overlay M10M
For known reasons, monochrome sensors do not have colour channels. The photographer has only one way to achieve tonal separation: Through colour filters, which are otherwise used in analogue photography. This technical knack, however, is either unknown or forgotten by many people nowadays. High time to remember it!
Now it can be argued that the sensors (like modern black and white films) are panchromatic, that is they reproduce different colours with the same brightness values with slightly different shades of grey, but through the selective use of colour filters, you can strongly influence the image result depending on the motif.
If you own a monochrome and do not use this creative potential, you are giving away a large part of your possibilities, because there is no making up for this in post-processing.
Colour filters intensify the light in the same colour and weaken the complementary colour, in favour of increased contrast and other effects of tonal separation depending on the filter colour.
It would be beyond the scope of this article to go into the special applications of filter colours. The most common filters are yellow (it can actually always stay in front of the lens), orange (I like to use it for landscape shots) or red (for “dramatic skies”).
In analogue photography, you have to consider filter factors. Depending on the colour, the incident light is weakened. Yellow with factor 2 “swallows” an aperture, orange with factor 4 costs about two apertures and red with factor 8 costs nearly three.
The manual of the Leica M6 points out that the light meter does not measure correctly from and above filter factor 4. A film that has 400 ASA and where the ISO wheel of the light meter has been set accordingly should be set to ISO 200 with an orange filter so that the correct values for the 400-speed film are measured.
With the M10-M, I have observed that a similar phenomenon occurs with the red filter. I then set the exposure compensation about 1EV upwards, so that the automatic exposure control does not underexpose too much.
The knowledge of filter effects is “old school” and can be easily acquired to improve the quality of the monochrome output.
Conclusion
For a long time, I struggled with myself, wondering whether I should take the step to the M10-M or stay with silver-halide film. Finally, though, the position is resolved: The way of working with the Monochrom is classic and satisfying. I can retain full control, and the possibilities to capture black-and-white photographs beyond the previous technical limits are enormous.
Not sure I understand or get the statement in the Practical Approach area of this article about the “Disadvantage of the 40MP sensor”
Just exactly what is Claus saying or recommending here?
What I think he’s saying is that the higher the resolution of the sensor – e.g; 40 megapixels compared with, say, 20 mpxl – any slight shake of the camera gives a bit of blur which wouldn’t be noticeable with a lower megapixel sensor, on which each pixel is larger ..and therefore a teeny bit of movement would still keep fine detail within the bounds of each larger pixel.
But with more pixels on a same size sensor, then each of those pixels is of a smaller area (..to fit them all into the same size overall space..) and so the sensor will register a similar tiny movement as a smear, or blur, across adjacent pixels ..and so one loses that extra resolution!
To avoid that, one may have to use a tripod, or other support, at the same shutter speed as when using a fewer-megapixel sensor, or one needs to use a faster shutter speed.
As the usual slowest shutter speed to use with any lens is often considered to be the ‘reciprocal’ of the lens’ focal length – i.e; slowest hand-held shutter speed with a 50mm lens would be 1/50th of a second, and with a 100mm lens it’d be 1/100th of a sec, and with a 35mm lens it’d be 1/35th of a second – when using a high-megapixel sensor one ought to use a shutter speed twice or four times as fast as the ‘reciprocal’ to avoid any loss of sharpness.
Claus says “..With a 35mm lens, for example, I take 1/125s, that is almost four times the focal length as the reciprocal of the exposure time. This is the disadvantage of a 40 MP sensor..” ..meaning that to avoid any possible appearance of camera shake – when using a 40 mpxl sensor with very, very tiny pixels – he uses a much faster shutter speed to prevent any shake blurring fine detail across adjoining pixels.
So that’s a disadvantage of high-megapixel cameras ..but not so much of a disadvantage if the camera, or lens, has built-in stabilisation (like, for instance, the Sony 42 mpxl A7R MkII, which has – Sony says – 4.5 stops of built-in stabilisation when using a 50mm lens).
So he’s recommending using a two or three times faster (than usual) shutter speed when shooting with a high-megapixel camera ..or (though he doesn’t say it) use a camera with built-in stabilisation.
(Personally, I don’t take infrared photos ..when you’ve seen one, you’ve seen them all, so to speak! ..I was so disgusted with the M8’s inability to produce normal colour photos of things which are black (without adding an extra filter for each lens) that I got rid of mine and swapped it for a more normal M9.)
Not sure if Claus will pick this up, Alan, because it’s an old post. But David B’s explanation, above, is excellent and is probably what Claus would say.
I’ve followed Claus and his blog for a long time. I love his technical depth, while supplying tasteful images throughout his write up.
For those who haven’t seen his blog, it’s located at: https://www.messsucherwelt.com/
I read them on Google Chrome because it auto-translates to English from German.
Thank you very much. I regularly use colour filters on my M10M but I did not even know that IR filters existed. I got one now and I am looking forward to using it. Very much obliged.
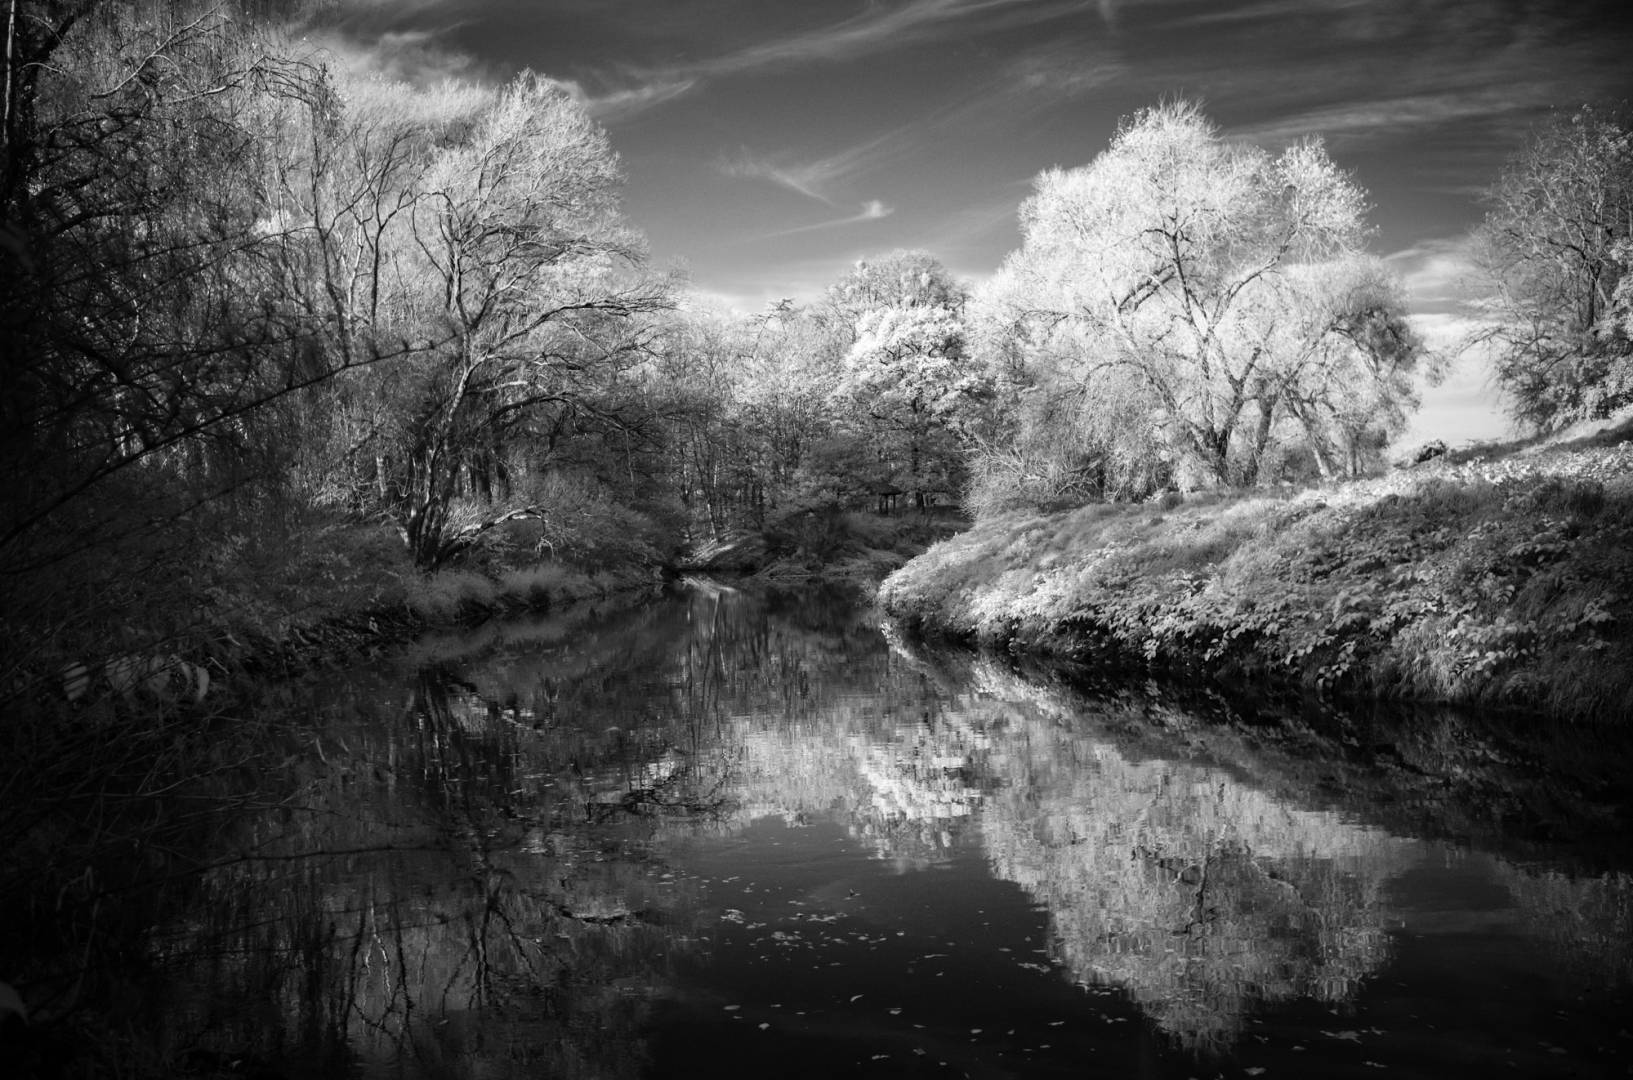
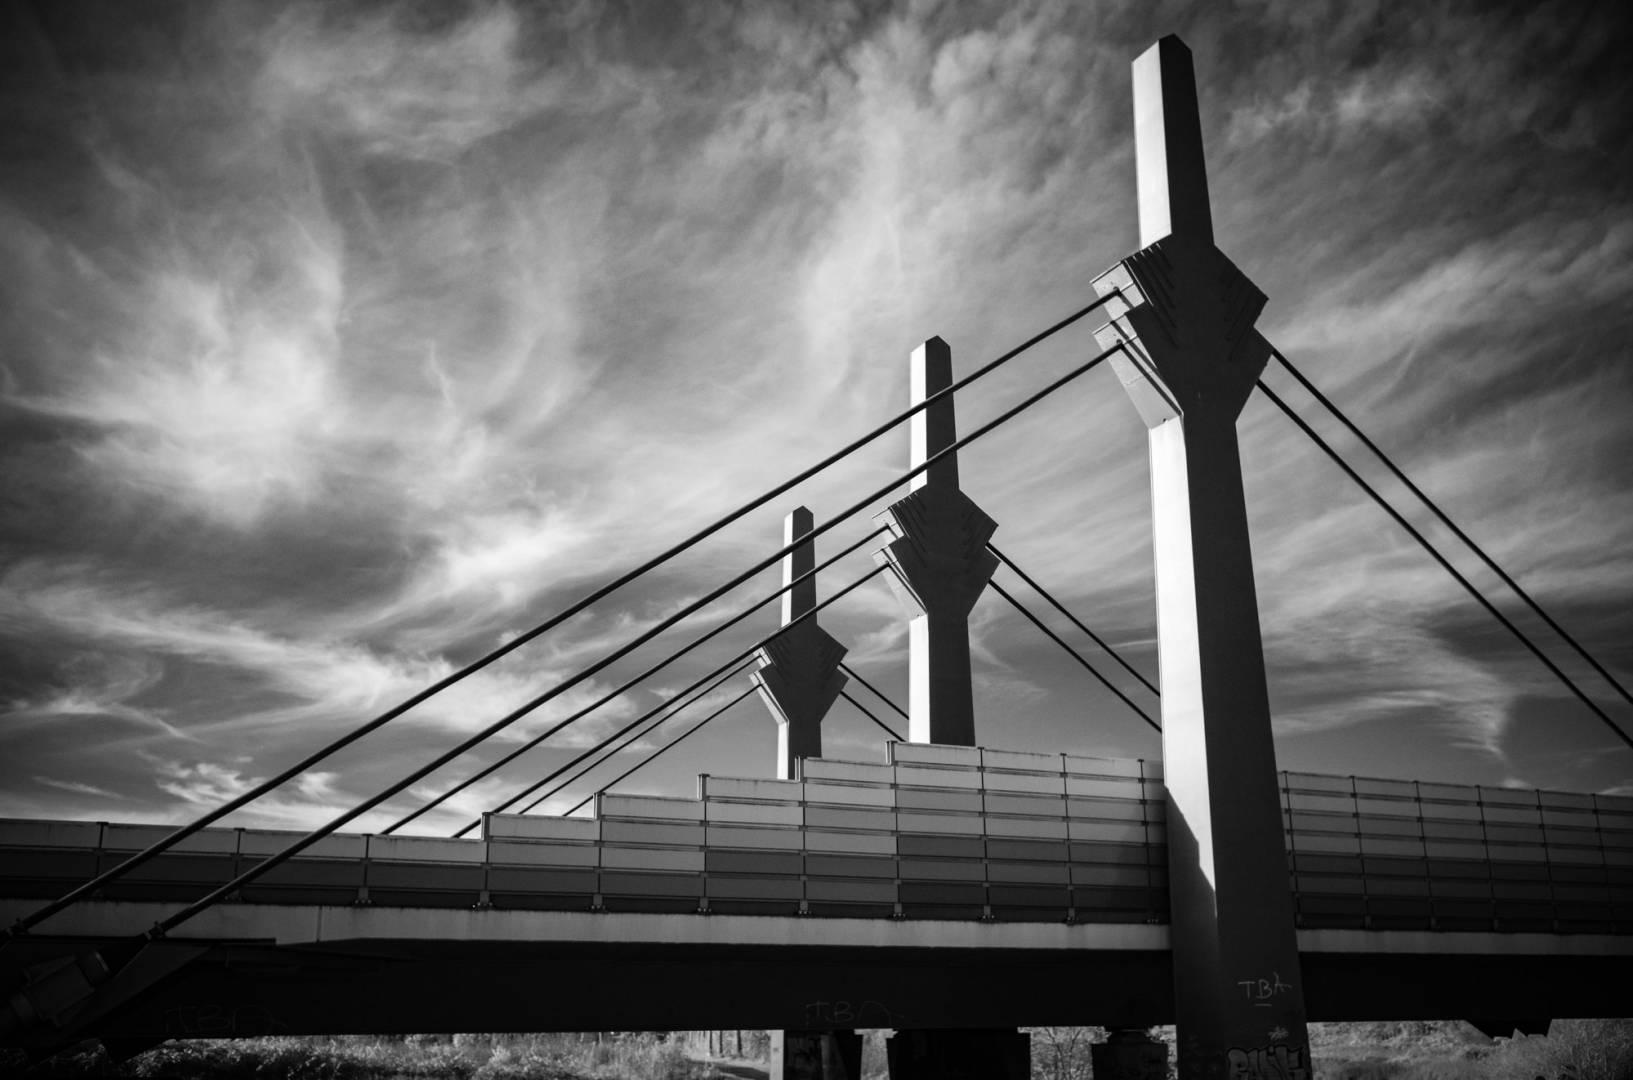
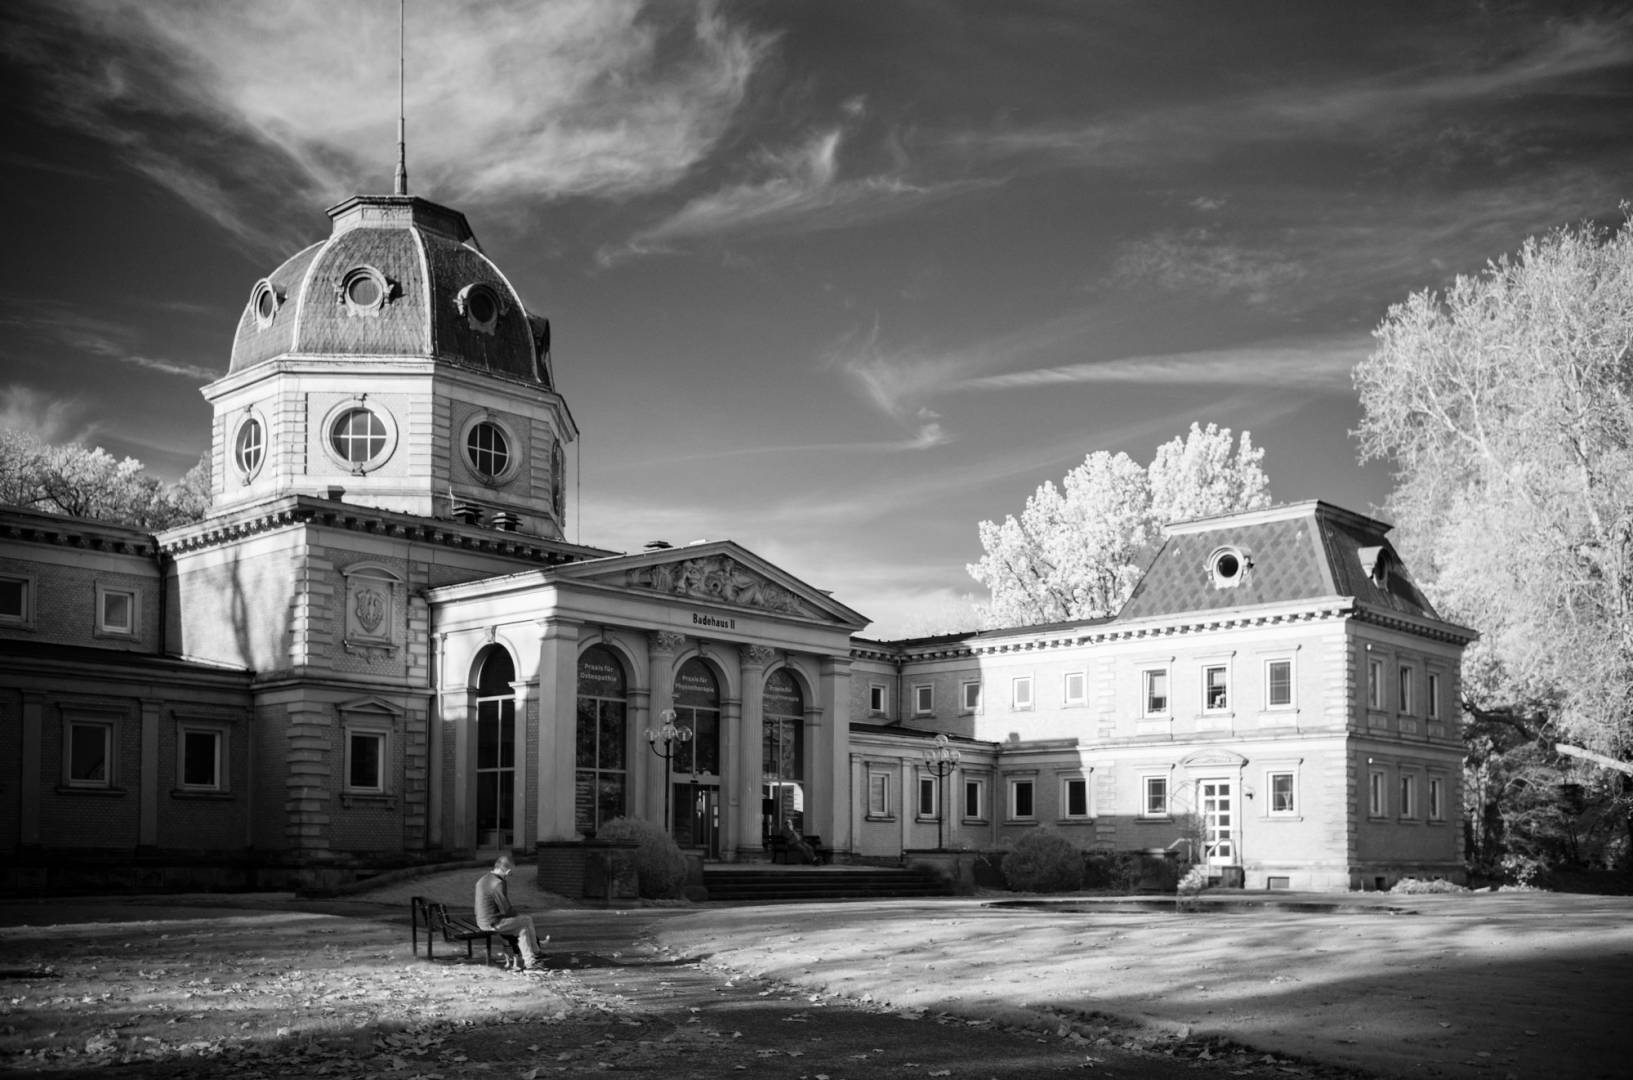
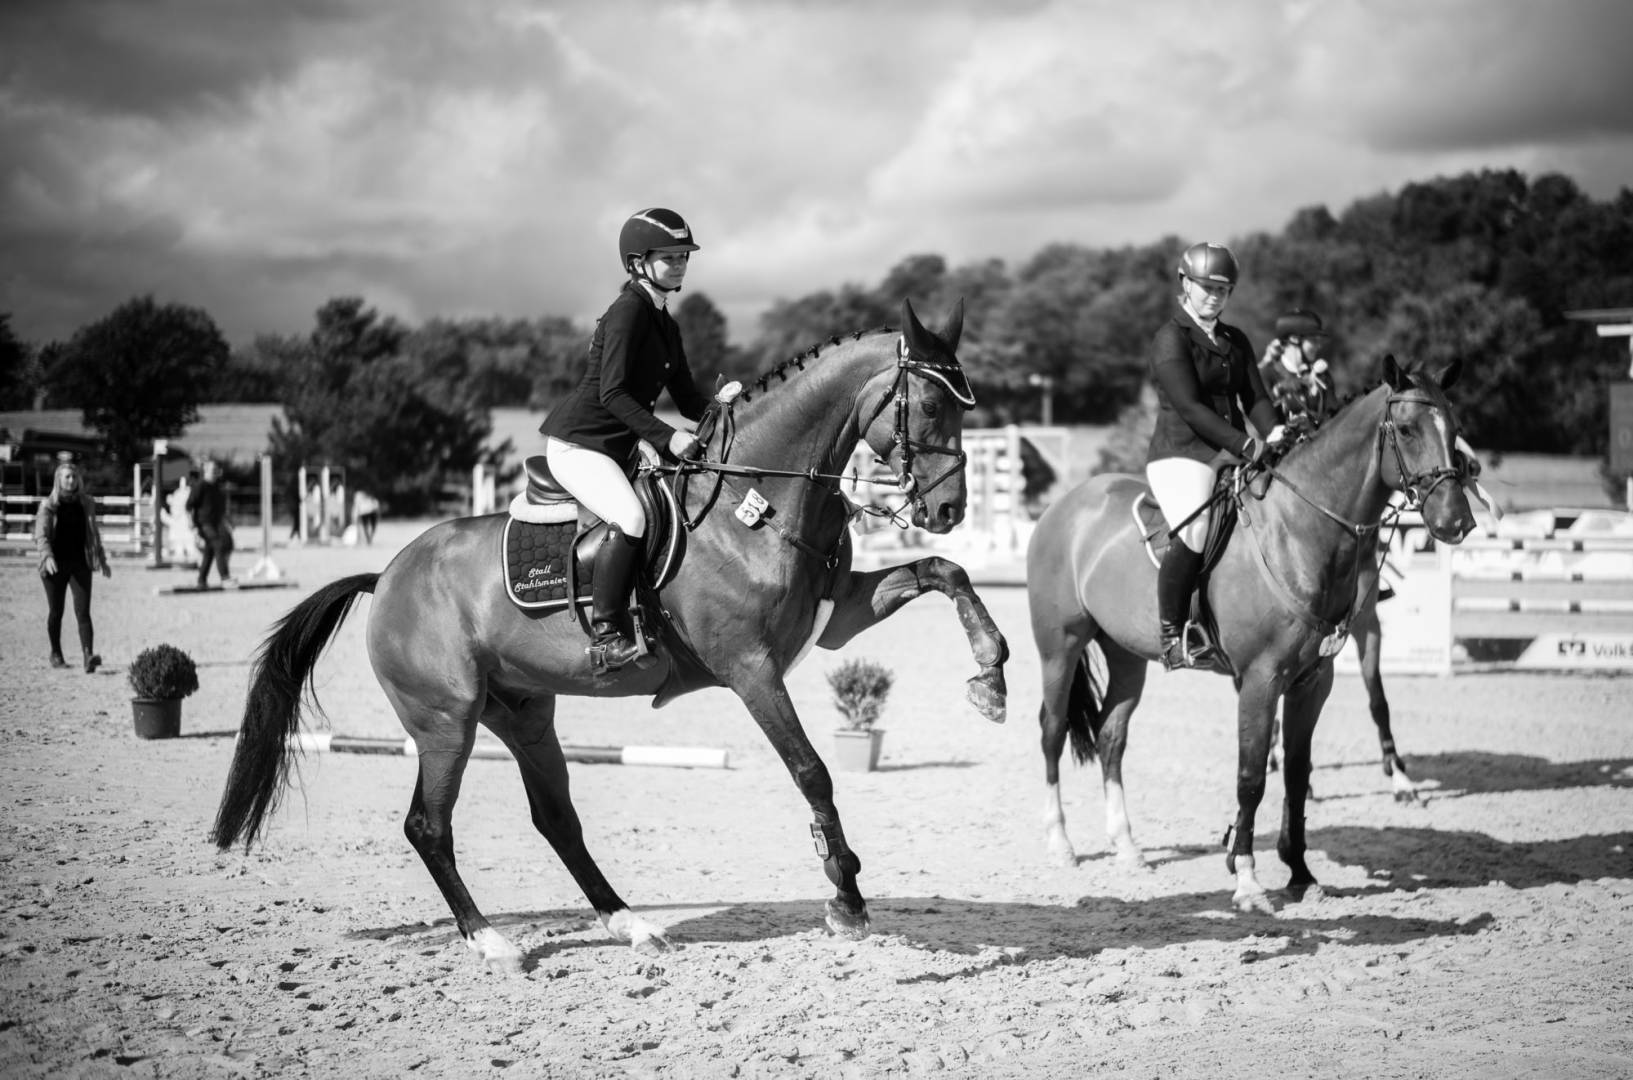
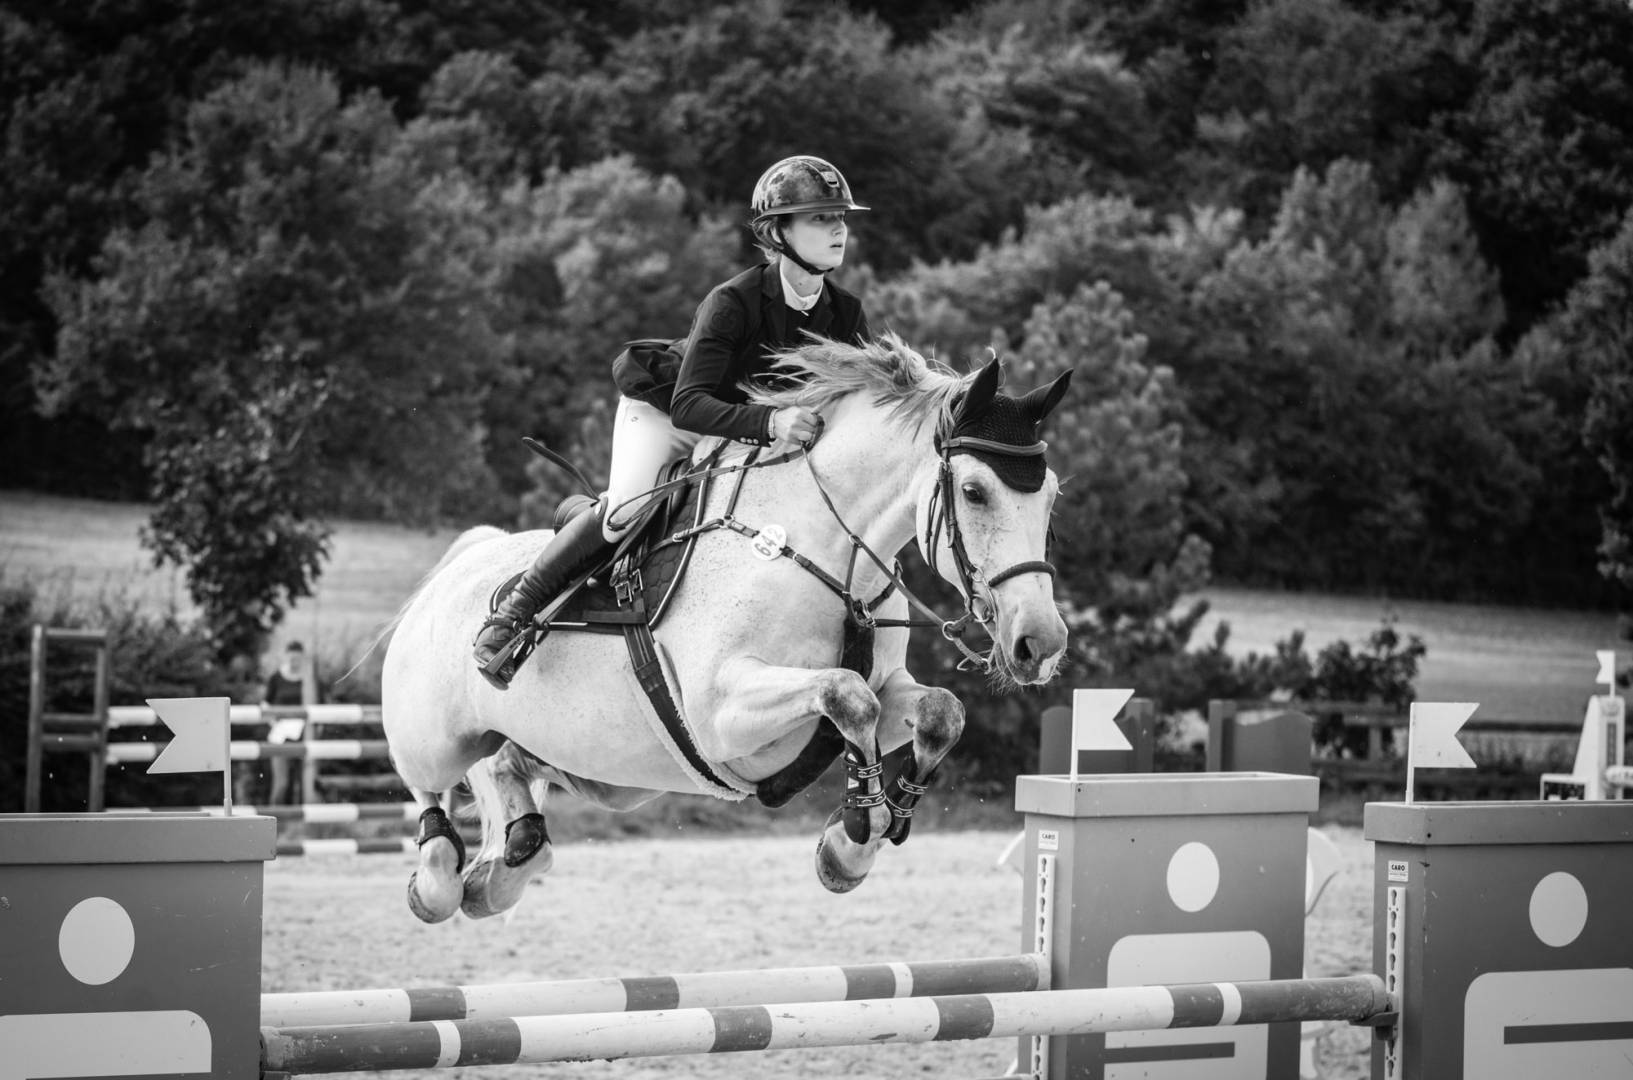
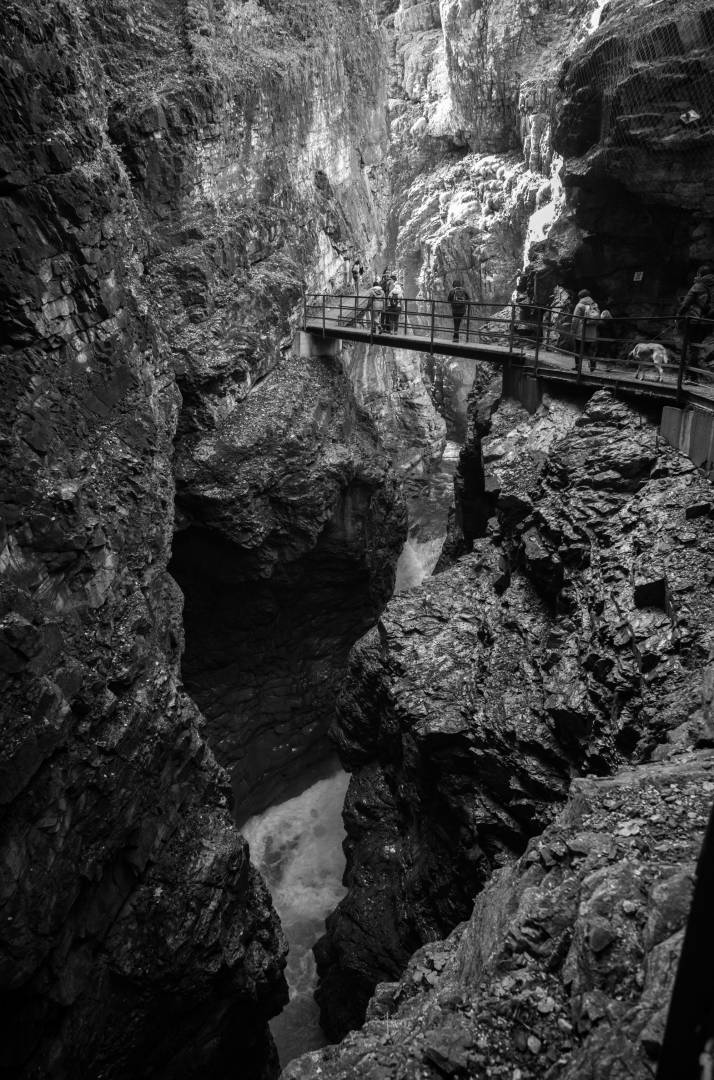
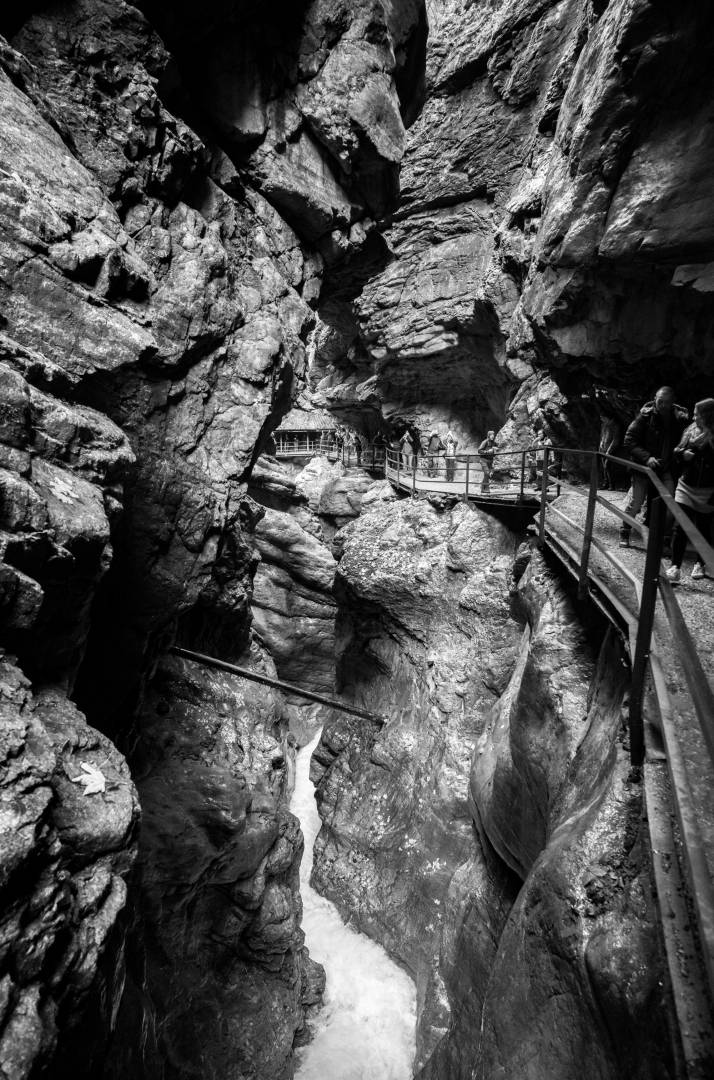
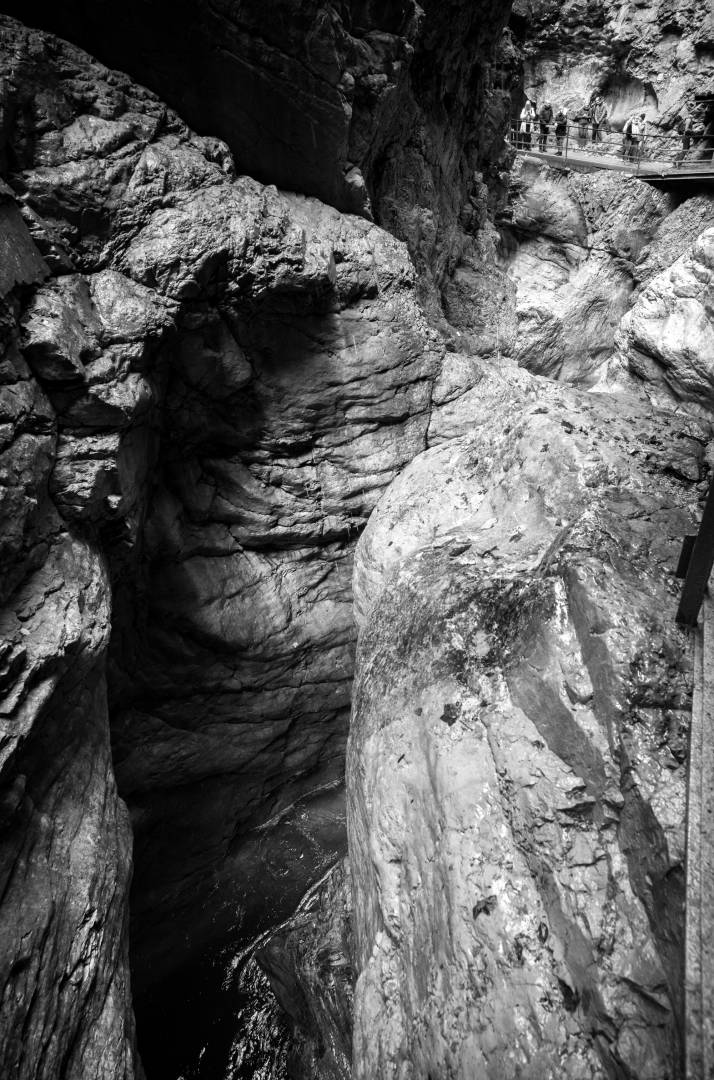
Wonderful black & white tones in these photographs, Claus. For instance, “horse show” doesn’t immediately strike one as being an IR photo. Or “autobahn bridge” either. I like the deep rich tones of the “Breitach Klamm” taken with an orange filter.
Mesmerizing! What you can pull simply stunning! Hey Jono you mentioned more to come leicaq2m, how about infra-red ?
These images are very well executed. Infrared photography is not as easy as you make it look – careful consideration of contrast and composition are more extreme than in visible spectrum from my (lack of) experience/point of view.
Hi Claus,
You show an effect that I have noticed with my Fuji XT1 converted to IR a few years ago
The IR effect on vegetation and sky is good but if no chlorophyl is present the black and white images are as good as I get from film.
The benefit of the Fuji Mirrorless conversion is the ability to use a very fast shutter speeed if needed and the lenses require no IR focus compensation as the image is actually from the sensor.
My film IR use extended to medical photography where predictable results were essential.
Now with converted cameras this is not a problem.
I have also been involved in photographing art works to visualise drawing under paint using IR.
Veery useful technique.
Thanks
Philip
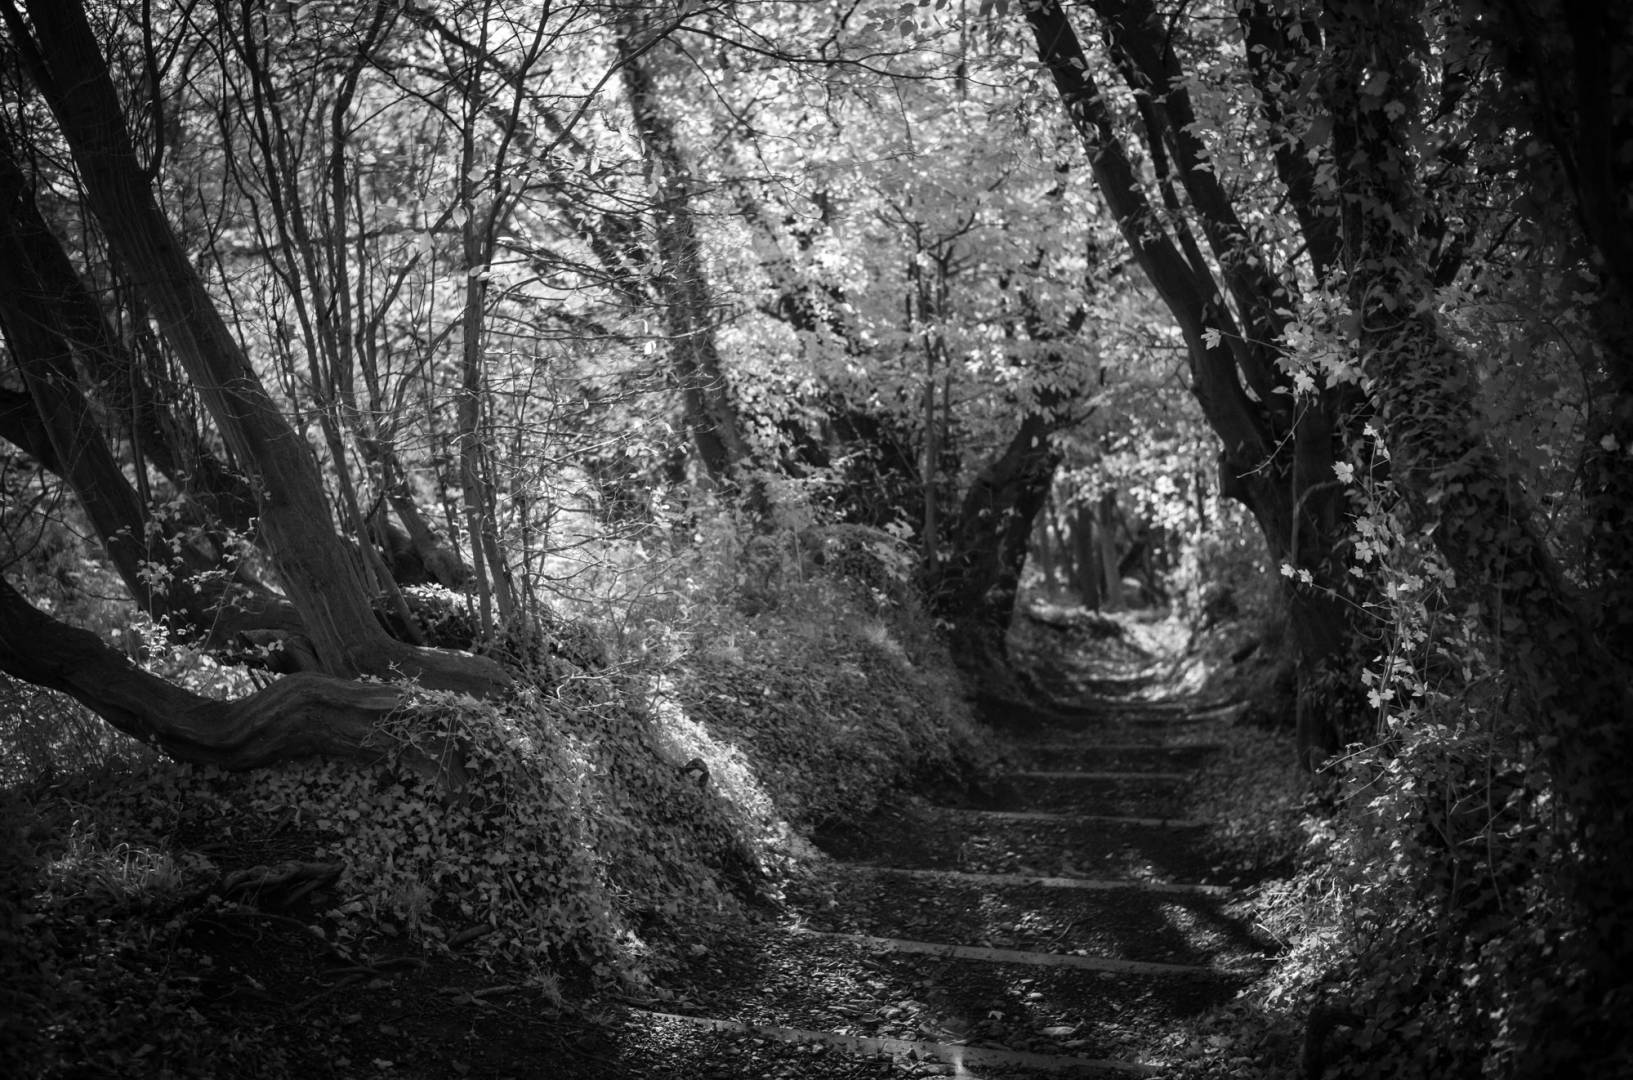
Claus, thank you for an erudite and informative article. Your IR landscapes are inspiring. What I find as surprising, is the fact that several, including Hollow Lane, do not betray the techniques applied to them at the point of capture. False tonal shifts usually suggest that IR has been employed. Not so in many of your pictures. Well done!
You really open up a whole new world of photography and the knowledge to go with it. Presumably what you say would also apply to the M9M, which would be financially more viable second-hand for some of us.
Excellent article and pictures, Claus! I often tried an IR in front of my Olympus cameras, but never got photos even remotely approaching yours. I really lack color filters for bw: you can mimic their effect on contrast by editing photos taken with a Bayer sensor, but with filters you select the wavelengths you want to use and their effects e.g. on haze.
Claus, these are stunning images. I really love the output of the IR filter
Thanks for sharing
Jean