As discussed in the preceding article, one of the main reasons for cropping images is to zoom, digitally. Although this discards pixels, potentially losing resolution, these days there are tools available to mitigate this issue. In this article, I will describe my experience processing cropped images using Gigapixel AI, from Topaz Labs. I’ll let you judge for yourselves how well it works.
Leica owners using fixed focal length lenses, or even zoom lenses, can at times find themselves standing a bit too far from the subject when taking a picture. The subject of interest is then but a small part of the full image frame.
I regularly shoot wildlife with my Leica SL2 and Sigma 100-400mm f/5.6-6.3 zoom lens. Often, I need to enhance those images, even when taken at full zoom. This is especially necessary when I shoot with an M- or Q-camera, using lenses of much shorter focal length.
In this article, I’ll show Leica shooters a way to achieve high image quality, despite these limitations.
Leica shooters are in great shape
Fortunately, as a Leica shooter, there are several factors that work in your favour in solving this problem:
- The very high quality of Leica lenses and many L-mount lenses
- With the SL cameras, in-body image stabilization (IBIS), yielding sharp images at lower shutter speeds
- Image stabilization in the Q cameras
- The sensor quality and high pixel-count of the current Leica cameras, including the M11, SL3, and Q3
- The use of AI editing software that can measurably enhance severely cropped images
The following discussion will explain how to use one of the leading image enhancement software applications, Gigapixel AI™ from Topaz Labs. You can use Gigapixel AI as a stand-alone application. Or, you can launch it from within Adobe Lightroom™ as a plug-in using the Edit in> command, and from Adobe Photoshop™.
As discussed in previous articles, AI-based applications for image enhancement rely on extensive training of a machine-learning algorithm. The training sets consist of huge numbers of images. The result is a model that has learned how to manipulate pixels to achieve a desired improvement. This might be removing noise, blurring background, or as in this case, increasing resolution.
Using Gigapixel AI
Despite its underlying sophistication, you will find that Gigapixel AI is a simple application to use. You will require minimal new skills to achieve excellent results. Simply load the image, adjust the sliders, select the degree of enlargement, and save.
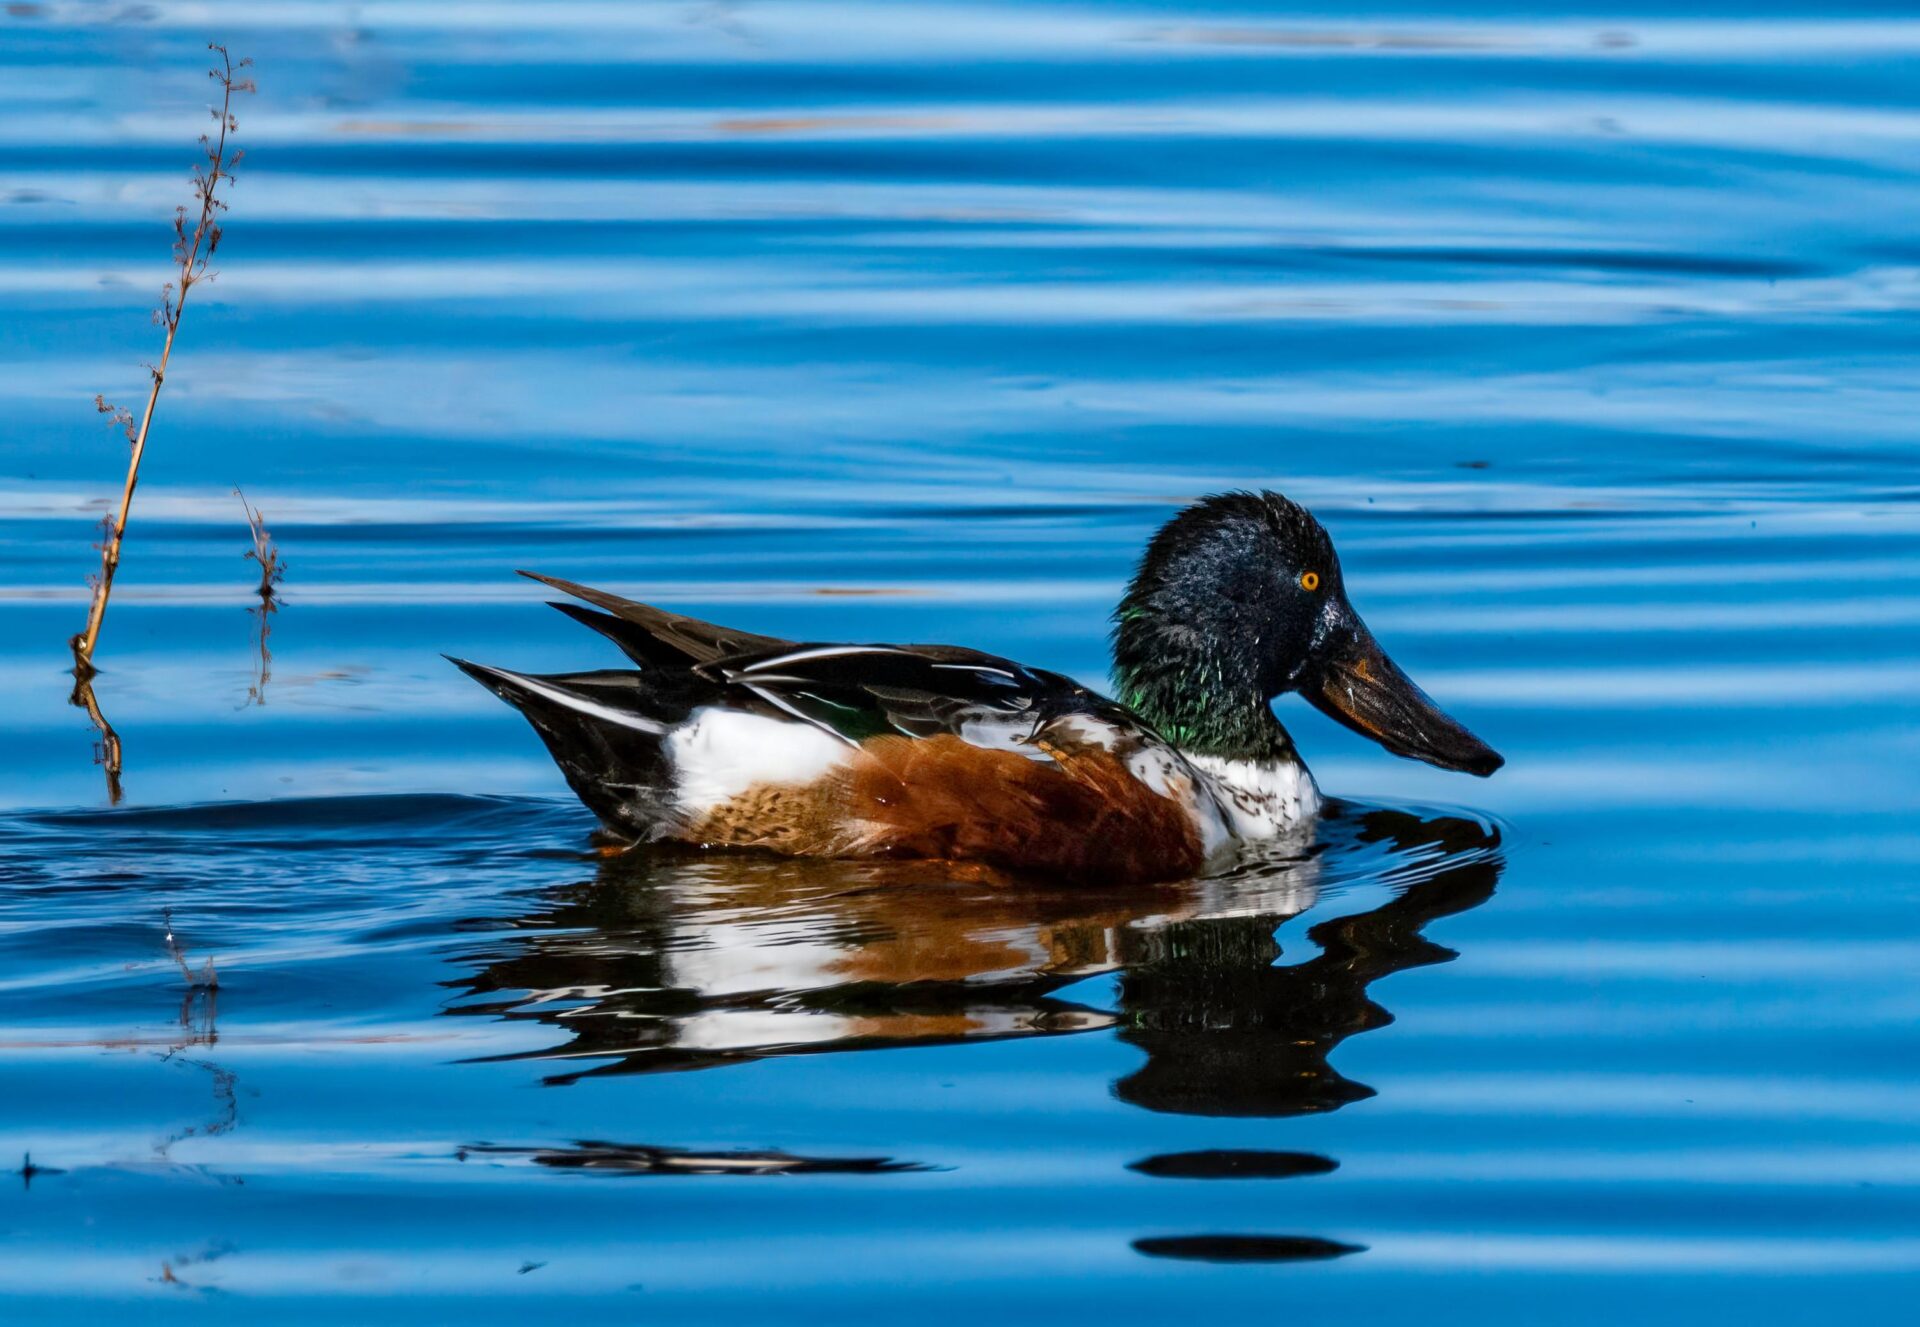
For this example, I will show how to enlarge and enhance the uncooperative Northern Shoveler duck on the left in the following full frame image (8368 pixels wide). I took it with an SL2 equipped with a Sigma 100-400 zoom lens at 400mm:
The cropped image below (without enhancement) is now only 1718 pixels wide:
Click on any image to view a larger version and scroll through the carousel
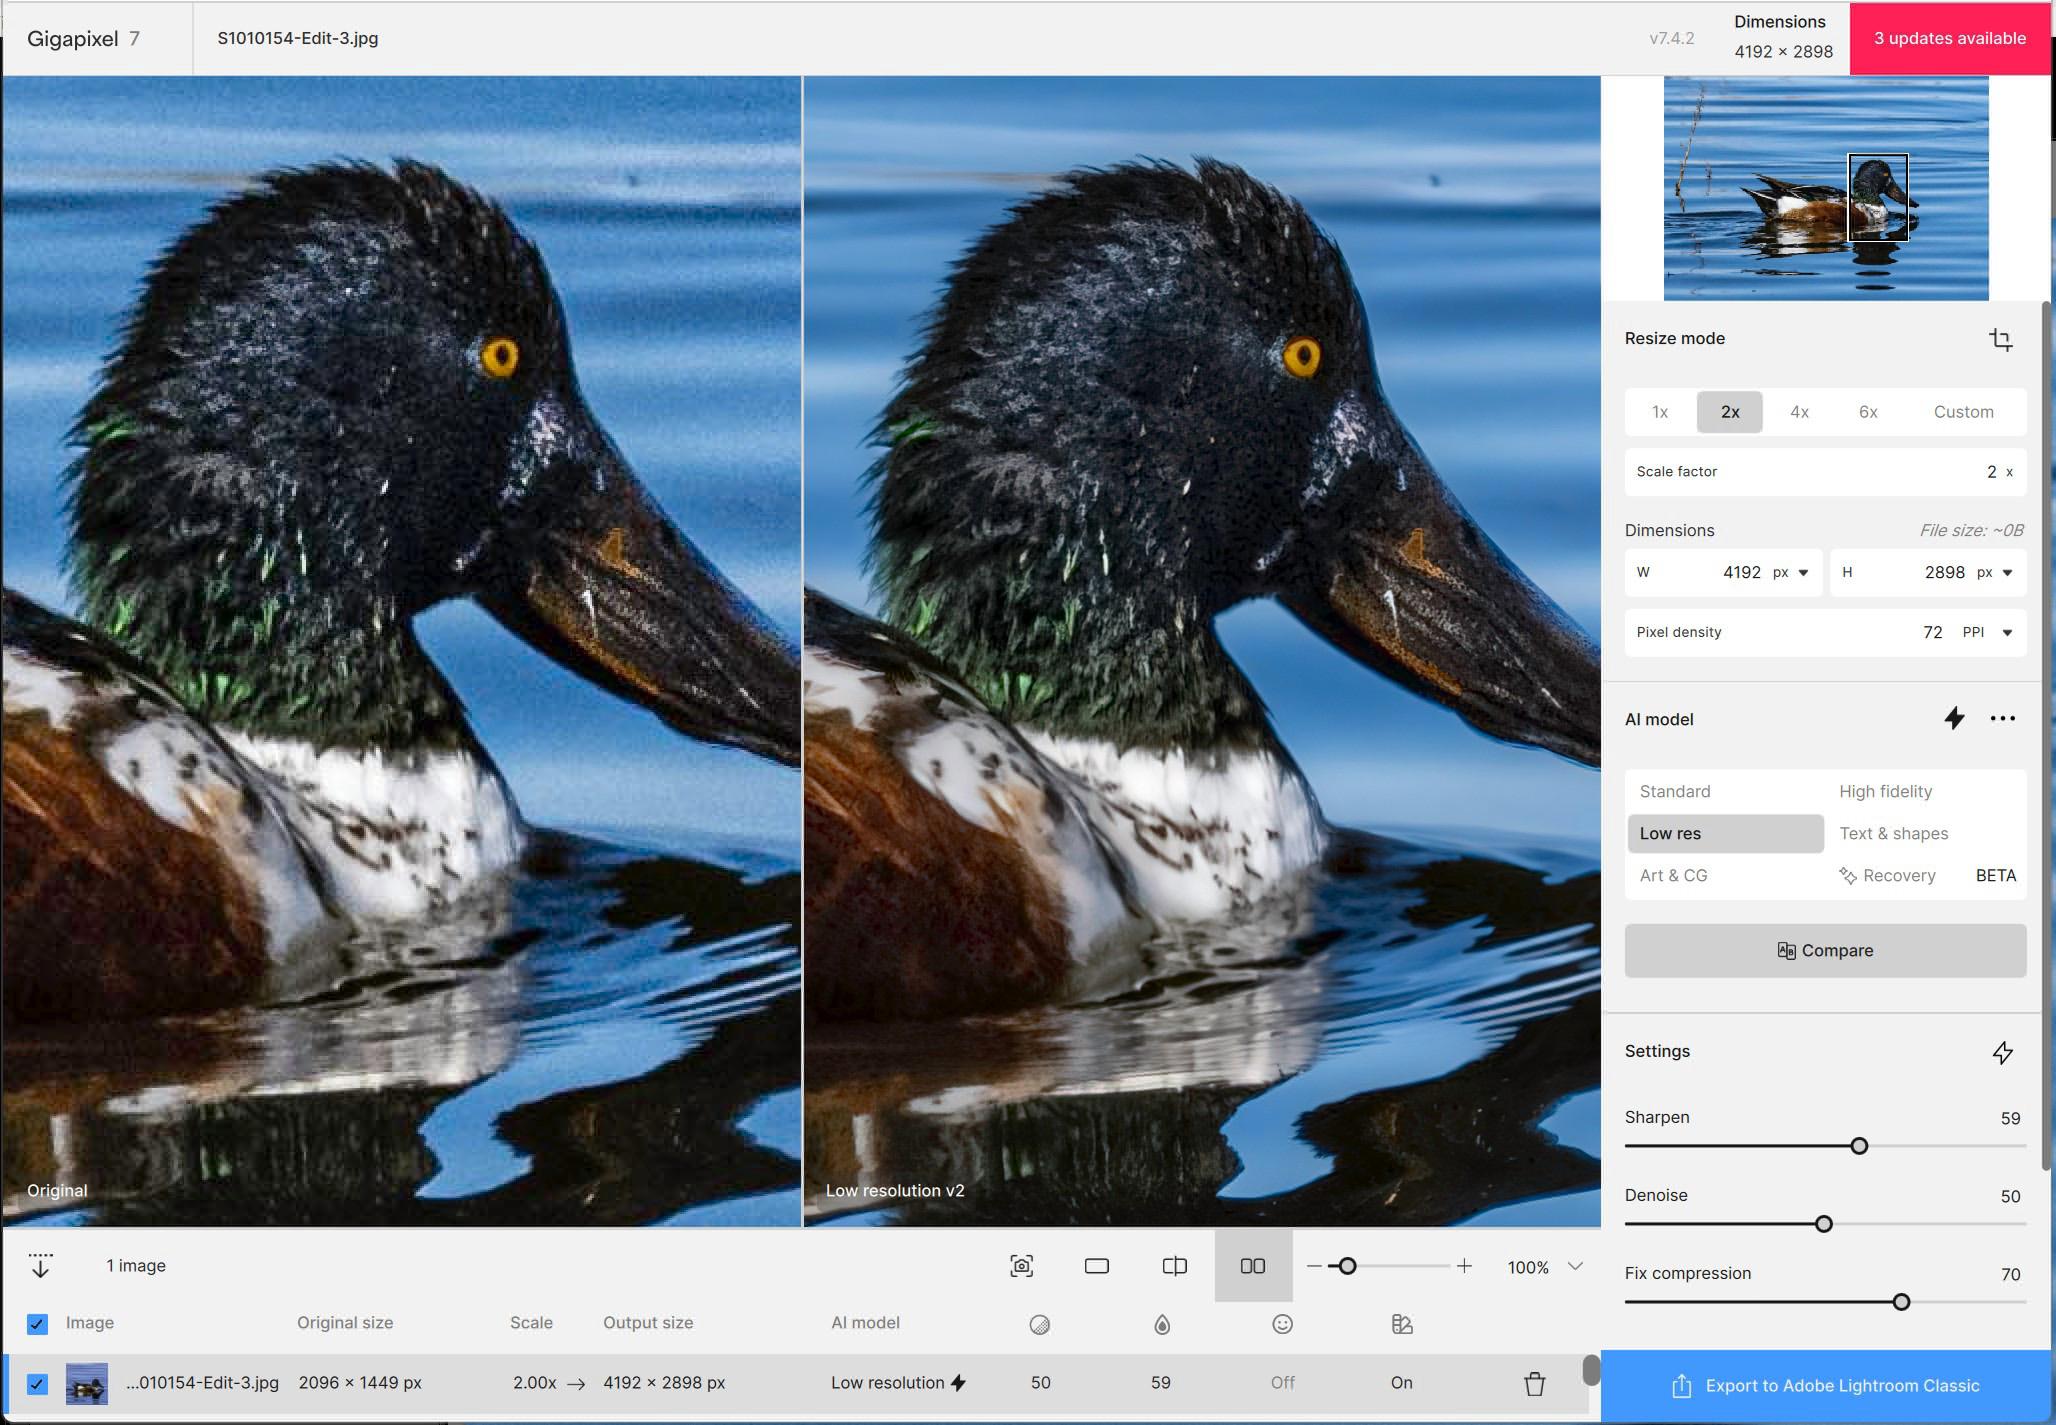
When Gigapixel AI is launched, and you have loaded the image, you will see the following display. You must then select the scale (in this case 2x, doubling image dimensions) and select the amount of noise suppression and blur removal using the sliders shown. There are other settings worth experimenting with, but are of secondary importance. Gigapixel shows you how a portion of the enhanced image will look with the selected settings.
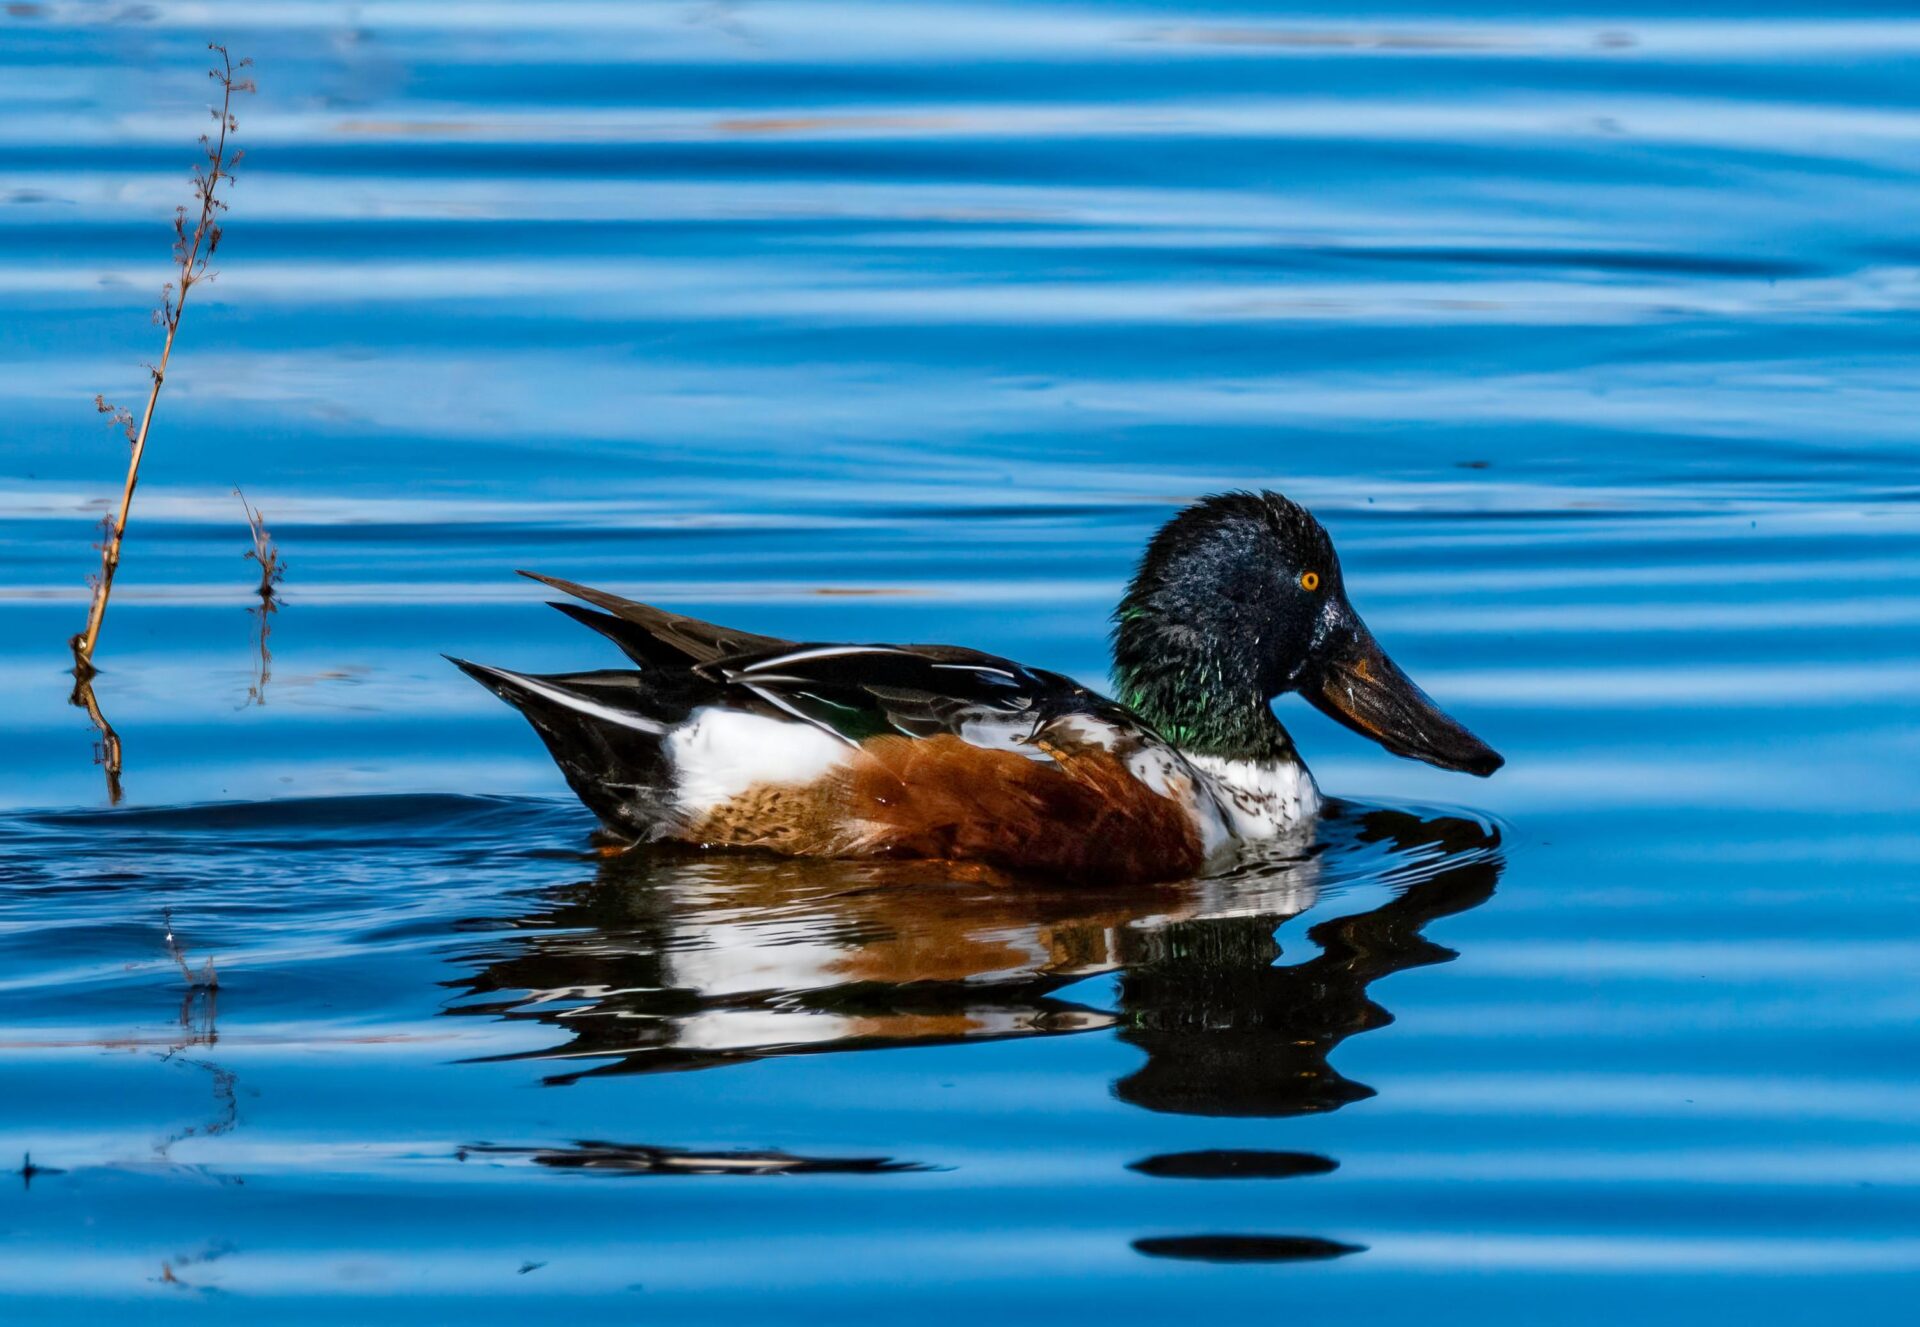
Once you have chosen your preferred settings, saving the image applies the enhancements to the entire image. The newly enhanced image is now 3436 pixels wide, with little apparent loss of quality. If further refinements are needed, the image can be edited in Lightroom, Photoshop, or other editing applications. The finished image, after cropping, is now the equivalent of one taken with a lens of almost 2000mm focal length!
A more challenging image
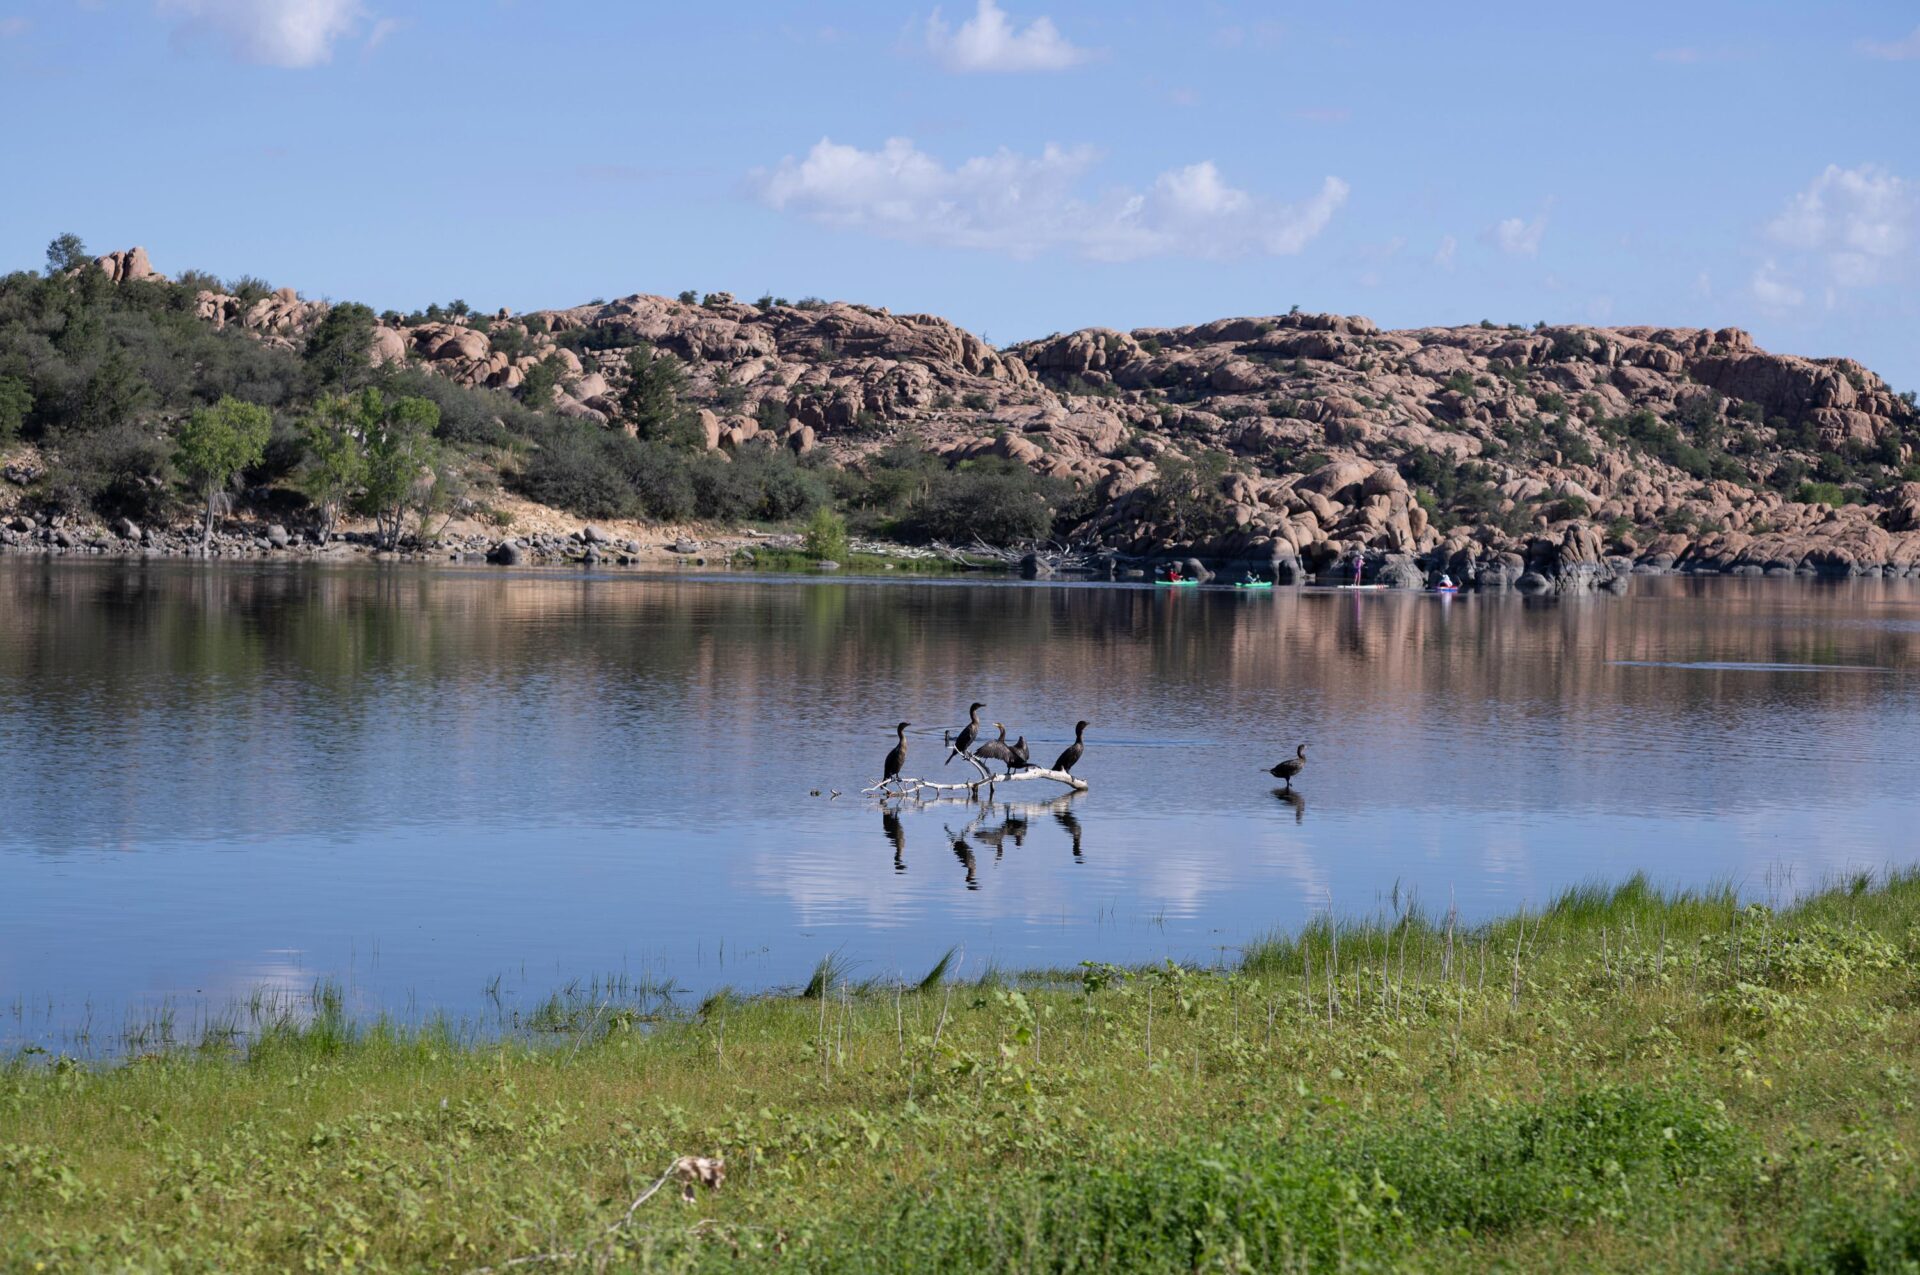
Another, more extreme example, is this image of a group of cormorants. I took it recently using an M11-P and 90mm Elmarit-M, shot at 1/750s, f/5.6, ISO 64, hand-held. This yields impressive results, despite using an older lens that is neither an APO nor an ASPH lens. The full-frame image is 9528 pixels wide, providing lots of detail to work with!
The image was cropped to a width of 2015 pixels then processed at 2x using the same settings as previously. This yielded a final width of 4030 pixels. The equivalent focal length is 425mm. The details of the feathers have been nicely preserved, and the overall image is very sharp.
Gigapixel AI meets Leica Q3 43
I recently, attended the October Leica Society International (LSI) meeting in Los Angeles. I took some images with the new Leica Q3 43, which the company generously loaned to me for a day. The camera has a fixed 43mm f/2 APO-Summicron lens that is incredibly sharp. Since Leica promotes cropping images from the Q cameras, I decided to go beyond their recommendations and try a 210mm equivalent crop.
The first image below is a full frame image, taken at 1/800s, f/2 (wide open), ISO 100, using AE and AF. The Q3 produces images 9520 pixels wide by 6336 pixels high. To achieve a 210mm equivalent crop from 43mm focal length, I needed to crop to an image 1950 pixels wide. This is the second image, using the centre palm tree. For me, the sharpness and clarity of this cropped image is already impressive. But I decided to see what Gigapixel AI would do when refining this image and doubling its size. The third image shows the result, with Gigapixel AI creating a new image 3912 pixels wide. I also set 50% sharpening to see how well that feature works.
Gigapixel AI: like a longer lens
In summary, the high-resolution image sensors on Leica cameras, combined with Leica lenses, produce outstanding results, before and after cropping. Images with subjects that initially appear to be too small to enlarge or print may be cropped and processed in AI software like Gigapixel AI to achieve excellent results. That lens you thought was too short in focal length can produce remarkable results, especially if that lens is of the quality typical of a Leica. Can you lighten your camera bag and take just your shorter lenses while travelling? Perhaps! More than 210mm with a 50mm M or SL lens? Or with a Q3? Worth a try! With the introduction of the new Q3 43, you might be surprised to see equivalent focal lengths exceeding 200mm.
For the mathematically inclined, equivalent focal length can be calculated as follows:
f-equivalent = [full format pixel width/pixel width of the cropped image*] x f.
f = focal length of the taking lens.
*note: use the cropped image dimension before multiplying it in Gigapixel AI.
I hope this brief overview has been helpful. With today’s high-resolution cameras, superb optics and the increasing aid of artificial intelligence, selective cropping is now a respected tool for photographers.
Read more from Bill Royce
Join the Macfilos subscriber mailing list
Our thrice-a-week email service has been polished up and improved. Why not subscribe, using the button below to add yourself to the mailing list? You will never miss a Macfilos post again. Emails are sent on Mondays, Wednesdays, and Fridays at 8 pm GMT. Macfilos is a non-commercial site and your address will be used only for communications from the editorial team. We will never sell or allow third parties to use the list. Furthermore, you can unsubscribe at any time simply by clicking a button on any email.


EVERY PHOTOGRAPH IS A CROP🕶️
I think the anti-cropping thing came from HCB, and was treated like gospel for decades. These days, I crop as necessary in my darkroom, and my Apple phone makes it very easy as well.
Thank you for this article. I rather enjoy grumbling about AI-enhanced anything, but as you show, it can be made to work very well.
I liked your example “A more challenging image” — here I thought I was the only one affixing an Elmarit 90 to a modern camera. Actually, as of yesterday, I now own a camera with a 42mp sensor (Fuji XT5), and the very first thing I did was put the Elmarit on, making it a faux 135mm lens. (camera and lens are doing well).
More to the point, quite a lot of my pond scenes look like the pre-AI full frame photo you show. I’ve used some Topaz AI before, but this example was beyond expectations. Thank you — when it stops raining, I’ll find the nearest pond and see what I can do 🙂
One note: several people have remarked on the need for major processing power; I’d like to suggest another approach. When my 2007 ‘cheese grater’ MacPro failed to survive a 23 day trip in a 110F moving van, I bought a 2013 ‘garbage can’ MacPro 64gb 6 Core 3.5GHz dual D500 3g video cards. Not exactly the most powerful machine around; Topaz software takes a few minutes to process an image. The idea is to buy this as a dedicated processor, and do other things on a main computer. One can buy a used version for around US$270, making it a reasonable alternative to buying a Mac Studio — or a Jaguar S type 🙂
Hi Bill, a valuable article. The only thing I can add is that the Topaz tools require a powerful computer and especially a powerful video card or processing will be very very slow or fail completely. However, one can download free trial software before buying. The latest version of Topaz Gigapixel has added the option to do cloud processing instead of your computer. I assume that future new release of their other products will offer the same option. I frequently use Gigapixel and love the results